Procedure: How to Configure a Demographic Layer on an Esri Map
Once you have added an Esri map component to your HTML page, you can add one or more preconfigured demographic layers.
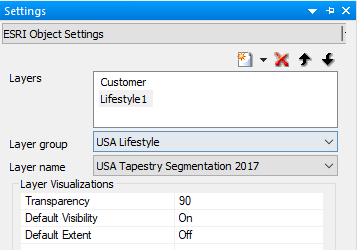
- In the Settings panel for the Esri map component, click the arrow next to the New Layer icon and select Demographic Layer, as shown in the following image.
The layer is created with a default name. You can rename the layer by clicking in the default name and typing a new name.
- Select a type of demographic layer from the Layer group pull-down list, as shown in the following image.
- Select a layer name from the Layer name pull-down list, as shown in the following image.
Note: If the layer is not freely available from Esri, you will be asked to provide your Esri credentials before the layer can be added to the map.
- Configure the layer visualizations you require, such as the transparency of the layer and the default visibility.
- Save the HTML page.
When you run the HTML page, the demographic layer is added to the map output, as shown in the following image.
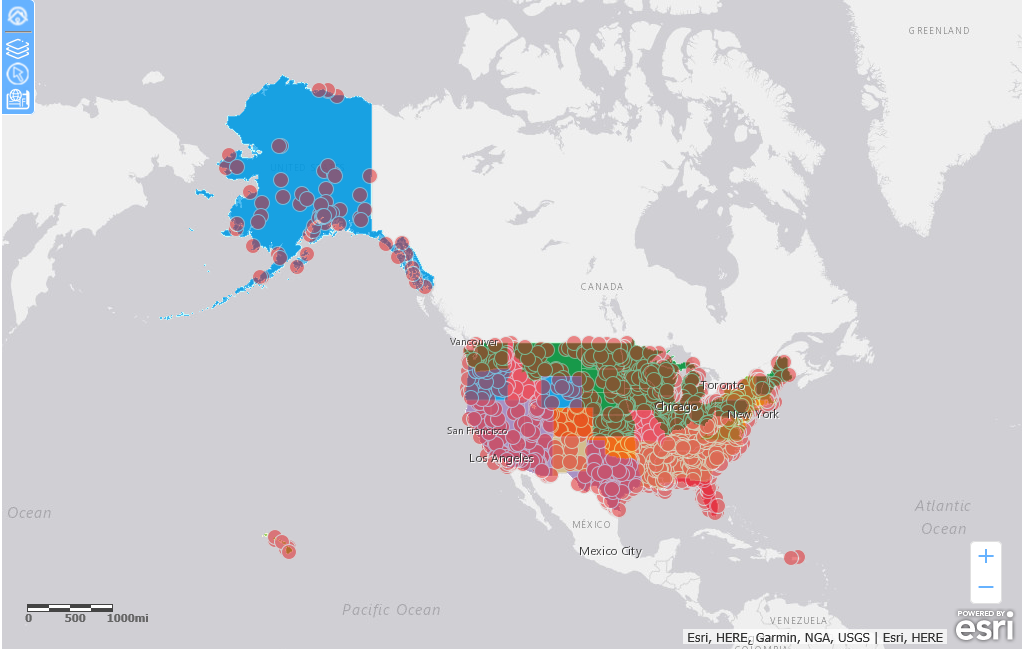
Note: You may need to adjust the transparency values for each layer to make them all visible.
- To open the demographic layer table of contents open the Change Base Maps widget and select the Info Maps tab, as shown in the following image.
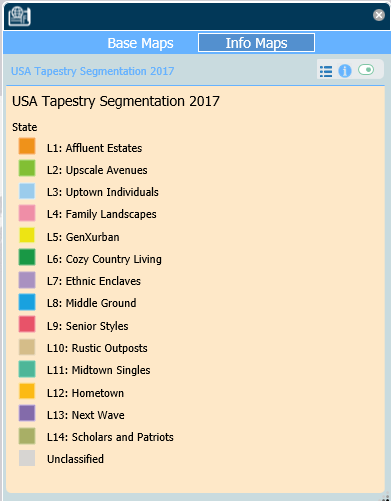
The following options are available on the Info Map table of contents.
Description
Icon Example Toggle Layer Legend
This icon toggles the legend on and off.

Show Description
This icon toggles a layer description on and off.

Visibility
This icon toggles the layer visibility on and off.
