Designing a Form

In this section:

How to:

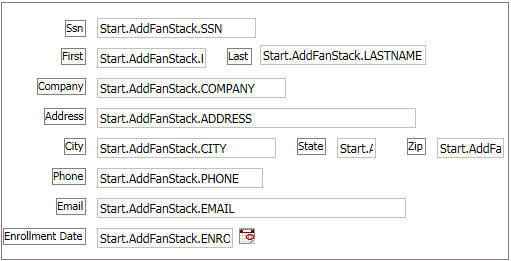
An example of the first form that you will create for the FanClub application is shown in the following image.


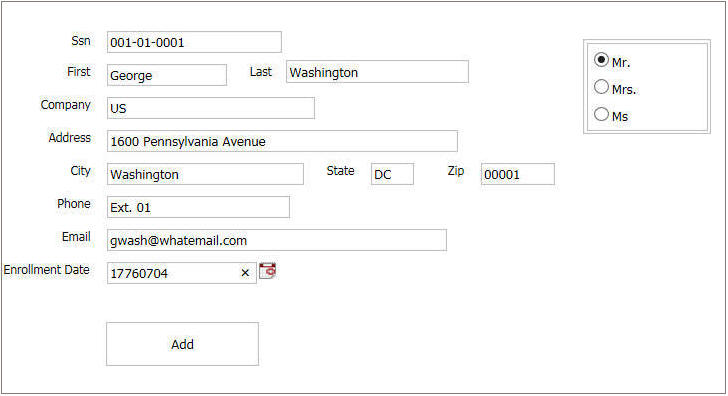
This form enables users to add a new fan to the data source.

The information typed into this form will be written to the fannames data source, so it should correspond to the fields in the data source. The fastest way to create the fields on the form is to use the existing data source fields. Therefore, your first task is to add data source fields to the form.

Procedure: How to Add Data Source Fields to a Form

  1. In the Requests & Data Sources panel, expand Forms under the Start procedure.
  2. Activate the Htmlpage1 tab.
  3. Drag the Form1 form to the canvas.
  4. Click Yes when prompted to create a multi-page container for better layout and presentation.
  5. In the Requests & Data Sources panel, right-click Stacks under the Start procedure and select New data source stack.
  6. In the Stack name field, type AddFanStack.
  7. In the Stack Editor dialog box, expand fannames, then expand CUSTOMER, and then select SSN and use the arrow button to move the field to the stack column.
  8. Click OK.

What Are Data Source Stacks?

App Studio Maintain Data procedures do not directly display or manipulate information in a data source. Instead, Maintain Data uses data source stacks as intermediaries between users and the data source.

A stack is a non-persistent (or in-memory) table where you can store and manipulate data from one or more data sources. App Studio Maintain Data procedures use stacks to hold values you read from the data source and to manipulate data before writing it back to the data source.

Since this is a new procedure, there are no stacks yet. You are going to create a stack named AddFanStack, instead of using the default, CustomerStk. The structure of the stack is based on the fields in the data source, in other words, the stack is going to have the columns SSN, LASTNAME, FIRSTNAME, and so on. However, this stack will be empty until you do something to put data in it.

Components of a Procedure in the Requests & Data Sources Panel

In the Requests & Data Sources panel, there have been some additions to the components of Start.

  1. Switch to the HTML page tab, and in the Requests & Data Sources panel, expand AddFanStack.
  2. Select all of the fields, except for TITLE, USER, FOCCOUNT, or FOCINDEX and, from the Requests & Data Sources panel, drag the fields to the canvas and drop them on the form.

Note: If you do not see AddFanStack, you need to force a parse by selecting Parse from the Maintain Data Editor context menu.

Moving Controls on a Form

How to:

When you placed these fields on the form, App Studio Maintain Data placed them in a column. Rearrange them so that the Firstname and Lastname fields are next to each other in a row, and City, State, and Zip fields are also next to each other.

Procedure: How to Move Controls on a Form

  1. Move Lastname (by clicking and dragging it to the new location) far enough to the right so that you can move Firstname up and to the left of it.
  2. Move the Firstname, Company, Address, and City fields up.
  3. Drag State to the right of City.
  4. Drag Zip to the right of State.
  5. Move the Phone, Email, and Enrollment Date fields up.
  6. Select the form. On the Utilities tab, select Tab Order and reorder the fields to reflect the order in which they appear on your form.

In the following image, the Firstname and Lastname labels have been renamed to First and Last, respectively. You can put each of the labels in edit mode, one-by-one, and modify the text.


Note: You can use the Positioning tab to align objects on the form by selecting the appropriate positioning component in the Positioning group.