Text Editor Menu Bar Functions
The text editor menu bar is shown in the following image.

The following functions are available.
- Save. Saves the current text under the same name.
- Save As. Saves the current text under a new name.
- Run. Runs the current text, if it is a procedure.
- Tab Navigation. Enables cycling through the interface using the Tab key.
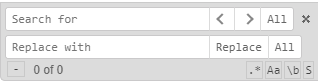
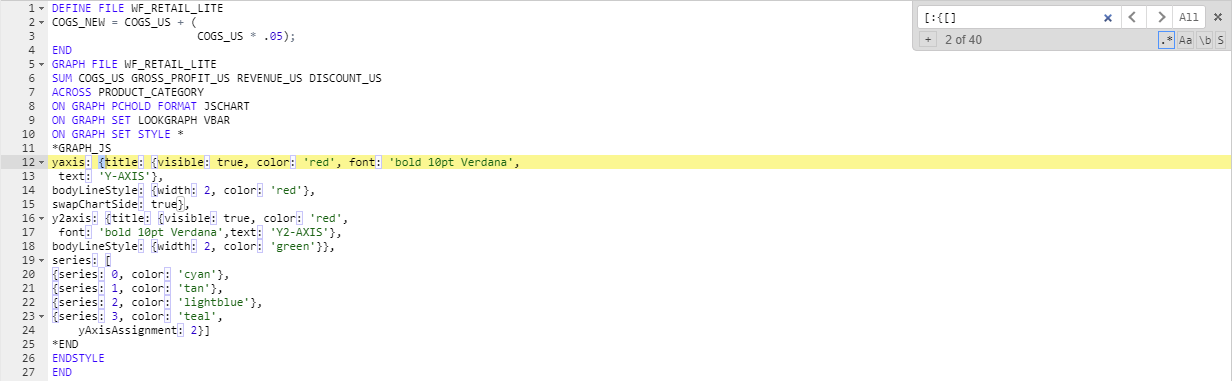
- Find. Opens the search function.
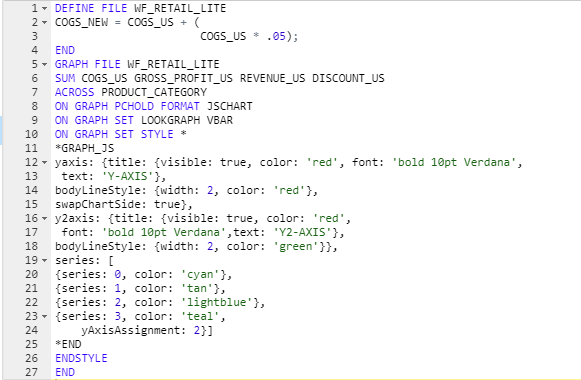
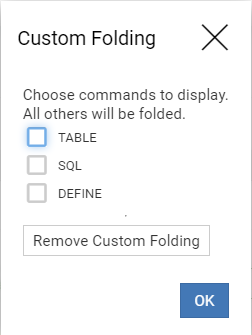
- Selection folding. Folds unselected lines.
- Uppercase. Changes selected text, or the token with the cursor, to uppercase. A token is an unbroken string of alphanumeric characters and underscores.
- Lowercase. Changes selected text, or the token with the cursor, to lowercase. A token is an unbroken string of alphanumeric characters and underscores.
- Comment/Uncomment. Toggles comments on and off for the current line or selected lines.
Note: If a line is already commented, and you click the Comment/Uncomment button, new comment characters are added in addition to the comment characters that already existed. In this way, if you click the button again, the line goes back to its original state (commented). This prevents you from unintentionally uncommenting a line that was meant to be a comment.
- Undo. Undoes any number of edits.
- Redo. Redoes any number of edits.
- Select All. Selects all of the text in the text editor.
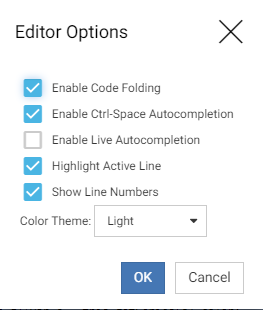
- Options. Opens the text editor options dialog box.