Creating Records

Procedure

  1. Click Browse and Search.
  2. In the Repository Name drop-down list, select the repository in which you want to add records.
  3. Click . The Add Record screen is displayed.


  4. Enter values in the Record ID and Record ID Extension fields. The values are displayed in tree header at the left side.
  5. Enter values in other fields. The field names are displayed based on the attributes created for each repository.
  6. For the File Type or Multivalue File Type attribute, upload a file by clicking the Browse icon or by dragging and dropping.


    • For uploading a file, the maximum file size limit is 10 MB. If you want to upload a file greater than 10MB, change the value of the Upload File Size Limit property in Configurator. If you are using JBoss WildFly application server, you also need to change the file size using the max-post-size parameter in the standalone.xml file. For more information, refer to the section, "Configuring TIBCO MDM for JBoss WildFly Application Server" in TIBCO MDM Installation and Configuration Guide.
    • The supported file extensions are jpg, gif, png, doc, docx, pdf, csv, xml, zip, and txt. If you want to upload a file other than the supported file extensions, add the required file extension (for example, JAR) in the value of the Allowed Upload file extensions property in Configurator.
    Note: For the Multivalue File Type attribute, you can perform the following actions on the multivalue editor:
    • upload multiple files
    • download or preview a file based on the file selection type
    • preview a file by clicking the Preview icon after the successful upload. The Preview icon is available only for the image type file.
    • delete a file using the Delete icon
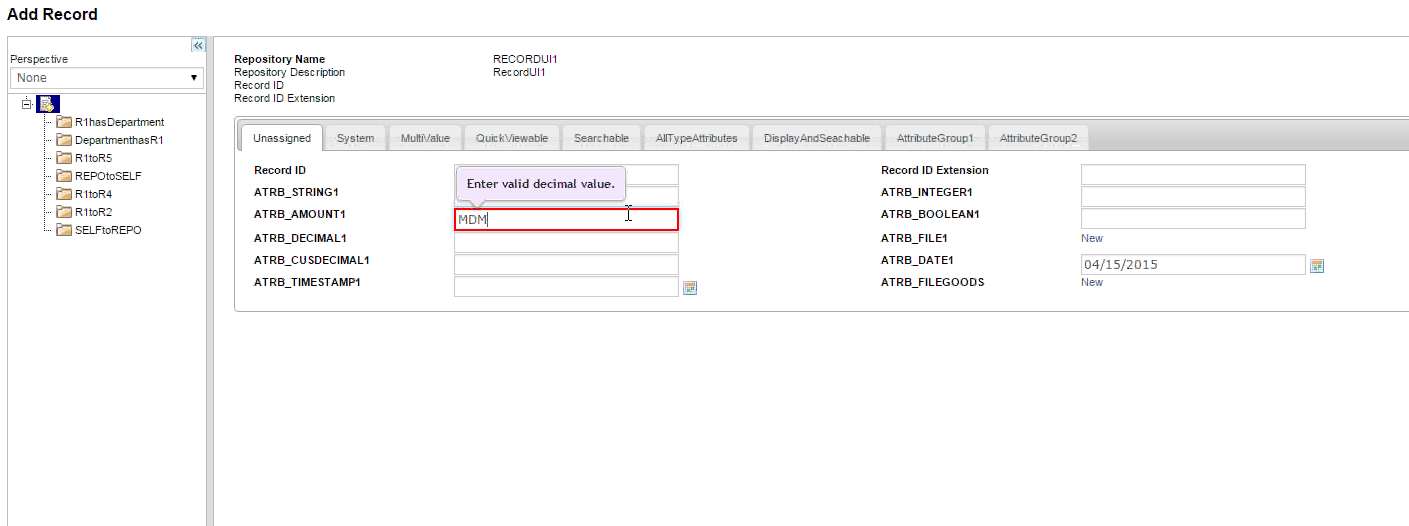
    The file drag and drop functionality is also applicable for records on the work item screen. For information work items, refer to Work Items.
  7. The attributes are validated for errors as shown in the following figure:
    Note:
    • For Timestamp data type attribute, if you enter the format other than user profile, an error message is displayed.
    • Selection of the Time zone value displayed on the Calendar is optional. If you do not enter it, the value which is selected in the user profile is considered.
  8. Click Save and Process. The record is saved in the repository.
    Note: The rulebase ‘refresh’ flag now applies to the text field attributes of the Record UI. For example, if you have set ’refresh’ flag in the constraint (condition or action) to true and change the attribute value on the Record Add or Record Modify screen, the screen is automatically refreshed and dependent attribute values are re-computed.