Running in Enterprise Mode Using the Admin UI
Use the Admin UI to manage and monitor runtime entities.
The Admin UI is a web UI that runs in TIBCO® Enterprise Administrator (TEA). To enable the Admin UI, the bwagent must be registered with a running TEA server.
This procedure shows you how to create runtime entities and deploy and run an application using the Admin UI.
You learn how to:
-
Register the TEA agent with the bwagent
-
Open the Admin UI
-
Create a domain, AppSpace, and AppNode
-
Upload an archive
-
Start the AppSpace
-
Deploy and start the uploaded application
- Procedure
- Install TEA and start the TEA server.
Windows:
TEA_HOME\2.0\bin>tea.exeUnix:[root@TEA_HOME bin]# ./tea.sh - In a terminal, navigate to the following location:
Windows:
BW_HOME\binUnix:BW_HOME/bin - Set the bwadmin mode to enterprise.
Windows:
BW_HOME\bin>bwadmin mode enterpriseUnix:[root@BW_HOME bin]# ./bwadmin mode enterprise - Open a new terminal and navigate to
BW_HOME\bin for Windows or
${BW_HOME}/bin for Unix. Register the bwagent TEA agent with the TEA server. This allows the bwagent to be available to the TIBCO Enterprise Administrator server. The URL to the TEA server is required in the command. The URL is available from the terminal where the TEA server was started.
Windows:
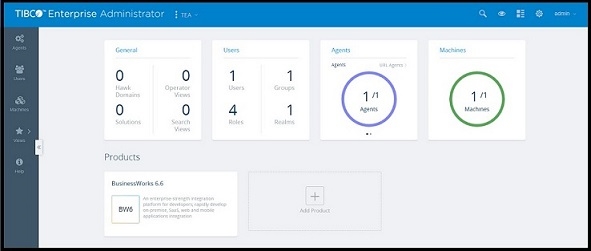
BW_HOME\bin>bwadmin registerteaagent http://M1:8777/Unix:[root@BW_HOME bin]# ./bwadmin registerteaagent http://M1:8777/ - Open a web browser and go to the TEA URL. Sign in, using
admin for the user name and
admin password.
BusinessWorks is displayed in the Products list.
- Click the BusinessWorks icon to go to ActiveMatrix BusinessWorks. The
Domain Management page is displayed. If you completed the steps in the "Running in Enterprise Mode Using the Command Line," you see a domain listed on the
Domain Management page. Otherwise the page is empty.
- Click Create Domain to open the Create Domain dialog box.
- Enter the domain name in the Name field.
- Choose the bwagent registered with the TEA server from the Agent drop-down.
- Click Create to create the domain.
The domain is created and displayed on the Domain Management page. - Click the domain name to open the domain.
- Add an AppSpace to the domain.
- Click the
AppSpaces icon
 to open the
AppSpaces page.
to open the
AppSpaces page.
- Click Create AppSpace.
- In the Create AppSpace dialog box, enter AppSpace name in the Name field. Accept the value of 1 in the MinNodes field.
- Select the agent registered with the TEA server and click Create.
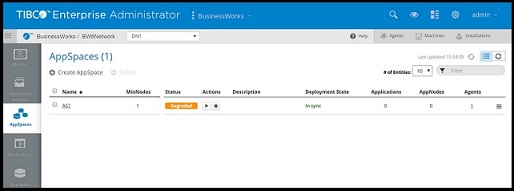
The AppSpace is created. A success notification is displayed at the top of the page. Notice that the AppSpace status is displayed as Degraded, because there are no AppNodes yet for the AppSpace. This changes to Stopped when an AppNode is added to the AppSpace. The AppSpaces page looks similar to this:
- Click the
AppSpaces icon
- Add an AppNode to the AppSpace.
- Click the
AppNodes icon
 to open the
AppNodes page.
to open the
AppNodes page.
- Click Create AppNode.
- In the Create AppNode dialog box, enter name of the AppNode in the Name field.
- Select the agent registered with the TEA server from the Agent drop-down.
- Enter a value in the HTTP Port field, for example: 8075. This port must be available; each AppNode on the machine must be assigned to a unique HTTP management port.
- Leave the OSGi fields empty. (This are optional fields for debugging the AppNode. For more information, see Enabling the OSGi Console for an AppNode.)
- Select the AppSpace from the AppSpace drop-down.
- Click Create.
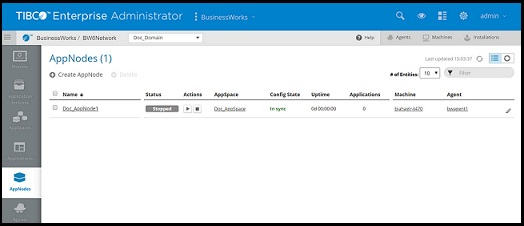
The AppNode is created. A success notification is displayed at the top of the page and the AppNode is displayed. The AppNodes page looks similar to the following image:
- Click the
AppNodes icon
- Open the
AppSpaces page and notice that the status has been updated to Stopped.
- Start the AppSpace by clicking the
Start icon
 .
.
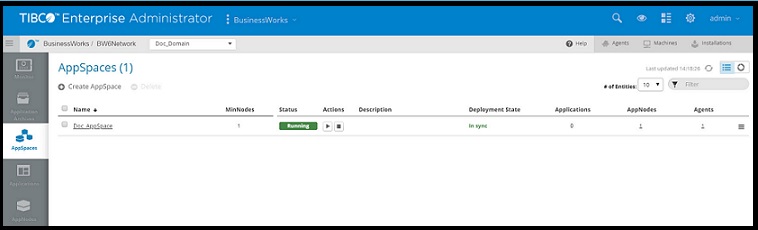
The AppSpace starts and starts the AppNode. The status changes to Starting, then Running to indicate that both the AppNode and AppSpace are running.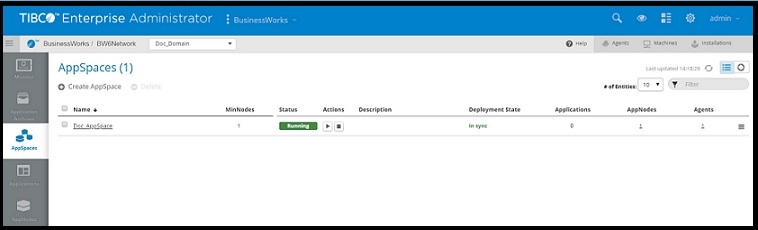
- Start the AppSpace by clicking the
Start icon
- Upload an application archive to the AppSpace.
- Click the
Application Archives icon
 .
.
- In the Application Archives page, click the Upload link and drag the BookStore sample application archive from BW_HOME\samples\AppSpace\core\admin\ears\bookstore\ears to the Upload Ear File dialog box.
- Click Upload.
- A success message is displayed in the dialog box. Click Done to close the dialog box.
The application archive is displayed on the Application Archives page: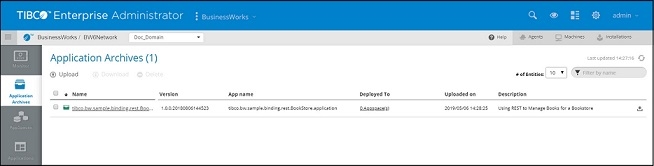
- Click the
Application Archives icon
- Deploy the application.
- Click the application archive link on the Application Archives page to pivot to the application view, then click Deploy to deploy the BookStore application.
- In the Deploy Applications dialog box, make sure UI-AppSpace1 is selected in the AppSpace drop-down.
- Select WindowsProfile.substvar (Default) from the Profile drop-down.
- Check the Start applications on AppNodes after deployment option. This option starts the application after successful deployment.
- Click Deploy.
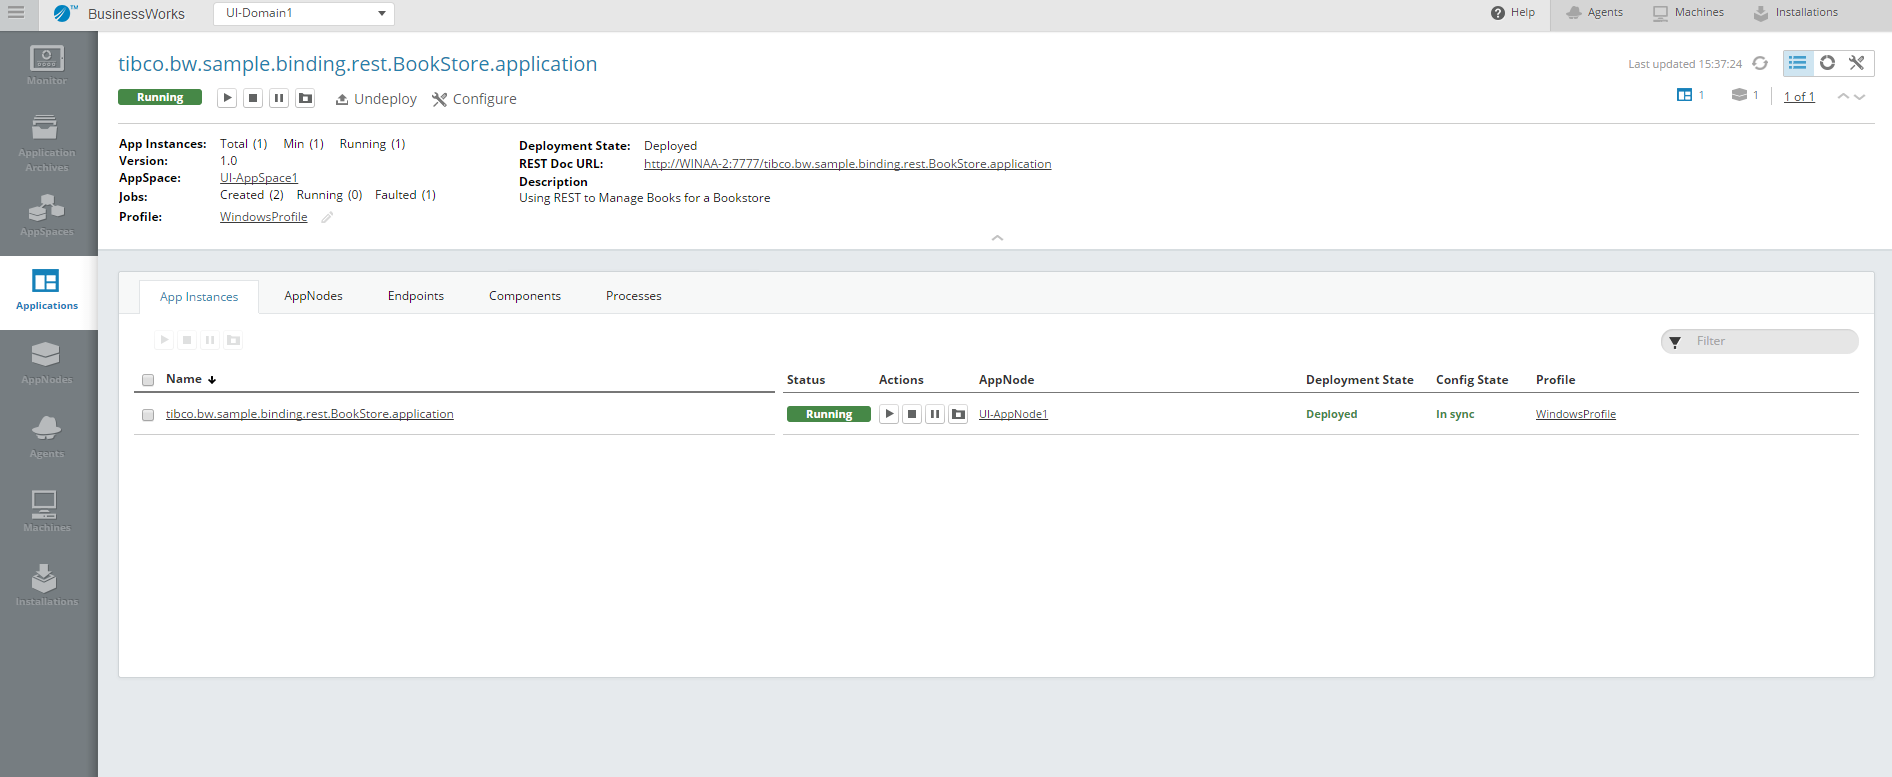
The application is deployed to the selected AppSpace and is started on the AppNode.
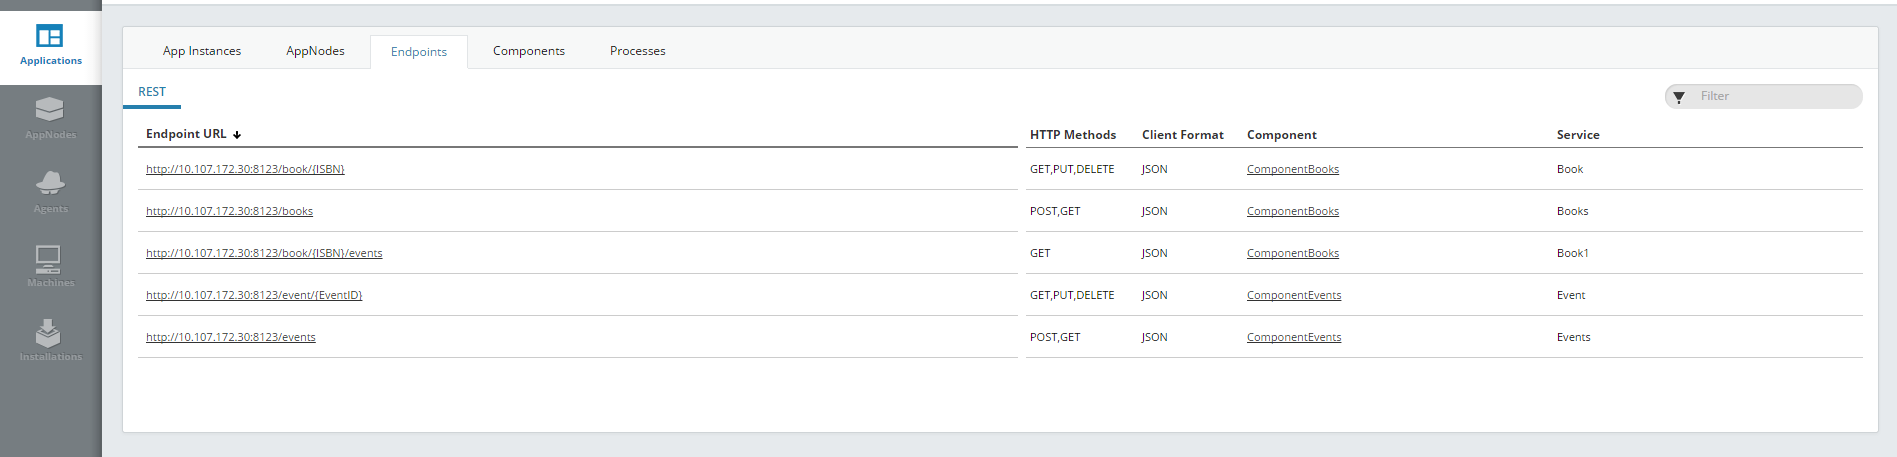
- Click the
REST Doc URL link to view the application's REST API. You can also open the
Endpoints,
Components, or
Processes tabs to drill down into the running application.


ResultYou registered the bwagent with the TEA server. You used the Admin UI to create a domain, AppSpace, and AppNode; start the AppSpace; upload an application archive; deploy the application; and start the application. Spend some time experimenting with the Admin UI. The web interface allows you to drill down into entities and pivot views.
For more information, see Using the Admin UI.