Uploading an Application Archive
Uploading an application archive copies the specified file to the specified domain. The archive is copied to the BW_HOME\domains\domain_name\archives directory. If the specified archive already exists in the domain, it can be replaced on upload.
The following steps show how to upload an application archive.
bwadmin Command Line
- Procedure
- Execute the following command from the command line. Specify the fully qualified location of the application archive file. Note the use of forward slashes "/" for the Windows path. This Windows example uploads the BookStore sample that has been copied to the
C:\ear folder.
BW_HOME\bin>bwadmin upload -d MyDomain C:/ear/tibco.bw.sample.binding.rest.BookStore.application_1.0.0.earTip: If the specified application archive already exists in the selected domain, use the -replace option to replace it. - By default, the
upload command copies the archive file to the
BW_HOME\domains\domain_name\archives folder. To upload an archive to a different location, use the
-path option and specify a path relative to the
BW_HOME\domains\domain_name folder. For example, the following example creates the
BW_HOME\domains\domain_name\test folder and uploads the archive file:
BW_HOME\bin>bwadmin upload -d MyDomain -path ../../test/MyArchives C:/ear/tibco.bw.sample.binding.rest.BookStore.application_1.0.0.ear
Admin UI
- Procedure
- Select the domain and open the Application Archives page. Click Upload.
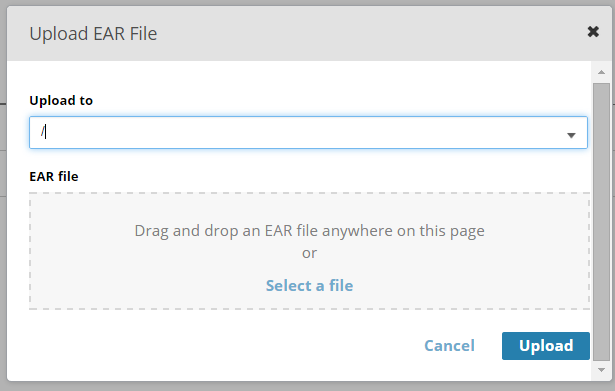
- In the
Upload EAR File dialog box, enter the following information:
Upload to: EAR file upload folder. Default location is the domains folder.EAR file: Drag and drop the archive file. If the file already exists in that folder, select the Replace any existing version check box.
- Click
Upload, then
Done.
The archive is displayed on the Application Archives page.
