When you run the installer in GUI mode, it prompts you for information about the installation environment, and allows other customization.
Procedure
Open the physical media or download the ActiveSpaces product package.
Extract the ActiveSpaces product archive file to a temporary directory.
Navigate to the temporary directory that contains the universal installer.
Run
TIBCO Universal Installer.
The Welcome screen is displayed.
Click
Next.
The License Agreement screen appears.
After reading through the license text, click
I accept the terms of the license agreement and then click
Next.
The TIBCO Installation Home window is displayed:
The Installation Home Window
To use an existing TIBCO_HOME directory, leave the checkbox for
Use an existing TIBCO_HOME
checked. If you want to install in another directory, check the Create a new
TIBCO_HOME check box and specify a new TIBCO_HOME directory.
Click
Next.
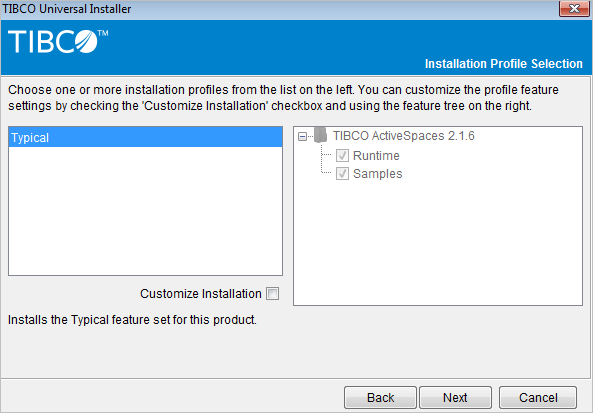
The Installation Profile Selection window is displayed.
Installation Profile Selection Window
To install all features, click
Typical or to choose the features to install, check the
Customize Installation check box.
(Optional.) If you select
Customize Installation, clear the check box next to the features you do not want to install.
Click
Next.
If there is an existing installation, you are prompted to overwrite it. If you are sure that you want to proceed, click
Yes.
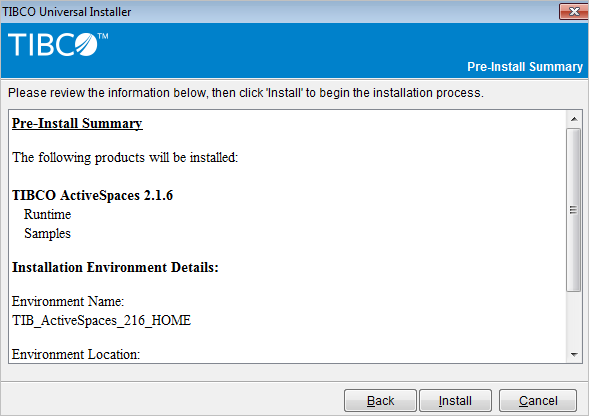
A pre-install summary screen is displayed.
Pre-Install Summary Window
Click
Install.
A post-install report summarizes the installation results.