Creating a New Deployment Server
Before you can create a deployment server, you need to know the URL on which the server will run. If necessary, consult your system administrator to obtain this information. The BPM application is called amx.bpm.app by default, but because there may be multiple instances of it, the name can vary.
Procedure
- Click the Deployment Server view.
-
Click
Next.
The Runtime Server Parameters dialog is displayed. The parameters on the Runtime Server Parameters dialog depend on the runtime server selected.
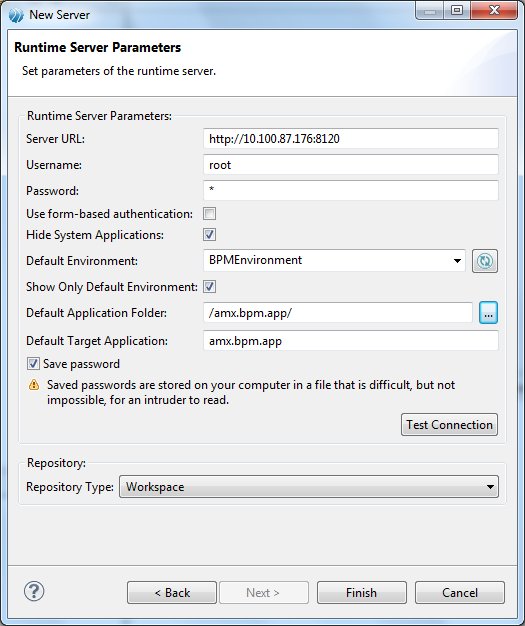
When you select the runtime Administrator Server, the Runtime Server Parameters dialog displayed is as shown.
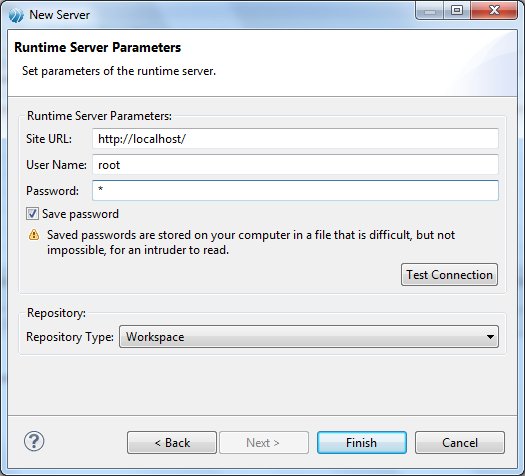
When you select the runtime WebDAV Server, the Runtime Server Parameters dialog displayed is as shown.
The following table describes the parameters in the Runtime Server Parameters dialog:Field Description Server URL The login URL for the Administrator interface in the BPM runtime. This URL is: protocol://host:port
where:
- protocol is the communications protocol being used by the Administrator interface in the BPM runtime, either http or https. This is determined during the BPM runtime installation.
- host is the DNS name or IP address of the server hosting the BPM runtime.
- port is the port being used by the Administrator interface in the BPM runtime. The default value is 8120.
Site URL URL for the WebDAV server. Typically, this URL is protocol://host, where:
Username The username needed to log in to the Administrator interface in the BPM runtime. Password The password associated with the Username specified. Use form-based authentication Check this box to support form-based authentication. By default, the checkbox is not selected. If this is selected, the Administrator server validates your username and password and then creates a session identified by a unique key. This key is passed between the client and server on each subsequent HTTP request. See the TIBCO ActiveMatrix Administrator documentation for further details.
Hide System Applications Checkbox to hide (or show) the system applications in the list of applications in the selected environment. By default, the checkbox is selected. You can choose to view the system application by unchecking the checkbox.
Default Environment The default environment on which the BPM applications are to be deployed. By default, the following environments are listed: - BPMEnvironment
- DevEnvironment
- SystemEnvironment
Of these, DevEnvironment is by default selected. Select the environment where your copy of the BPM application is located. By default, this is BPMEnvironment.
Click the Refresh icon
 to list the environments available on the selected server. If for example you have multiple instances of the BPM application each in its own environment, all those environments will be listed for you to select from.
Show only Default Environment Checkbox to display in the Administrator Explorer view all the available applications and nodes on only your specified Default Environment. This option is checked by default. The Administrator Explorer view allows you to browse the Administrator servers when they are connected. To open the Administrator Explorer view, right-click the deployment server created and select Show Administrator Explorer View. See Accessing Runtime Clients and Administrator Server from TIBCO Business Studio for additional information.
If you deselect the checkbox, all the environments available on the BPM runtime, along with the applications and nodes on each of them, will be listed.
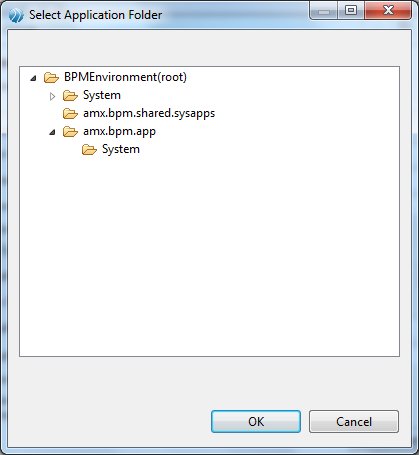
Default Application Folder The name of the folder in which the application will be deployed. Initially this field is empty. Click
 . The Select Application Folder dialog is displayed, listing the available folders in the
Default Environment you have selected.
. The Select Application Folder dialog is displayed, listing the available folders in the
Default Environment you have selected.
Default Target Application The name of the default target application to which applications will be deployed. By default, the value is set to the default name of the BPM product application, amx.bpm.app. If your installation includes more than one ActiveMatrix BPM system, that is more than one instance of the BPM application, you must specify here the instance to which you want to deploy your projects. You will need a separate deployment server for each separate instance of the BPM application. See ...
Save password Saves the password in a file on your computer. If this is not checked, you will get an error when you try to connect to the server. Repository Type The repository is where applications are staged before they are deployed. Accept the default Workspace for the Administrator interface in the BPM runtime.
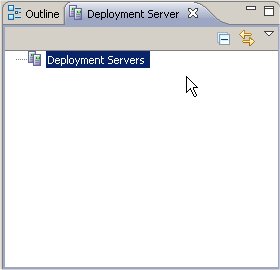
Result
The new deployment server now appears in the Deployment Server view. The deployment server is in a Disconnected state when created. You must connect to the server before you can deploy an application, or view the environments, applications, and nodes available on the server.

You can change the parameters for the server from the Deployment Server view. See Viewing and Changing Deployment Server Properties. You can either restore the default settings for a server, or edit those you have already created.