Dynamically Rendering a URL
Using TIBCO PageBus, the Webview gadget can subscribe to messages sent from the Work Views and Business Services gadgets within Openspace.
The messages are published using the forms defined in your BPM application using TIBCO Business Studio. This is achieved by adding JavaScript that uses the TIBCO PageBus Publish and Subscribe functions and adding it as a presentation resource. It also should be available to the forms that you define in TIBCO Business Studio. For more information about TIBCO PageBus, see TIBCO PageBus Developer’s Guide.
When an action is performed on a form, a submit for example, a message can be sent to the Webview gadget that specifies a new URL or a token that can be appended to the existing URL. The Webview gadget responds by modifying the URL, and rendering the new website.
- The WebView gadget always appends the URL to the base URL specified in the gadget. For a full URL to be rendered, you must set the base URL to be blank in the Webview URL box. See Rendering a Specific URL .
- If you have specified a token to be appended to an existing URL and you use the Refresh button on the gadget, then the Webview gadget always refreshes the original base URL rather than the appended URL. This means that the Webview gadget will then display the original URL, not the appended URL. If you want to refresh the gadget, you must use the refresh option in your browser. The method for doing this depends on the browser you are using. Refer to your browser for information on how to do this.
The advantage of this is that, if there have been any changes to your work items or business services, for example, the Webview gadget can be updated to display the newly updated information dynamically.
Procedure
-
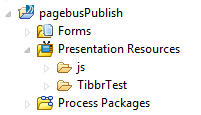
Create the JavaScript.
-
Open the JavaScript source file you just created and add the following:
function subscribeListenerControl(subject, control) {
var callback = function(subject, message, control) {
var value = control.getValue();
if (message != null && message.length > 0) {
value += "message: " + message + "\r\n";
}
control.setValue(value);
};
PageBus.subscribe(subject, null, callback, control);
}
function publishMessage(subject, message) {
PageBus.publish(subject, message);
}
You should now have something similar to that shown below.
-
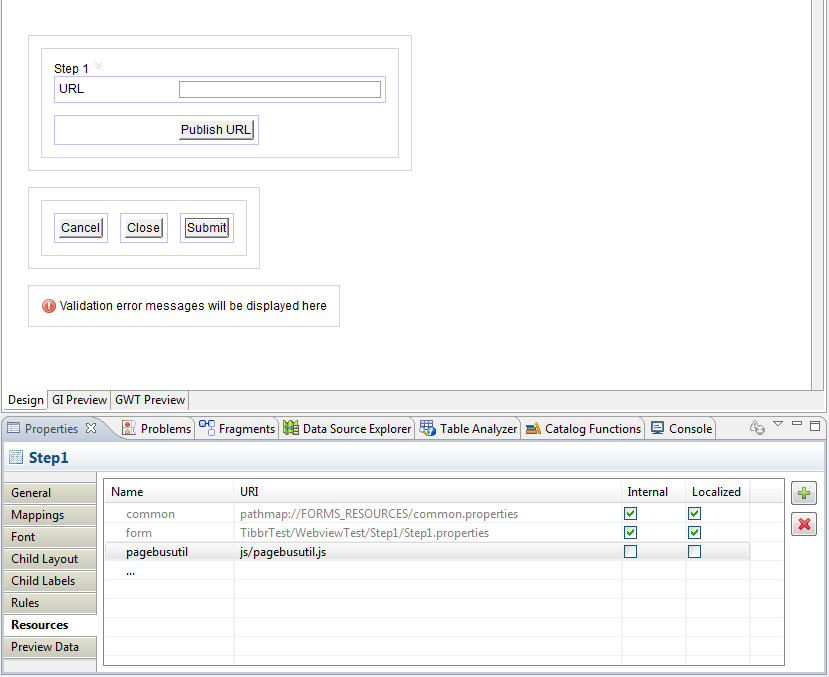
Open the JavaScript source file you just created and add the following:
- All the forms you define in your project must reference the JavaScript you created above, as shown below: