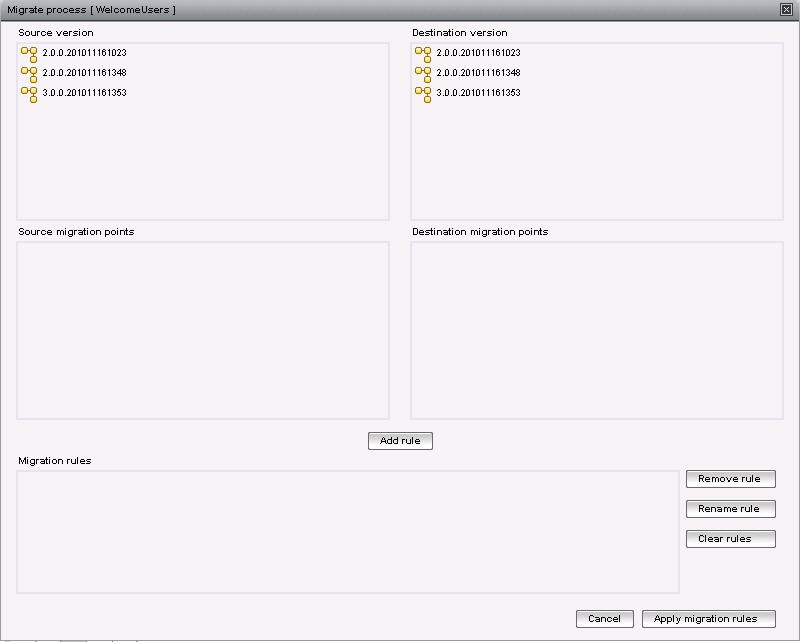
How to Migrate a Process Instance

Before migrating a process instance to an earlier or later process template, you must determine that migration is valid.

Note: If migration is set on a user task and the user task is OFFERED to the user before the migration rules are set, on completion of the user task, the process instance is not migrated.

Instances for which the user task is not yet scheduled /OFFERED follow the migration rule.

Procedure

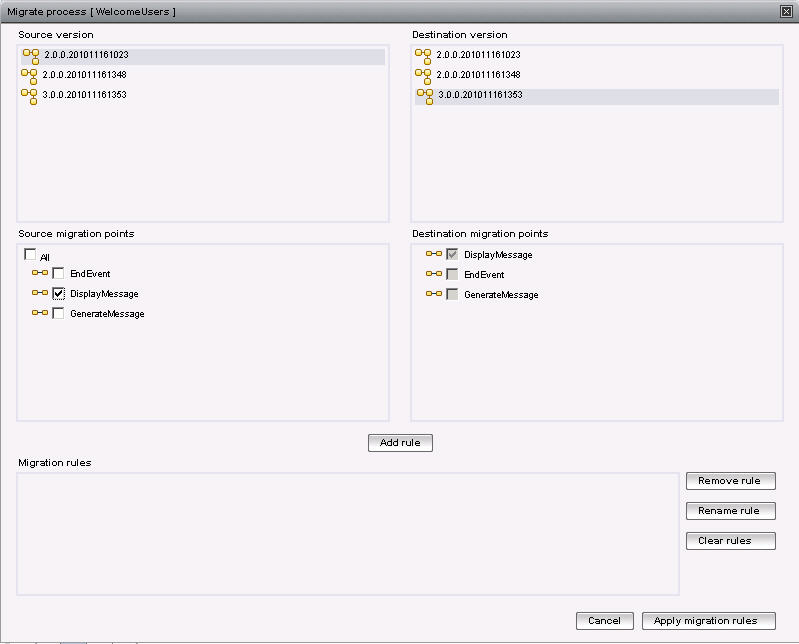
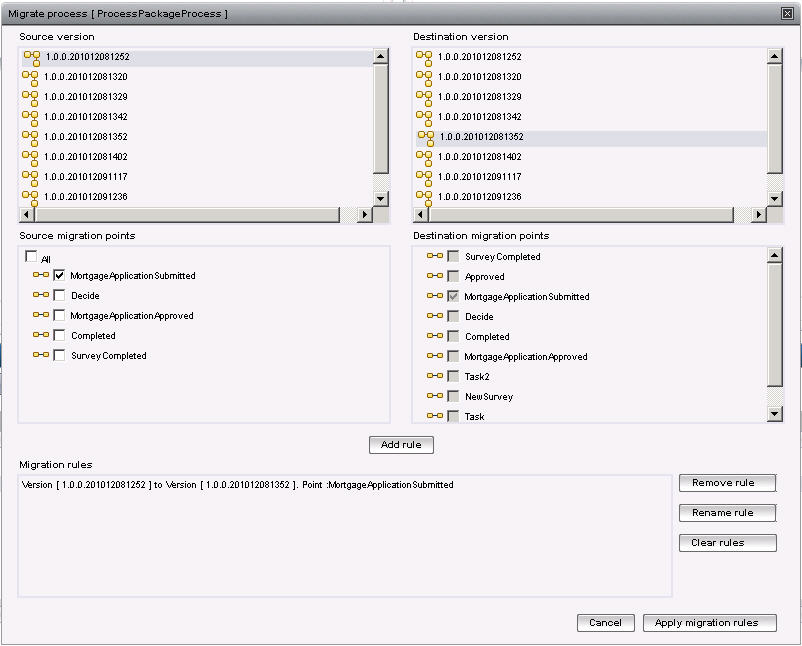
  1. From the Process Views gadget, select the process template whose process instances you want to migrate and click The icon is a square connection to an arrow that is connected to another square..
    The following dialog displays all the available versions for the process template you selected.
  2. From the Source Version panel, select the source process template that the active process instances are executing against. The source migration points are displayed.
  3. From the Destination Version panel, select the destination process template that you would like the process instance to migrate to. The destination migration points are displayed.
  4. From the Source migration points panel, either select the individual migration points or click All to select all the available migration points, depending on your requirements. The corresponding migration points are automatically selected in the Destination migration points panel.
  5. Click Add rule. The rules are added to the pane below. There is a migration rule for each migration point that you specify. If you selected All, there is a migration rule for each available migration point in the process template. By default, the name of rule is in the format:
    Version [versionnumber] to Version [versionnumber]. Point [migrationpoint]
    where:
    • versionnumber is the version number of the process template.
    • migrationpoint is the name of the task or gateway.
    The dialog shows the source version panel and the destination version panel. Underneath each panel is a list of available migration points for the selected process.
    Once a migration rule has been applied, it is displayed with a tick beside it. New rules do not display a tick until they have been applied. This enables you to see the rules that are applied and those that have yet to be applied.
  6. You can rename the migration rules. To do this, select the migration rule you want to rename and click Rename rule. The Rename rule dialog displays.
  7. In the Enter New Name: box, type a new name for the migration rule and click OK.
  8. Click Apply migration rules to apply your migration rules. When prompted, click OK to migrate your process instances or Cancel if you want to cancel.
  9. If you click OK, a Migration rules applied message displays if migration was successful. You can view the audit information in Event Views.
    Note: All audit and statistics information that refers to the current process still apply after migration.
  10. You can remove a rule at any time by selecting a rule and clicking Remove rule. To remove all rules, click Clear rules.