Distributing a View
Procedure
-
Choose to whom the view is to be distributed, as follows:
If you selected the Distribute View to Groups and Positions option:
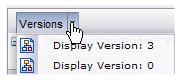
- Ensure that the correct version of the organization model is displayed in the lower-right pane. The most recent version is displayed by default. You can select a different version using the Versions drop-down list:
-
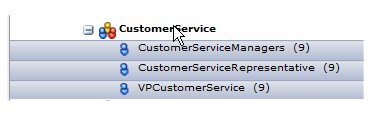
In the lower-right pane, select the groups, positions, and/or organization units whose members you want the view distributed.
You can select multiple groups and positions by pressing and holding the Ctrl key while selecting individual groups or positions. You can also select a group of items by clicking on the first one, then pressing and holding the Shift key while clicking on the last item in the group.
Also note that if you select a group with subordinate groups, all of the subordinate groups are automatically selected. Likewise, if you select an organizational unit, any subordinate organizational units, as well as all subordinate positions, are automatically selected.
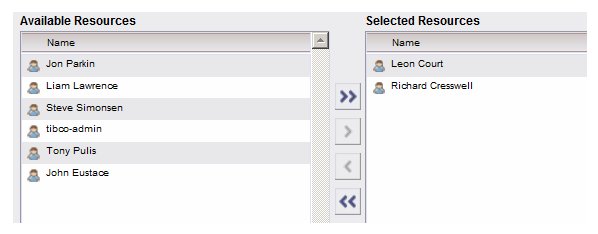
If you selected the Distribute View to Resources option:
-
Click the
Distribute View button. One of two dialogs is displayed:
- Duplicate View dialog - see Step 5a.
- Distribution View dialog - see Step 5b.
Note: If you are distributing a view to a very large number of users, the process can take some time to complete. If the distribution is taking a long time, the browser may display a dialog that indicates there is a problem with a script running on the page. For information about preventing these dialogs from being displayed, see Browser Script Warnings .
-
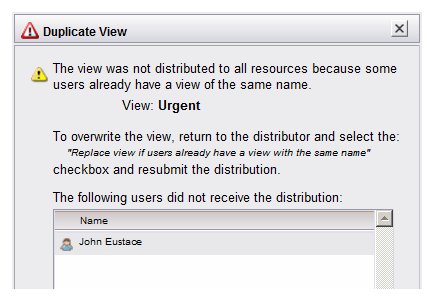
The
Duplicate View dialog is displayed only if the application determined that one or more of the users to whom you are distributing a view already has a view of that name:
The Duplicate View dialog lists only the users who did not receive the distributed view; the application will still distribute the view to the users who did not have a view by the same name (those users are listed on the Distribution View dialog, which is displayed after you close the Duplicate View dialog—see Step 5b).
If the Duplicate View dialog is displayed, you have the option of going back to the main dialog, and checking the Replace view if users already have a view with the same name check box, then re-attempting the distribution to the users that were listed in the Duplicate View dialog.
Click OK to close the Duplicate View dialog; the Distribution View dialog displays—see Step 5b.
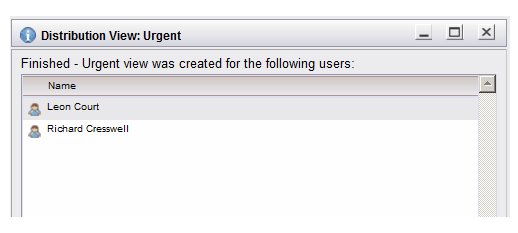
- The Distribution View dialog lists all of the users to whom the application successfully distributed the view: