Filter Expression Examples
Basic filter expressions are very easy to specify in Workspace. Showing how easy it is to create a filter expression is best done with a couple of examples, then if you need more information, you can read the rest of this chapter.
Example 1
This example shows how to display all work items that have a work item ID that is less than “2000”, AND whose priority is set to 1.
- Display the work item Filter dialog by clicking the Filter button on the work item list.
- From the
Grouping
section on the
Filter dialog, double-click the
AND (All Of) entry:

The AND (All Of) entry is added to the Filter section:
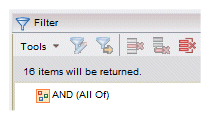
AND (All Of indicates that if “all of” the filter criteria that is specified below that icon is true for a work item, the work item is returned from the server and displayed in the work item list.
The filter expression defaults to an “all of” expression. Therefore, this step is technically not necessary for this type of expression. It is being added here for completeness.
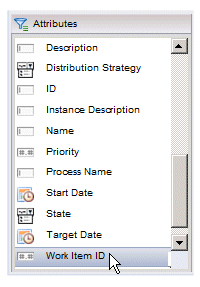
- From the Attributes section on the Filter dialog, double-click the Work Item ID attribute:
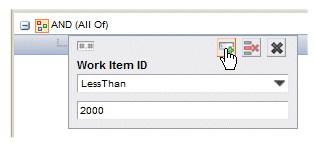
- In the Work Item ID data-entry dialog, select “LessThan” from the drop-down list, enter “2000” in the second field (without the quotes), then click the Add button:
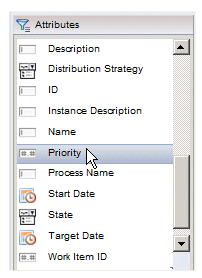
- From the
Attributes
section on the
Filter dialog, double-click the
Priority
attribute:
The Priority data-entry dialog is displayed in the Filter section. This is the second criteria that must be true for the work item to be displayed in the list.
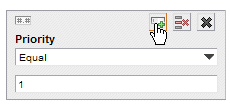
- In the
Priority
data-entry dialog, leave “Equal” selected from the drop-down list, enter “1” (without the quotes) in the data-entry field, then click the
Add
button:
The “filter expression” for the two criteria you entered is now shown in a graphical format in the Filter section:
This specifies that the work items that satisfy “all of” the filter criteria (that is, have a work item ID of less than 2000 AND have a priority of 1) are returned from the server and displayed in the list.
- Click the Apply button. The “# items will be returned” text in the upper left part of the Filter section tells you how many work items satisfied the filter expression.
- Click OK to display the work item list.
Example 2
This example shows how to display all process instances that were started on or before May 1, 2009, OR that have been suspended (i.e., Status = Suspended).
- Display the process instance Filter dialog by clicking the Filter button on the process instance list.
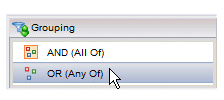
- From the Grouping section on the Filter dialog, double-click the OR (Any Of) entry:
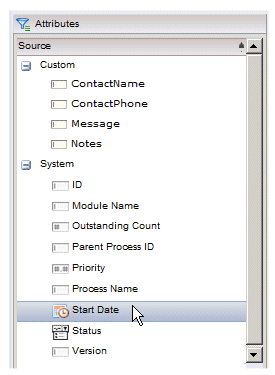
- From the Attributes section on the Filter dialog, double-click the Start Date attribute:
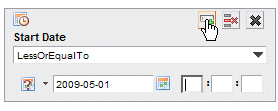
- In the Start Date data-entry dialog, select “LessOrEqualTo” from the drop-down list, click the "date picker" icon to the right of the date field and select May 1, 2009 from the calendar that is displayed, then click the Add button:
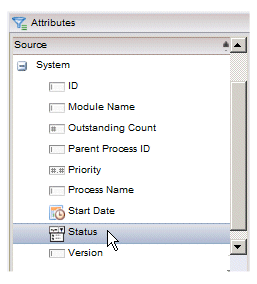
- From the Attributes section on the Filter dialog, double-click the Status attribute:
- In the
Status
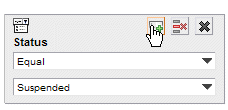
data-entry dialog, leave “Equal” selected in the first drop-down list, select "Suspended" from the second drop-down list, then click the
Add button:
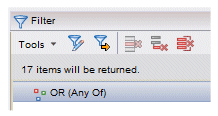
The “filter expression” for the two criteria you entered is now shown in a graphical format in the Filter section:
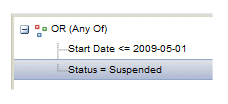
This specifies that the process instances that satisfy “any of” the filter criteria (that is, has a start date on or before May 1, 2009 OR has an instance status of "Suspended") are returned from the server and displayed in the list.
- Click the Apply button. The “# item will be returned” text in the upper left part of the Filter section tells you how many work items satisfied the filter expression.
- Click
OK to display the work item list.
Note: The two preceding examples are considered simple examples because they specify either “All Of” or “Any Of”, but not both. You can construct filter expressions that are a mixture of “All Of” and “Any Of”. This is described in Combining “AND (All Of)” and “OR (Any Of)”.

