Allocate Work Item(s) To World
This function allows you to allocate one or more work items to any available user.
Procedure
-
Click the
 button, or the
Allocate Work Item(s) To World
menu selection from the
Tools menu on the work item list.
button, or the
Allocate Work Item(s) To World
menu selection from the
Tools menu on the work item list.
-
Optionally, choose whether unique names or display names are shown in the list of organizational entities.
When organizational entities are created in TIBCO Business Studio, they are given both "unique names" and "display names" (also called "labels"). The Tools menu contains a Show unique names for organizational entities selection that toggles between the two displays. By default, the display names are shown. Hover the mouse pointer over an organizational entity to view both names for a particular organizational entity:
You can also choose which attributes and capabilities to display in the columns by clicking the Select Columns button (
 ), or by selecting
Select Columns from the
Tools menu. For more information, see
Using the Column Selector.
), or by selecting
Select Columns from the
Tools menu. For more information, see
Using the Column Selector.
-
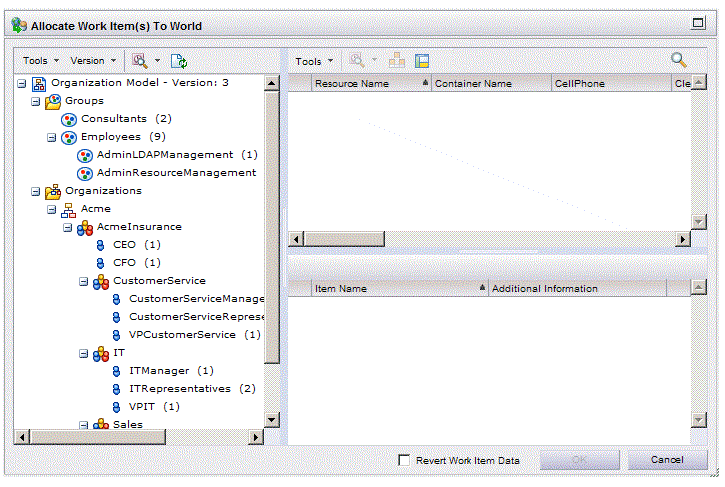
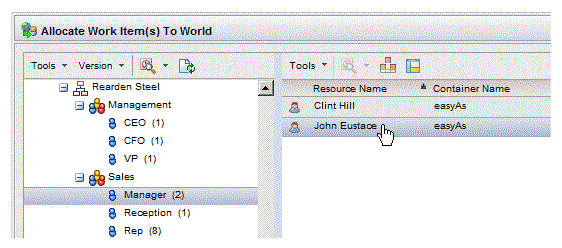
Select an organizational entity to which the user has been mapped, in the left pane.
The users that have mapped to the selected entity are listed in the resource list in the upper-right pane.
 Note: You may not be able to see all resources mapped to a particular position because there are resources mapped to that position that were created in an LDAP container for which you don’t have visibility (because of an organization relationship). (This applies only to positions, not to groups.)
Note, however, the counts shown to the right of the position name in the left pane is the total count for the resources in the position. From this count, you can determine if there are resources mapped to the position that you cannot see.
For more information, see the Container Organization Relationships section in the Organization Browser User’s Guide.
Note: Also, if a resource has been mapped to a position or group with a start date that has not yet occurred, or an end date that has passed, that resource will not appear in the resource list. However, the total count of resources shown to the right of the group or position name in the left pane also reflects those resources that are not yet “effective” because their start date has not occurred. -
From the resource list, select the user to whom you would like to allocate the work item(s).
You can optionally use the Find button (
 ), or select
Find Resource(s)
from the
Tools menu on the resource list, to help locate the desired resource. For information about using the Find function, see
Finding a Resource.
), or select
Find Resource(s)
from the
Tools menu on the resource list, to help locate the desired resource. For information about using the Find function, see
Finding a Resource.
If desired, you can either display or hide the resource details in the lower details pane by clicking the Hide/show resource details button (
 ) or by selecting
Show Resource Details from the
Tools menu — this selection is a toggle.
) or by selecting
Show Resource Details from the
Tools menu — this selection is a toggle.
Refresh the list at any time my clicking the Refresh button (
 ) or my selecting
Refresh List from the
Tools menu on the resource list.
) or my selecting
Refresh List from the
Tools menu on the resource list.
You can also choose which attributes and capabilities to display in the columns by clicking the Select Columns button (
), or by selecting
Select Columns from the
Tools menu. For more information, see
Using the Column Selector.