Using Example Project Files
The TIBCO BusinessWorks project files used in this tutorial can be found in the bcce-rosettanet-1.0.0/samples/bw directory. This example project demonstrates how to send and receive messages from TIBCO BusinessConnect Container Edition - RosettaNet Protocol with TIBCO BusinessWorks private processes.
Prerequisites
Opening the Example Project
Follow the instructions below to set up the example project on the initiator and the responder machines:
Procedure
Setting Up Example Project
Procedure
- Click the Project tab and expand your project in the project panel.
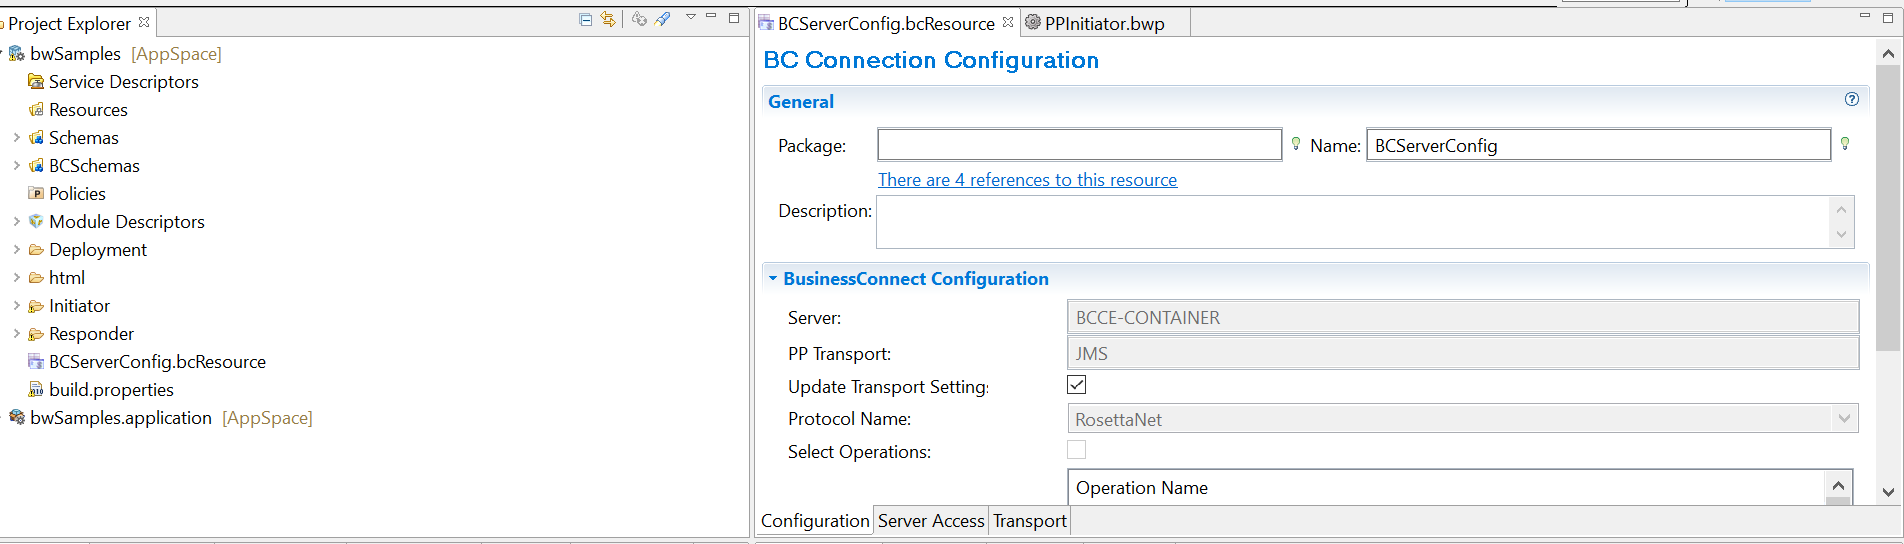
- In the Studio panel, click the BCServerConfig icon . This is the BusinessConnect Connection shared resource your project uses to connect to your BusinessConnect server and the configuration store.
- Click the BCServerConfig.bcResource tab.
- Click the Apply button.
- Click the Configuration tab.
- If the Update Transport Settings checkbox is not selected, select it.
- Click the Update from Configuration Store button.
- Select RosettaNet from the Protocol Name drop-down list.
- Click the Import Selected Business Protocol button. You should now see all installed RosettaNet operations in the BusinessConnect configuration store and click Apply.
Copyright © Cloud Software Group, Inc. All rights reserved.