Creating a MDM UI Page
The scenario covers creating a new UI page to add person details. Use the B2B model available in TIBCOmmunity site. The person repository has multiple fields. The custom page will only display the selected fields from the person repository. The new UI pages can be used as the new Home Page on server side.
Procedure
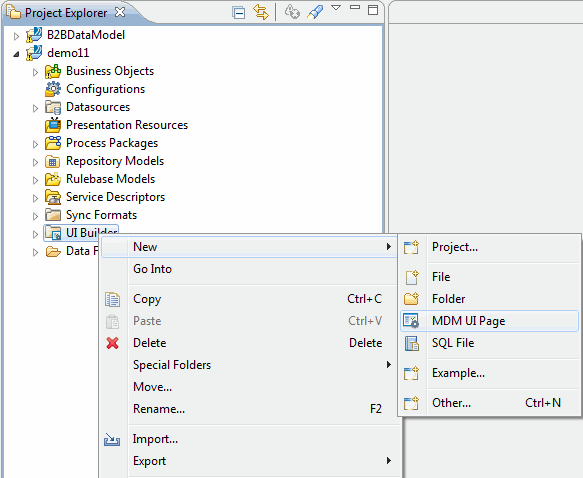
- In the Project Explorer, Right click the UI Builder special folder and select .
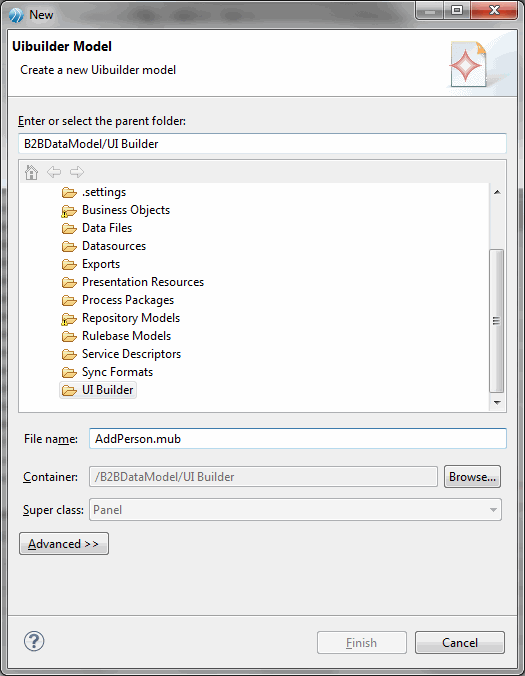
- The Uibuilder Model wizard is displayed.
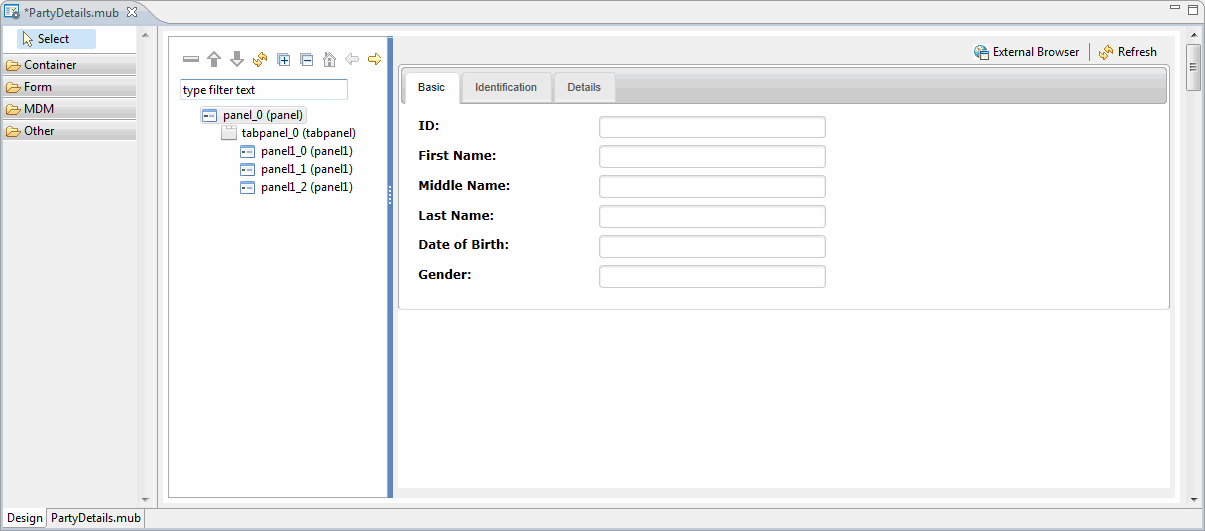
- The UI Builder canvas is displayed.
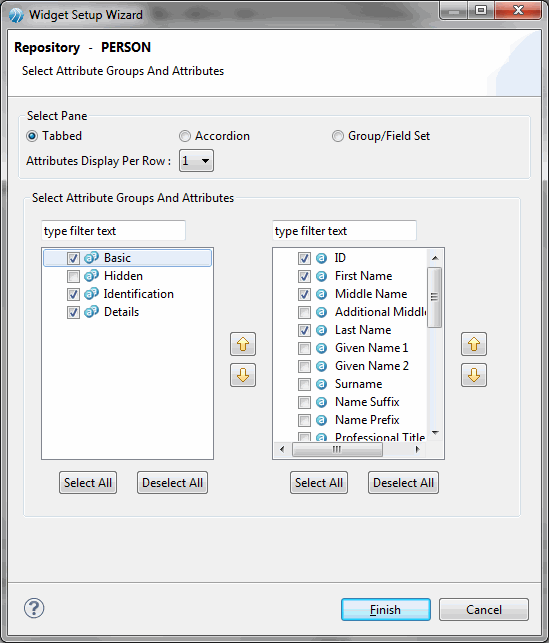
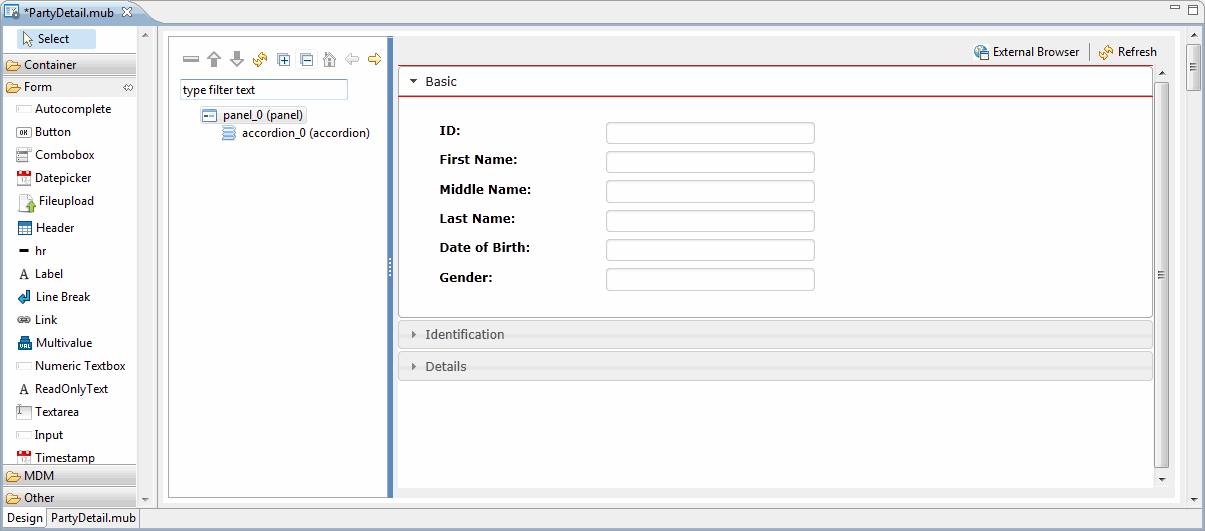
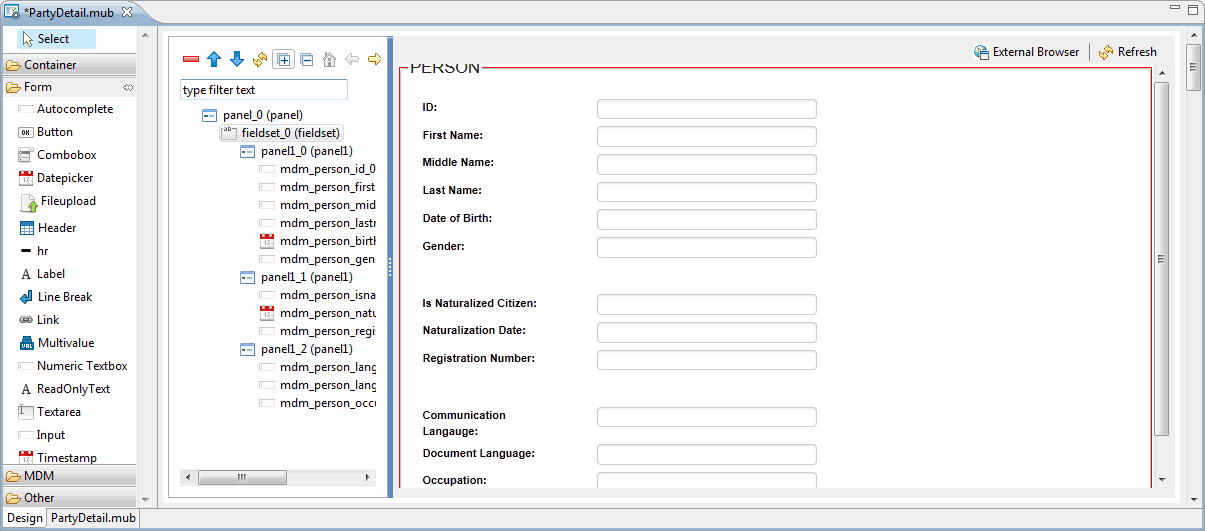
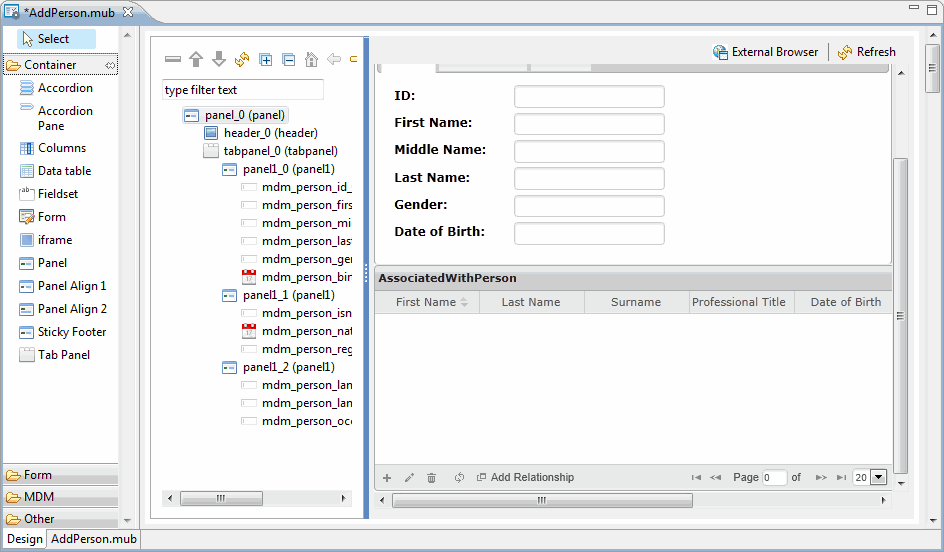
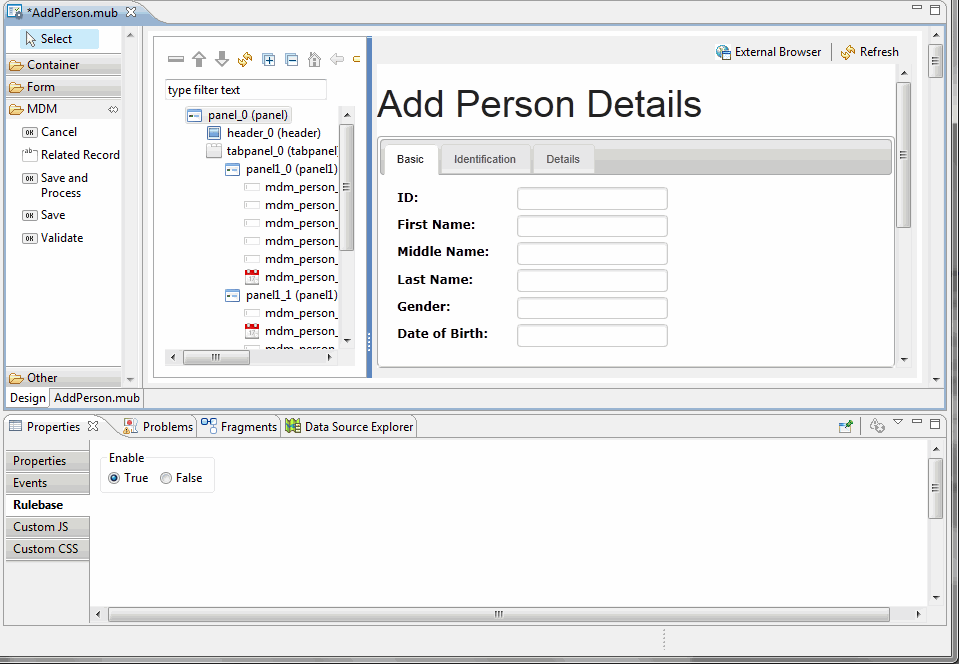
- Drag and drop the Person repository on the panel. The Widget Setup Wizard is displayed.
- The Select Pane section displays three options, Tabbed, Accordion, and Group/Field Set.
-
From the
Form Widget, select
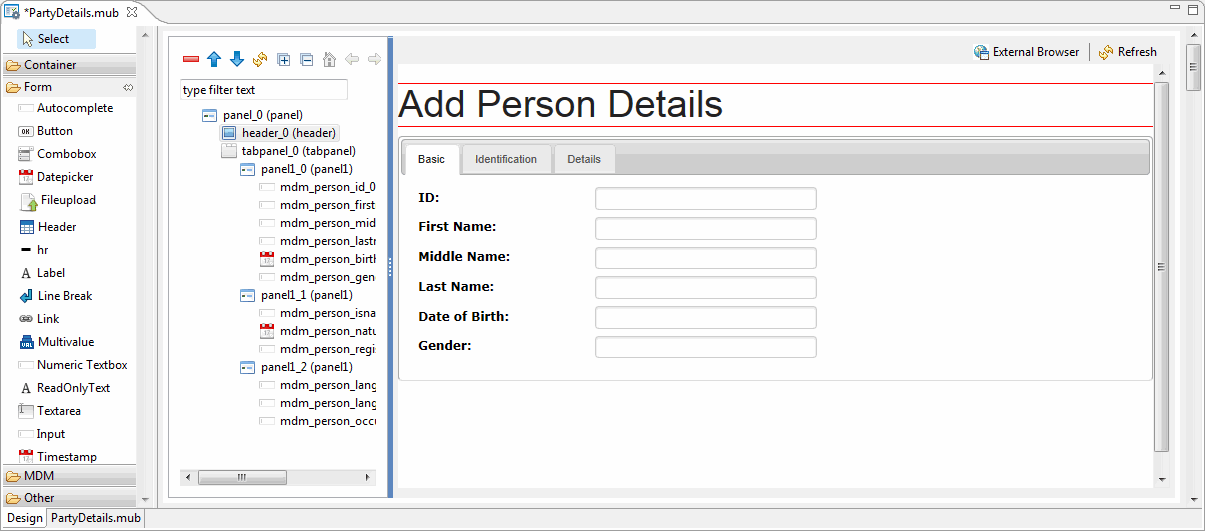
Header and click on the panel. Specify the header value in the
Text field in the properties section. By default, the header widget appears at the end, you can re-order it by clicking
 on the Tree Outline toolbar and move it before
panel_0.
on the Tree Outline toolbar and move it before
panel_0.
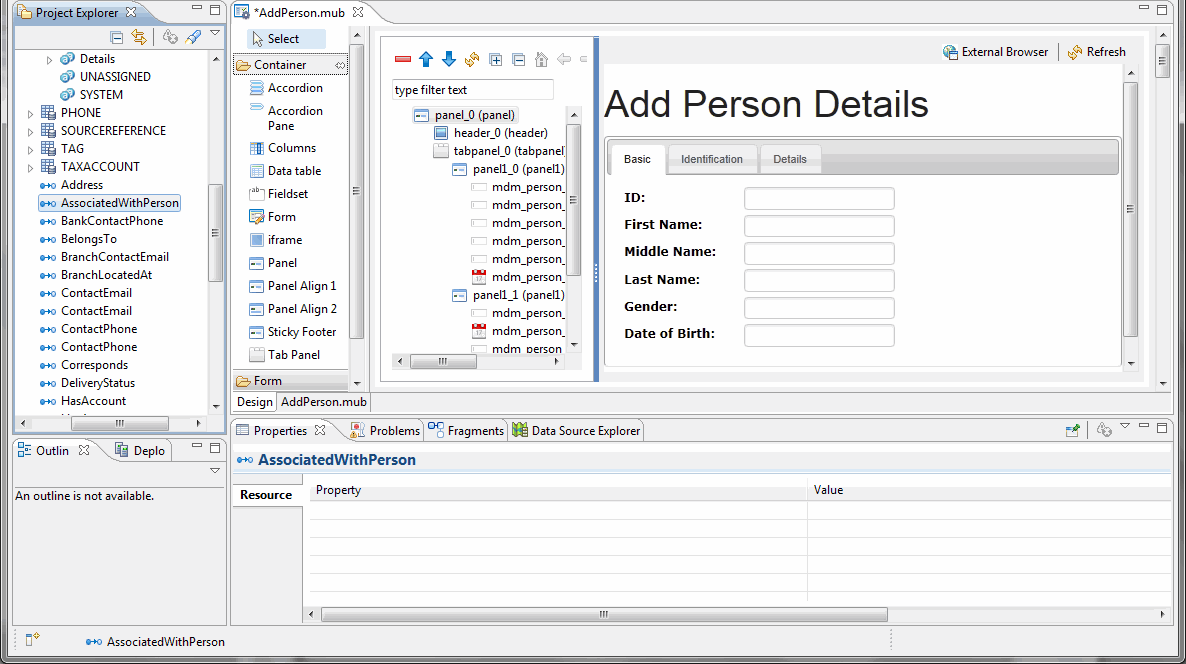
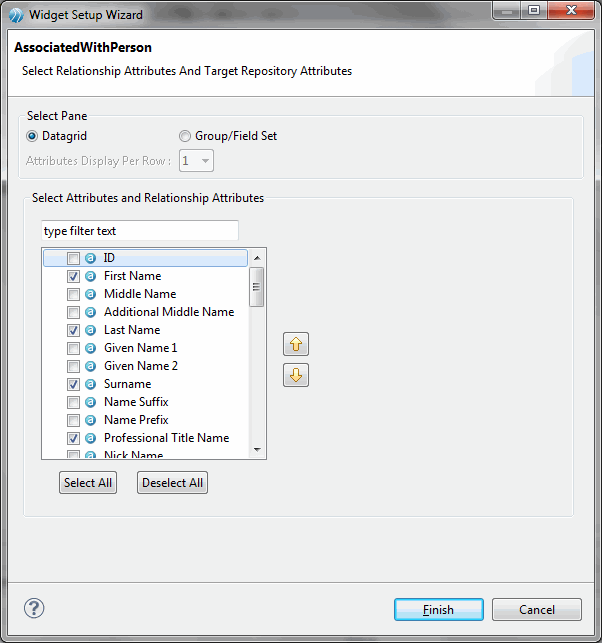
- You can create repository relationship by dragging the relationships under repository model in the project explorer. For example, drag the AssociatedWithPerson relationship. This relationship shows that Party (client) is associated with person.
- The Widgets Setup Wizard for selecting the relationship attributes is displayed.
- Select the Datagrid from the Select Pane section. Select the attributes that should be part of the datagrid and click Finish.
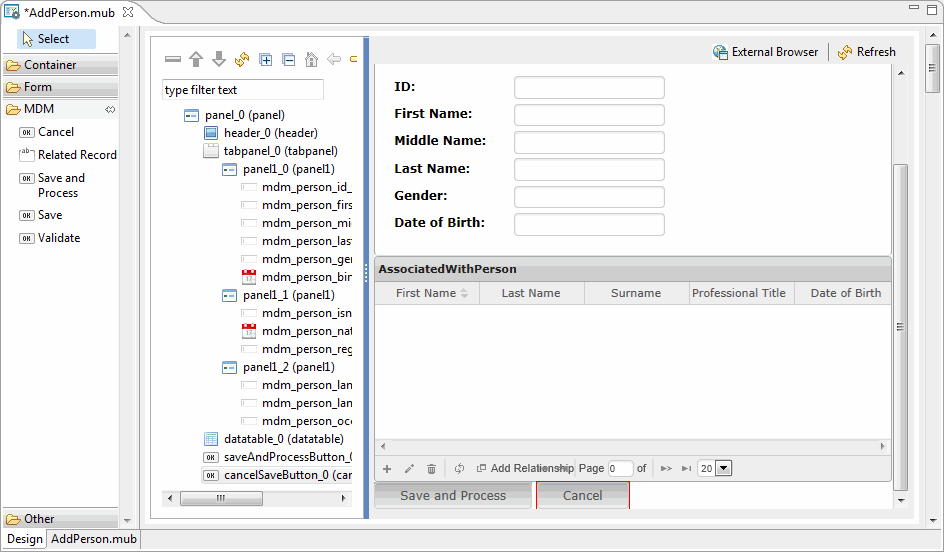
- From the MDM widget, select Save and Process button and drop it on the panel. Similarly select Cancel button and drop it on the panel. The Save and Process and Cancel buttons are displayed on the canvas area.
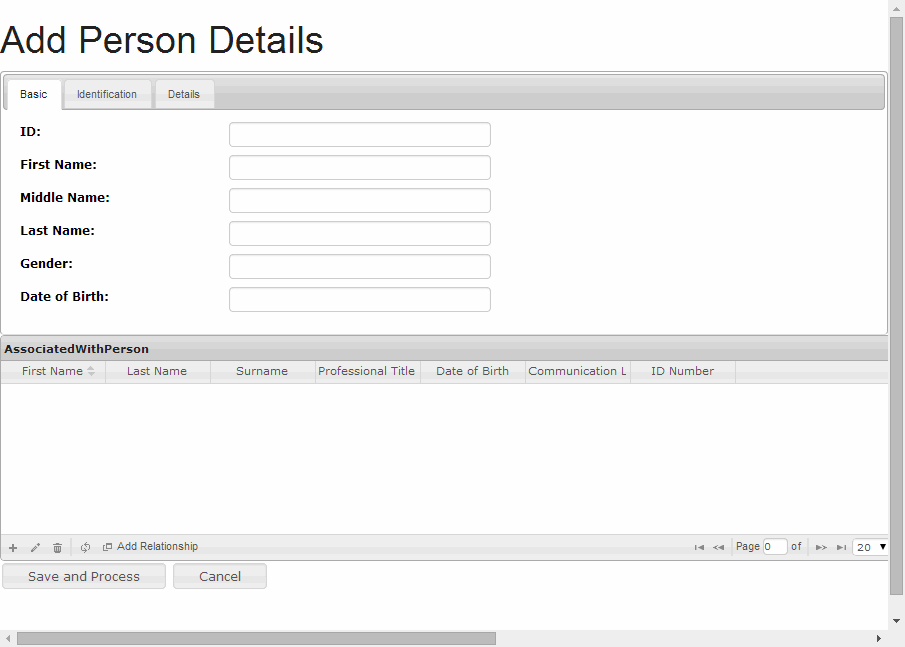
- Click the External Browser on the top right corner of the canvas to view the UI page on a browser.
- Select True to enable the rulebase.

Copyright © Cloud Software Group, Inc. All rights reserved.