Create a new page with the
Client repository attributes and relationship.
Procedure
-
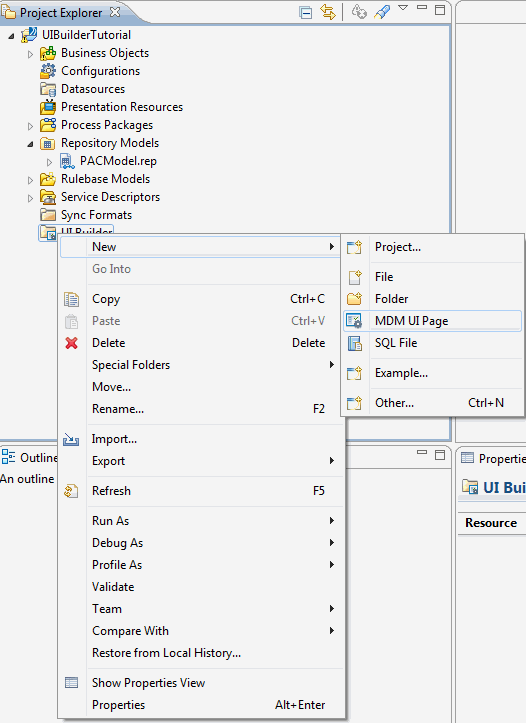
Right-click the
UIBuilder
folder in the Project Explorer and select
-
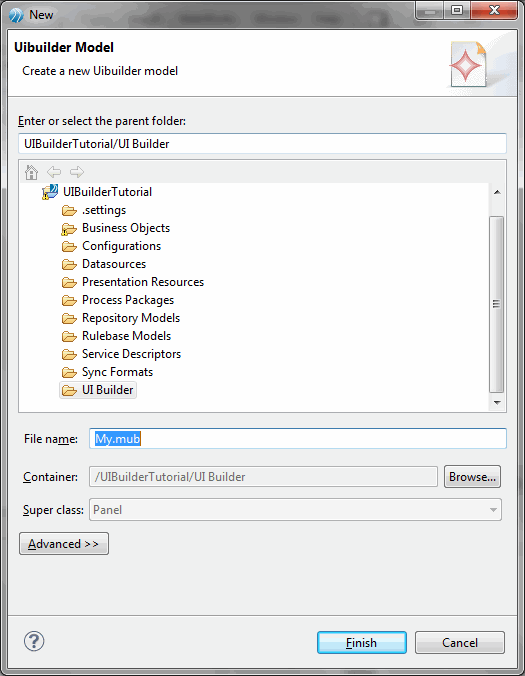
The
UIbuilder Model wizard is displayed.
-
Enter the file name as
AddClient.mub and click
Finish.
-
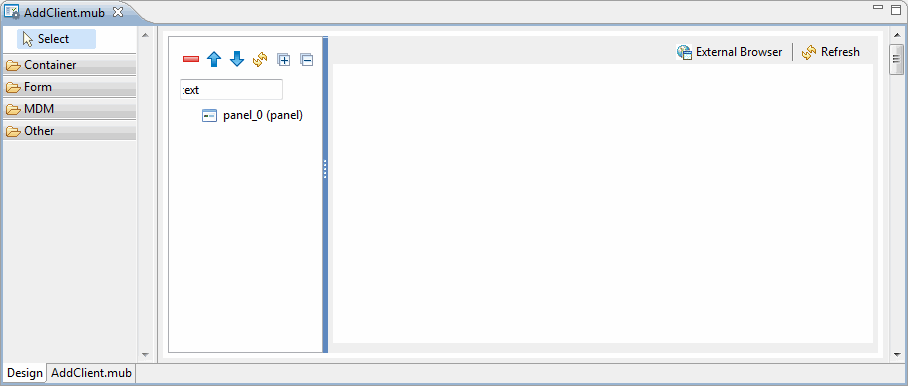
The
Add Client page is displayed on the Canvas.
After creating the canvas add the Client Repository to the canvas. Drag the Client Repository attributes and drop it on the panel.
-
Expand the PAC repository model and select the
Client repository. Drag and drop it on the
panel_0(panel).
-
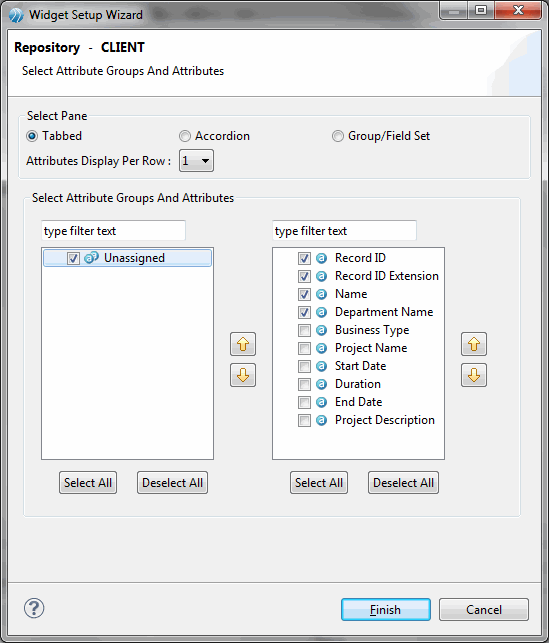
The
Select Attribute Groups and Attributes wizard is displayed.
-
Select the
Tabbed pane check box. Select the
Unassigned check box, all the attributes in the Unassigned Group are displayed.
-
Select the check box corresponding to the repository attributes and click
Finish.
-
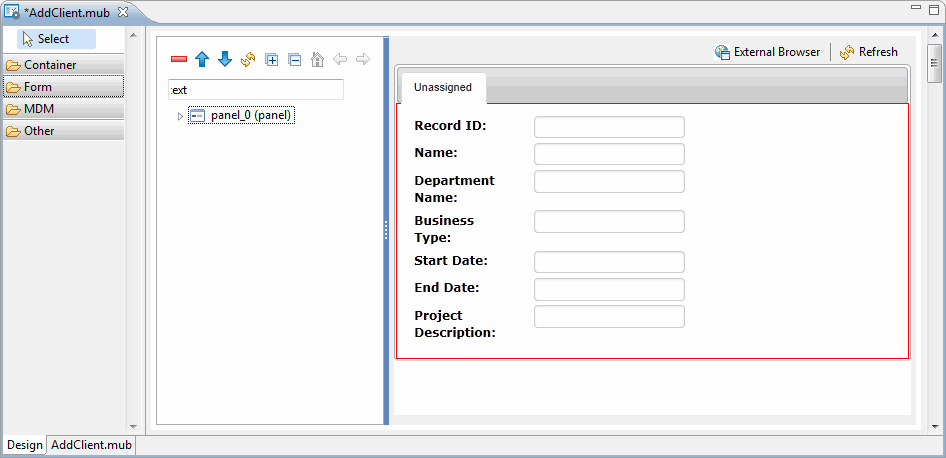
A form is created with selected attributes and displayed on the canvas.
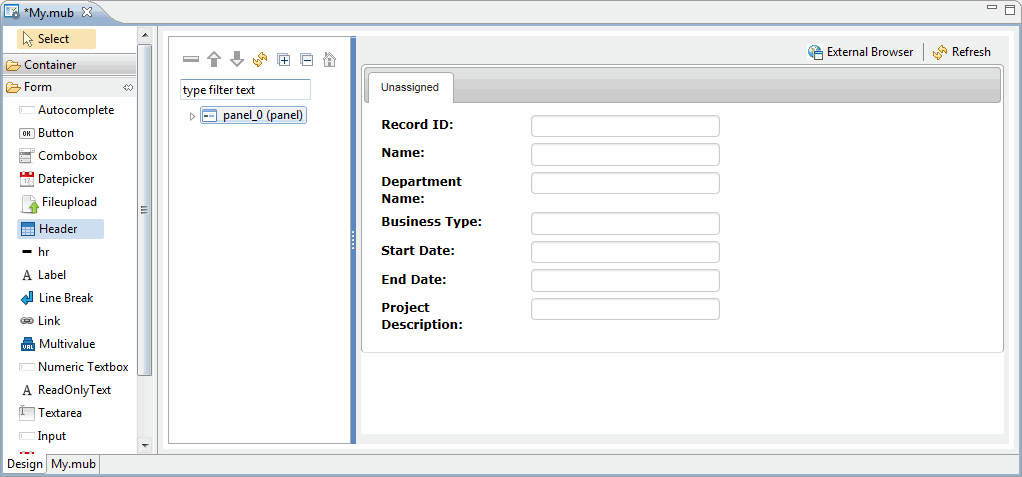
Add a header to the form. The header widget is available in the
Form container.
-
Expand the
Form container and select the
Header widget.
-
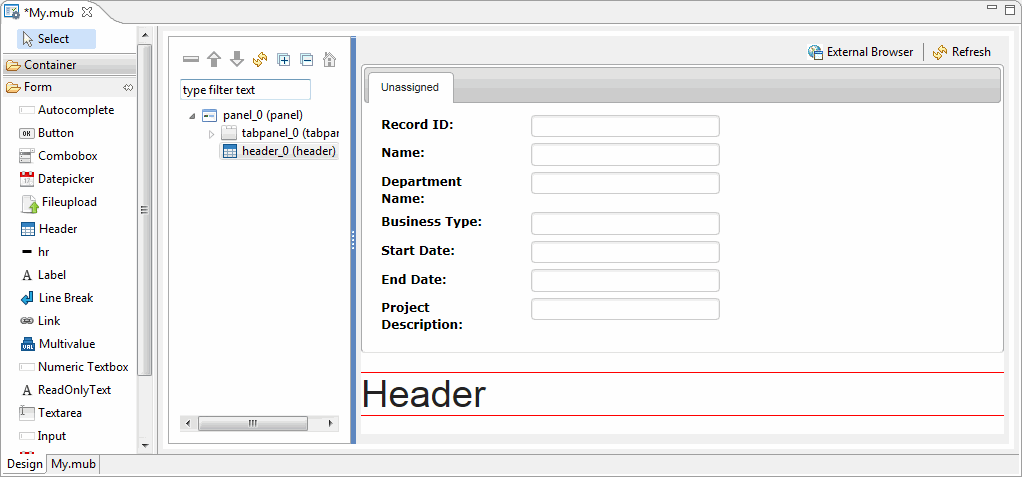
The header is displayed on the canvas.
-
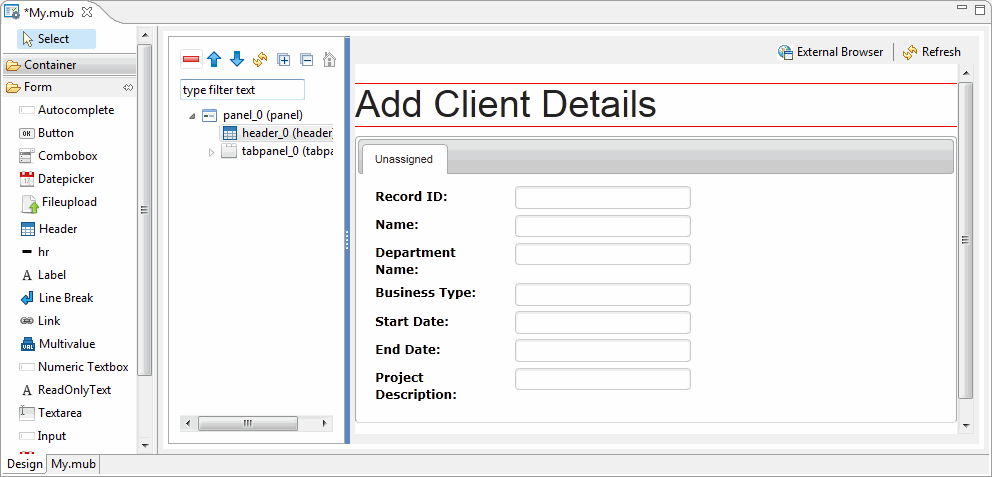
Modify the header text to
Add Client Details. To reorder the header text to the top of the canvas, select the
header_o(header) and click

-
on the Tree Outline toolbar and move it before
tabpanel_0(tabpanel) and after
panel_0(panel).
After adding the repository attributes, add the ClientToAddress relationship to the form by dragging it on the panel.
-
Select the
ClientToAddress relationship and drag and drop on the
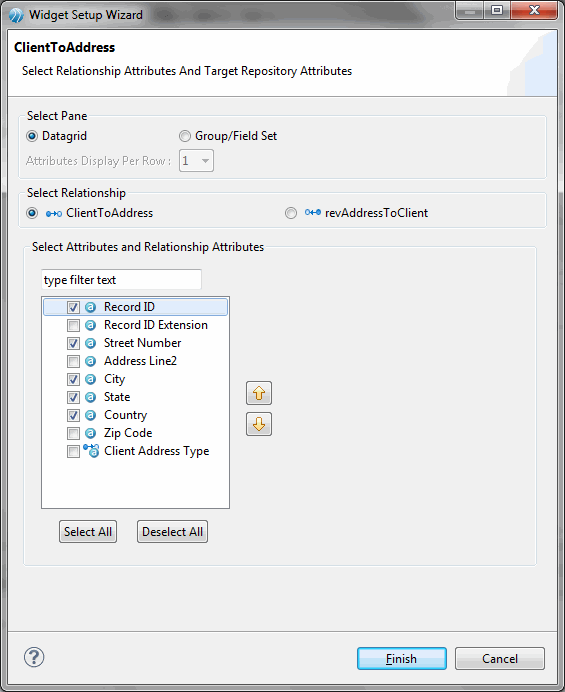
panel_0(panel). The Widget Setup Wizard is displayed to create a
ClientToAddress relationship.
-
Select the
Datagrid pane and select the check box corresponding to the attributes and click
Finish.
-
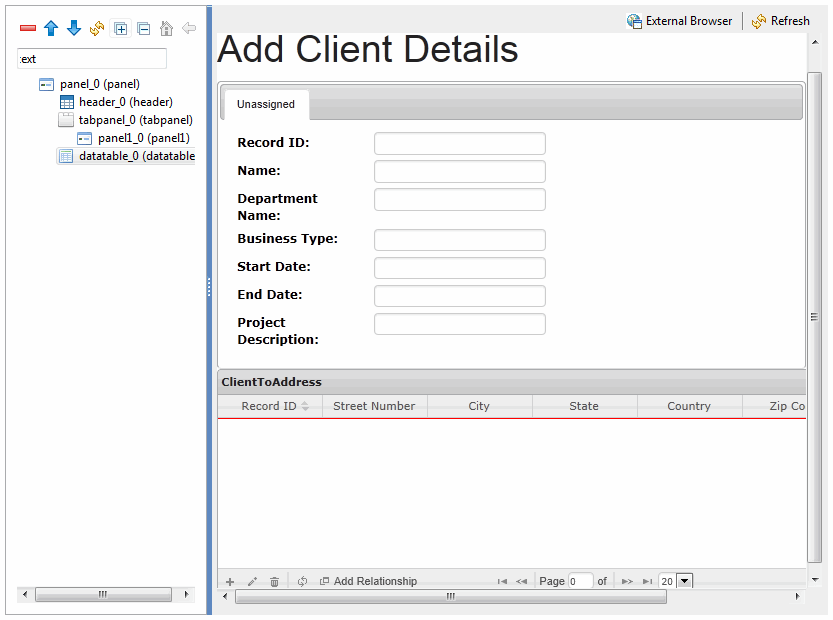
The selected attributes are displayed in the canvas.
Add the
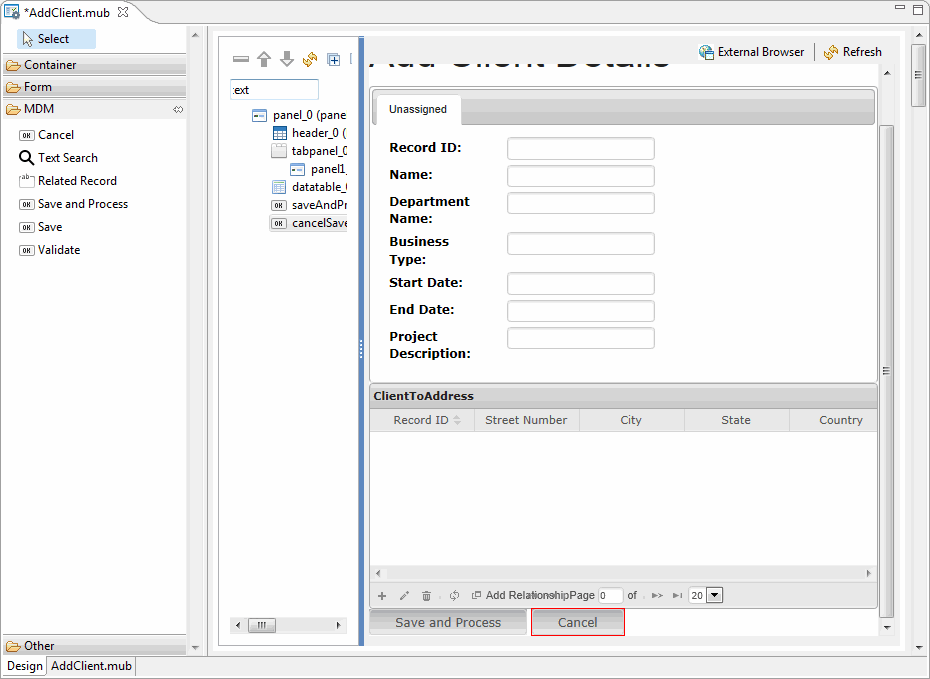
Save and Process and
Cancel buttons to the form. The buttons are available in the
MDM widget container.
-
Expand the MDM widget, select the
Save and Process button, and click the
panel_0(panel). Similarly, select the
Cancel button and click the
panel_0(panel).
The
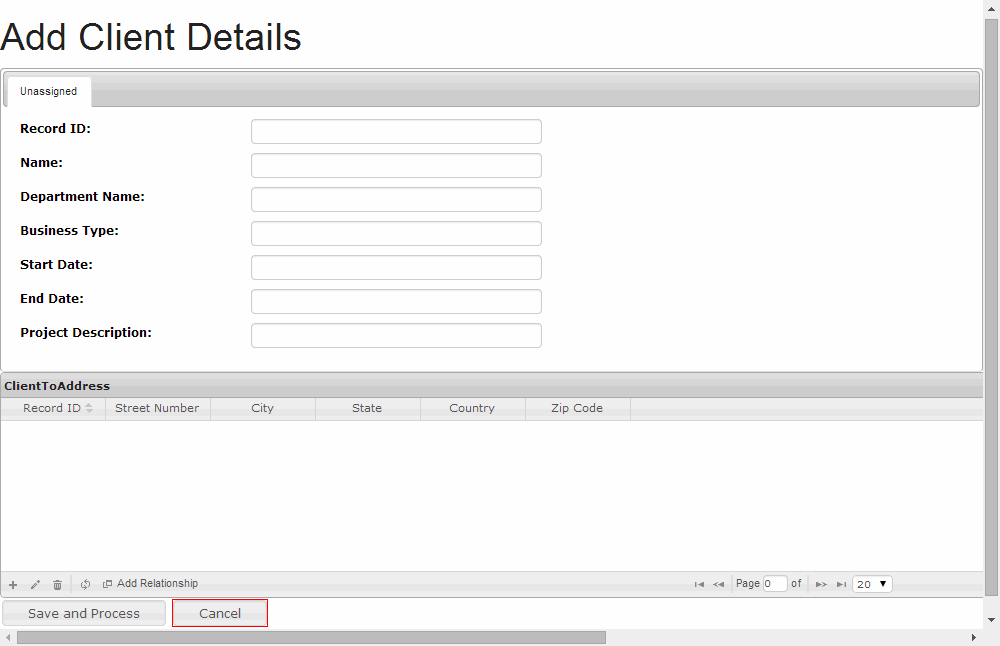
Add Client page is ready. Save the page and view it in the system default browser.
-
Click the
External Browser on the top of the canvas. The
Add Client page is displayed in the browser.
Copyright © Cloud Software Group, Inc. All rights reserved.

