Creating a New Data Source Model
Procedure
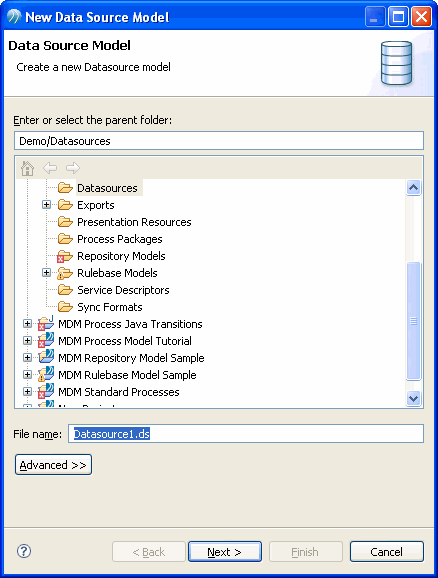
- Right-click on the Datasources folder in the Project Explorer and select New - > Data Source Model.
- The New Data Source Wizard is displayed.
- Specify a name for the Data Source Model file in the File Name field.
- Click Next.
- The data source property page is displayed.
- Enter the Data Source Name and Description in the Name and Description fields.
- Select the Data Source Format. The available options are:
- Delimiter Character. Select the appropriate delimiter character from the drop-down. The delimiter character can be a Comma, Pipe, Semicolon, Colon, Space, Tab, or Other character.
- Text Qualifier. Select the appropriate Text Qualifier from the drop-down. The text qualifies can be a double quote, Single quote, or any other qualifier.
- Click Next.
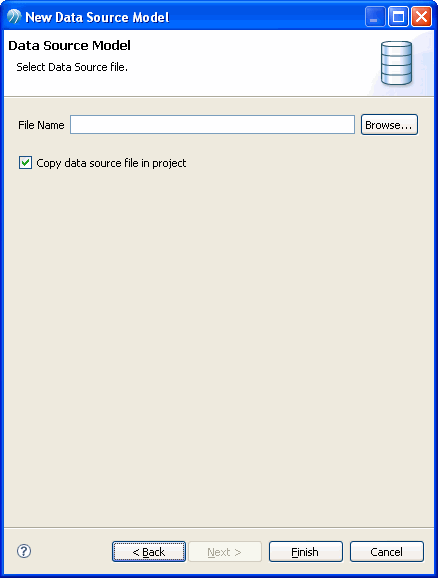
- The data source file selection page is displayed.
- Select the Copy data source file in the project checkbox to include the data files in the project. Browse to the folder where the data source file is saved and select the data file. Click Finish.
Copyright © Cloud Software Group, Inc. All rights reserved.


