Generating the WSDL
You can now Generate WSDL for Person Account.
Procedure
- Import repository designer sample into your current workspace. Select Help-Welcome. Click the samples icon.
- From Solution Designer-Available sample project, click the Repository Model sample.
- Follow the wizard to import the Person-Account-Email-Phone-Address repository structure. Switch to workbench.
- Using the WSDL Generator Wizard, generate wsdl for Customer repository. Follow the wizard to complete the webservice project creation.
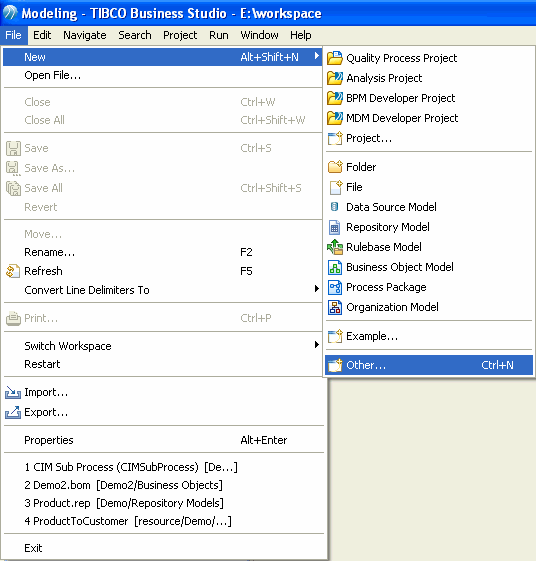
- Go to File > New > Other.
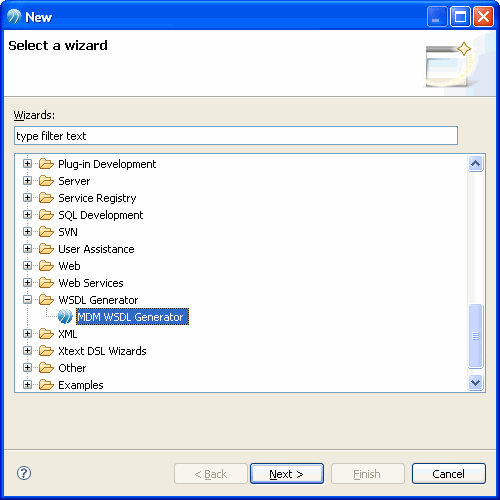
- Select WSDL Generator from the WSDL Generator tree node and click Next. The New Project screen is displayed
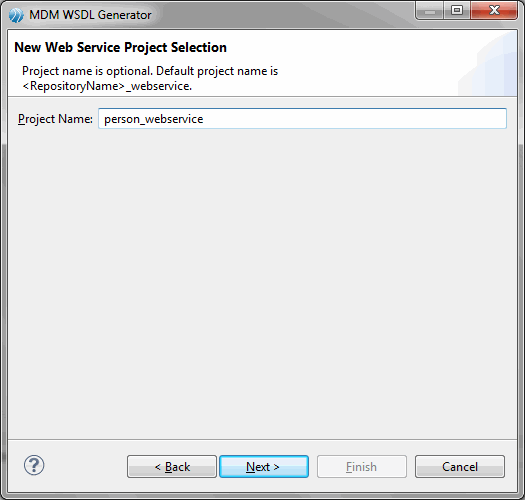
- Enter the appropriate project name in the Project Name field. By default, the project name is <repository name_webservice.
- Click Next. The New Project screen is displayed.
- Select the relationship depth, multilevel relationship is supported.
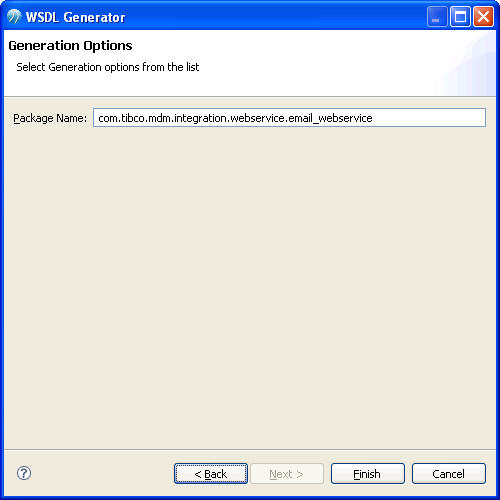
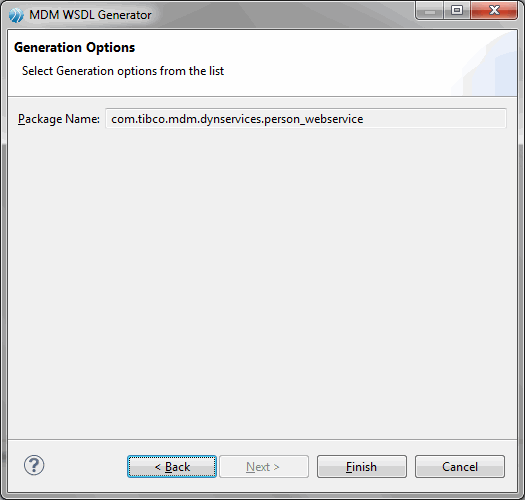
- Click Next. The Generation Options screen is displayed.
- Enter the appropriate package name in Package Name field. By default, a package name is provided. The package name convention is com.tibco.mdm.integration.webservice.<repository name>_webservice.You can modify the package name.
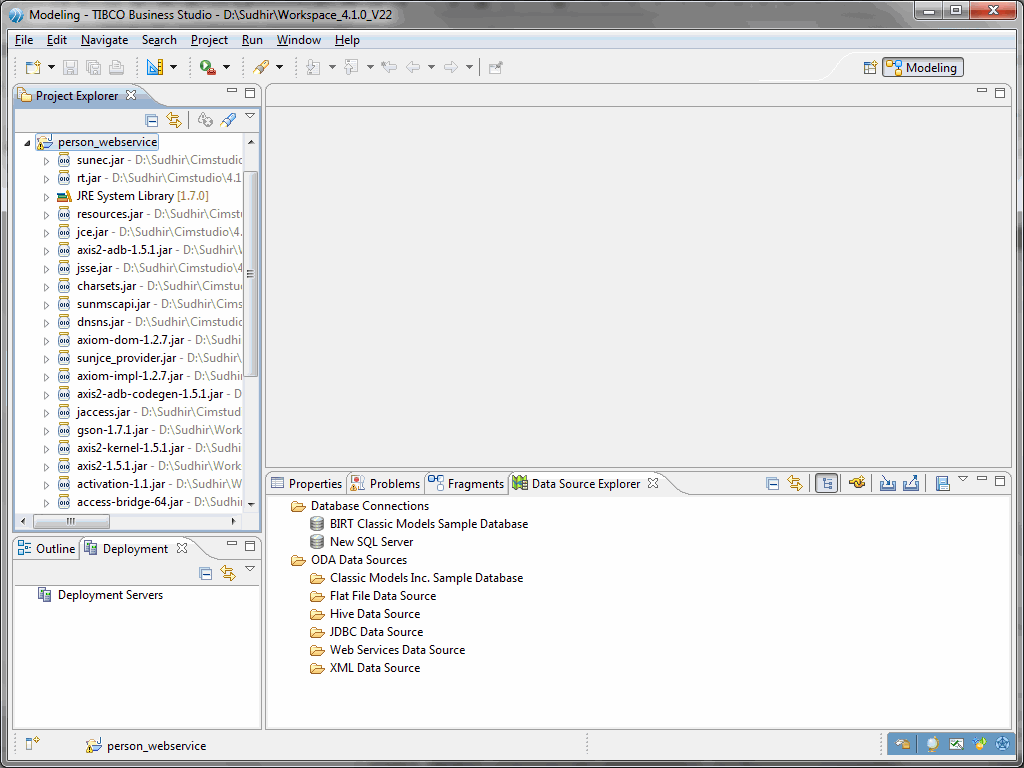
- Click Finish. The person_webservice project is created in MDM Studio.
- Using network deployment, deploy the whole repository and relationship structure from the Repository Model Samples project onto your MDM Server.
- In SOAP UI, create a new project and import < your workspace name>\person_webservice\services\PersonService.wsdl as the initial wsdl.
-
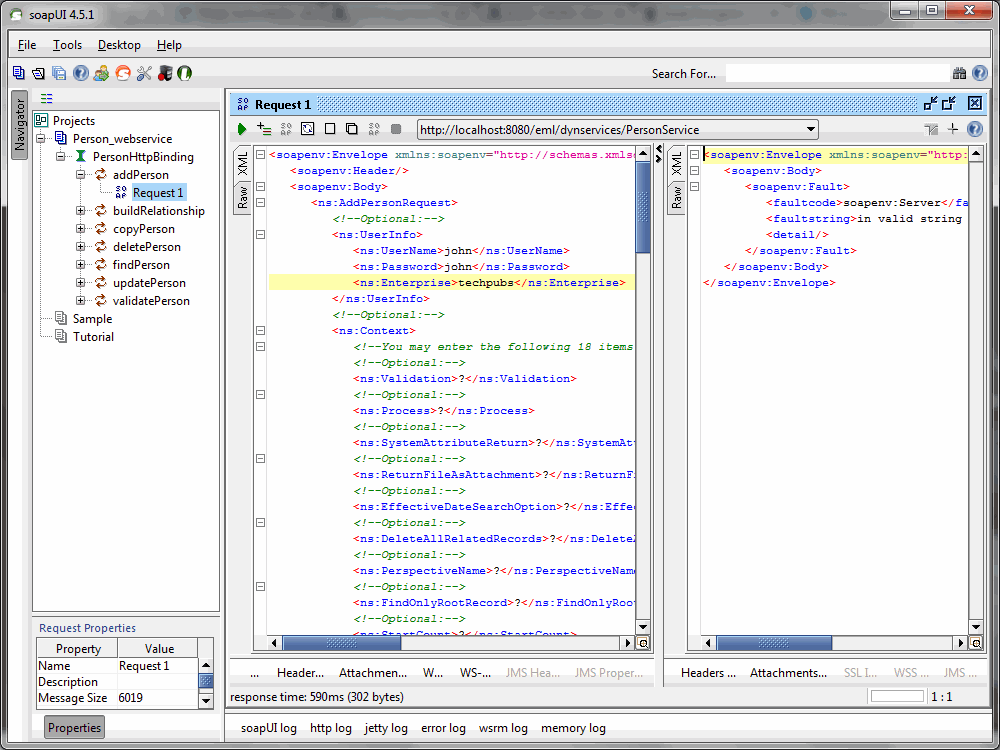
- You will see PersonHttpBinding with addPerson, buildRelationship, copyPerson, deletePerson, findPerson, updatePerson, and validatePerson services along with their sample request skeletons in your project.
- Change the endpoint URL to point to your MDM Server instance.
-
Change the enterprise credentials inside each request before execution through SOAP UI.
Note: The optional <context> section can be used as follows in case of Record Add request:
<ns:Context>
	<!--Optional: Set this to true if you want to validate each attribute value against schema. -->
	<ns:Validation>false</ns:Validation>
	<!--Optional: Set this to true if you want to process the record as soon as it is added. If this value is false, the record remains in "unconfirmed" state and the record add event remains in progress-->
	<ns:Process>true</ns:Process>
	<!--Optional: Set this to true if you want to see the system attribute values in response. -->
	<ns:SystemAttributeReturn>true</ns:SystemAttributeReturn>
	<!-Optional: The following is used when File type attribute values have to be sent as a part of the request.->
	<ns:ReturnFileAsAttachment>false</ns:ReturnFileAsAttachment>
</ns:Context>
Copyright © Cloud Software Group, Inc. All rights reserved.

