Creating a New Inbox Page
Follow these steps to create a new inbox page by using the Simplified Inbox template or Extended Inbox template. The Work Item Preview widgets are not applicable when creating a new inbox page by using the Extended Inbox template.
Procedure
-
In the
Project Explorer, right-click the
UI Builder special folder and select
.
The "Uibuilder Model" wizard is displayed.
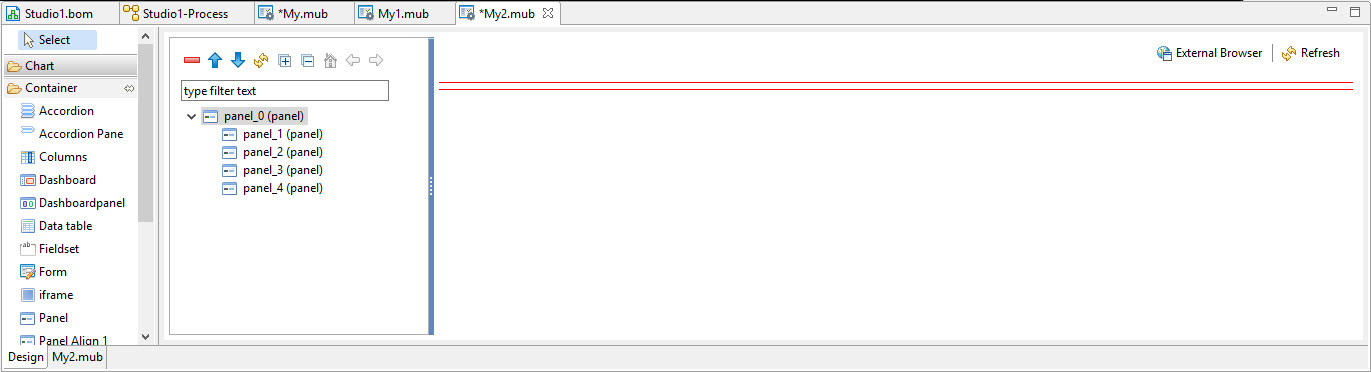
- Drag the Panel widget from the Container widgets to the panel_0. Repeat this step four times to add 4 panel widgets to the panel_0, as shown in the following image:
-
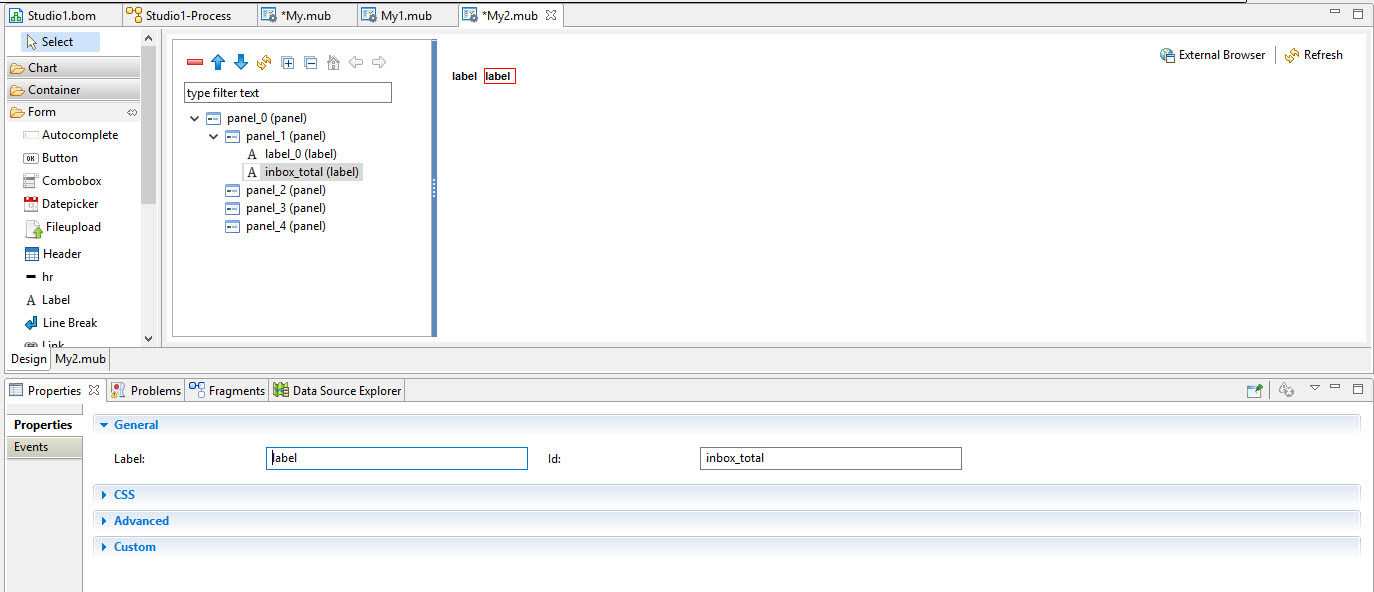
Drag 2
Label widgets from the
Form widgets to
panel_1. Change the ID of the second label to
inbox_total as shown in the following image:
This acts as a Work Item counter and displays the total number of Work Items in the inbox.
-
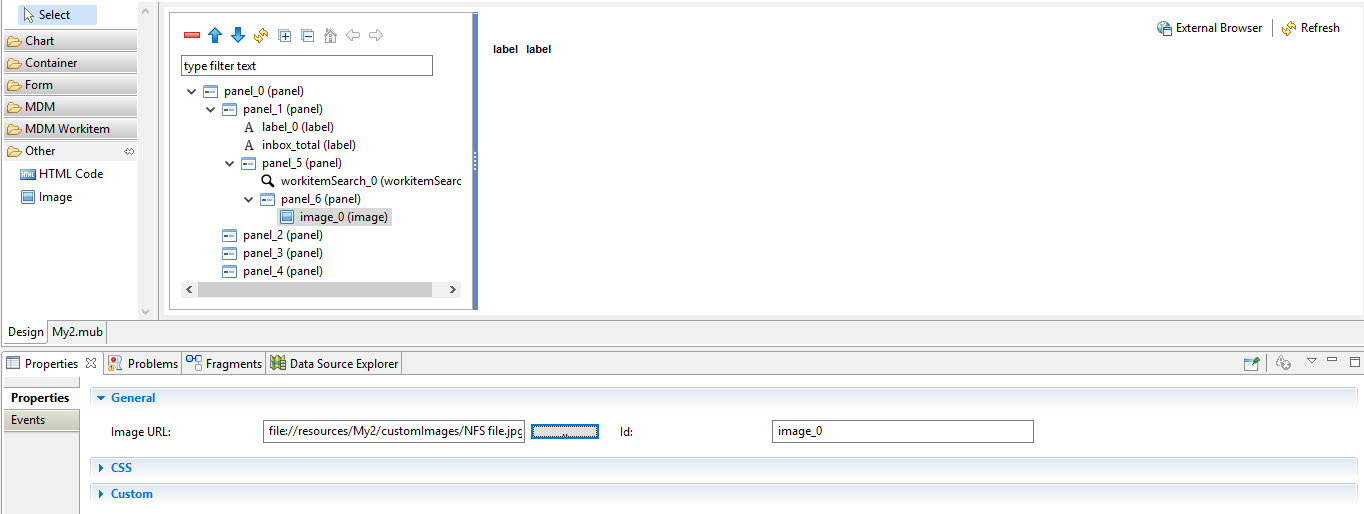
Drag an
Image widget from the
Other Work Item widgets to the
Work Item Search widget. On the
Properties tab, set the following properties:
You can also set the CSS on the the CSS tab and set the Custom properties on the Custom tabs as required.
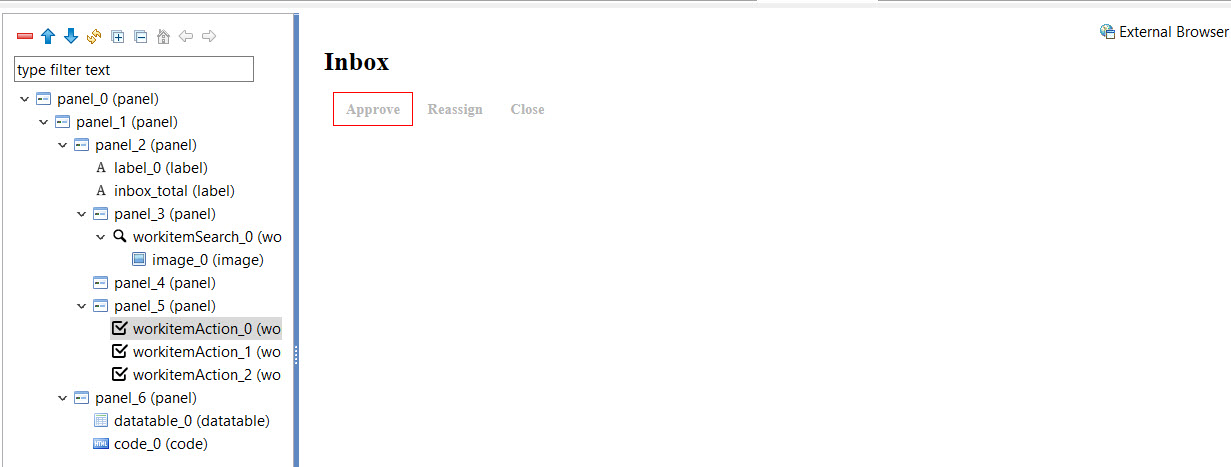
- Drag two Work Item Action widgets to panel_2. In the General properties tab, set the action properties as shown in the following image:
-
Drag the
Data table widget from the
Container widgets, to the
panel_3. On the
General properties tab, set the following properties:
Properties Input Features Multi Select True Appearance Auto Width True Advanced Model Name Name of the model. A model name has to be linked to the .js file used. To link a model name in the .js file, define a com.tibco.mdm.uibuilder.ModelList object function with an object key: 'load + Model_name' (first letter must be uppercase).
For example, if the model name is workitem, the key is 'loadWorkitem'.com.tibco.mdm.uibuilder.ModelList['loadWorkitem'] = function loadWorkitem(gridConfig, selector) { }Inbox Template Simplified Template 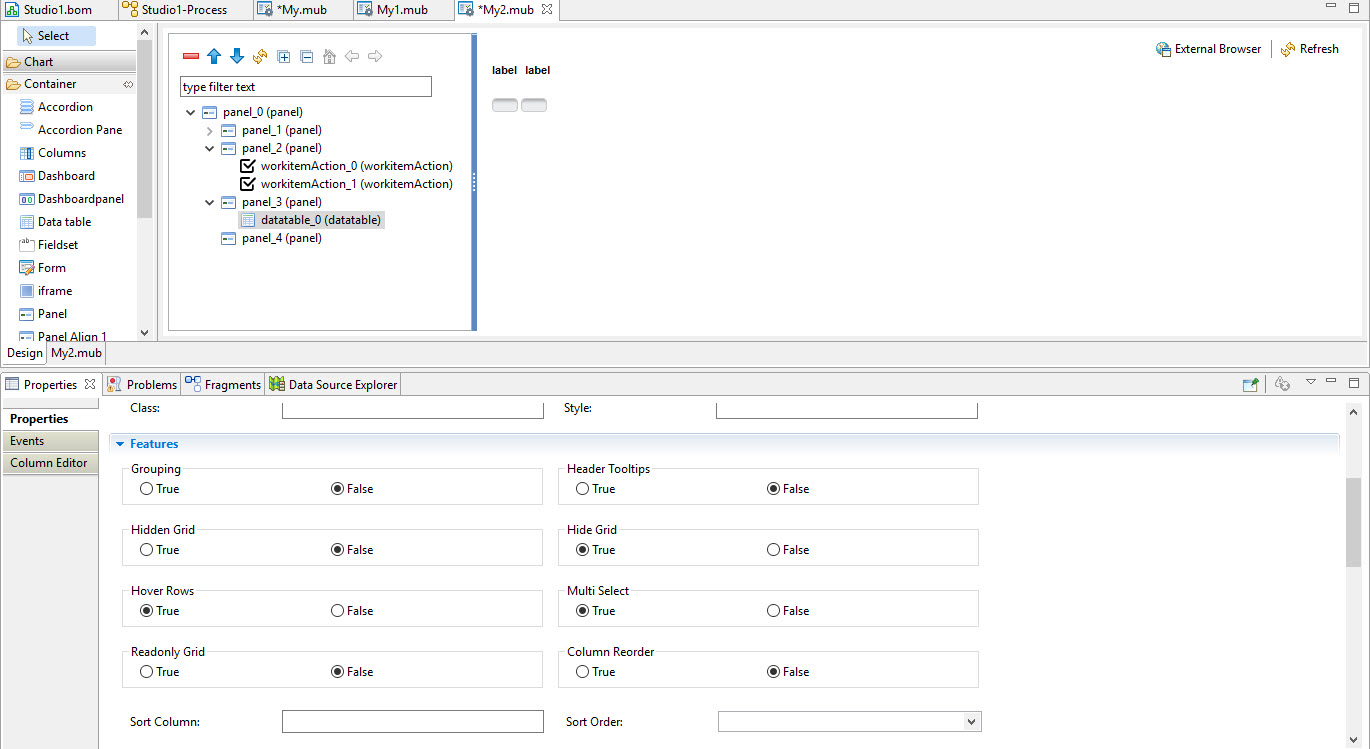
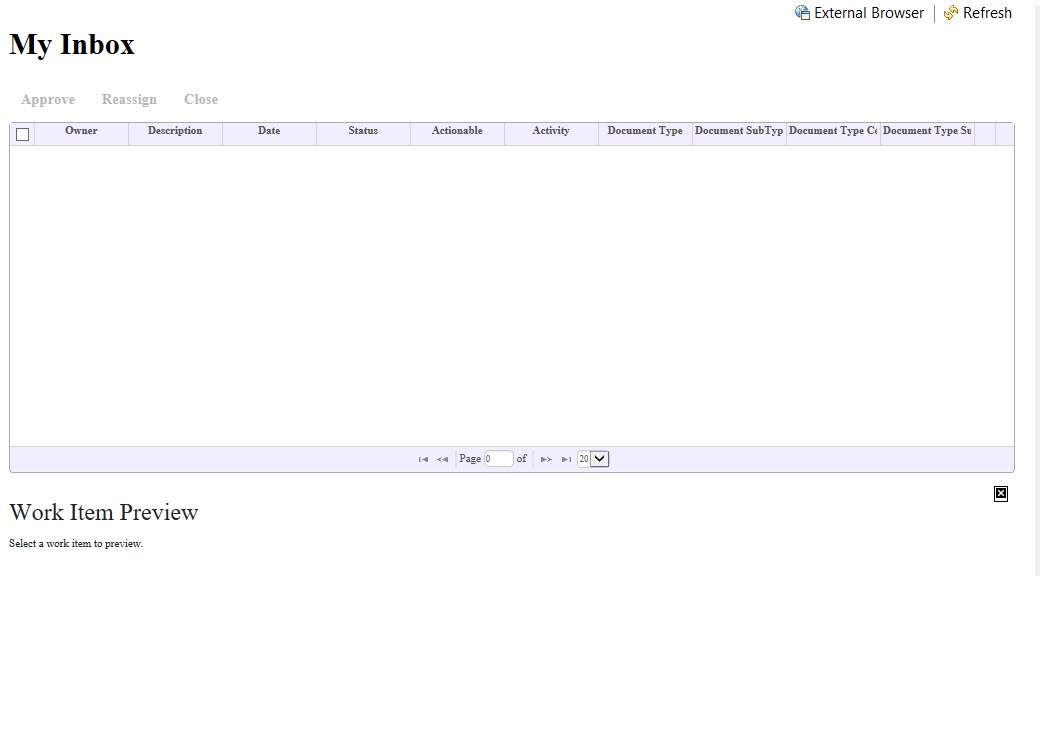
- Add the table columns to datatable_0 as shown in following image:
- Drag the Work Item Preview widget from the MDM Work Item widgets to the panel_4:
-
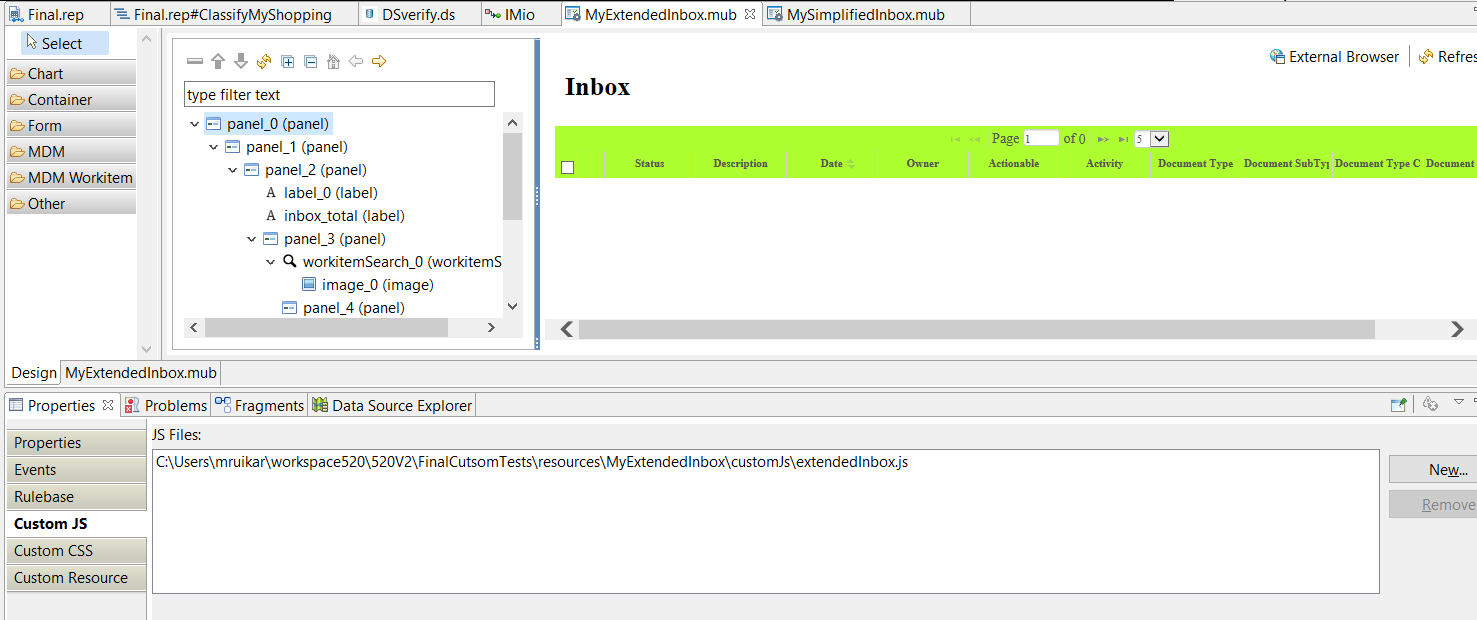
Enter the path of the Java script on the
Custom JS tab of the
panel_0, as shown in the following image:
-
Enter the path of the CSS file on the
Custom CSS tab of the
panel_0, as shown in the following image:
Note: Import the MDM Studio project from the MDM_Installations\MDM920WFYPG\mdm\9.2\templates\WorkitemInbox\studio to the MDM Studio and enter the CSS file present in the MDMStudio_Project\resources\Custom_Inbox\customCSS folder.
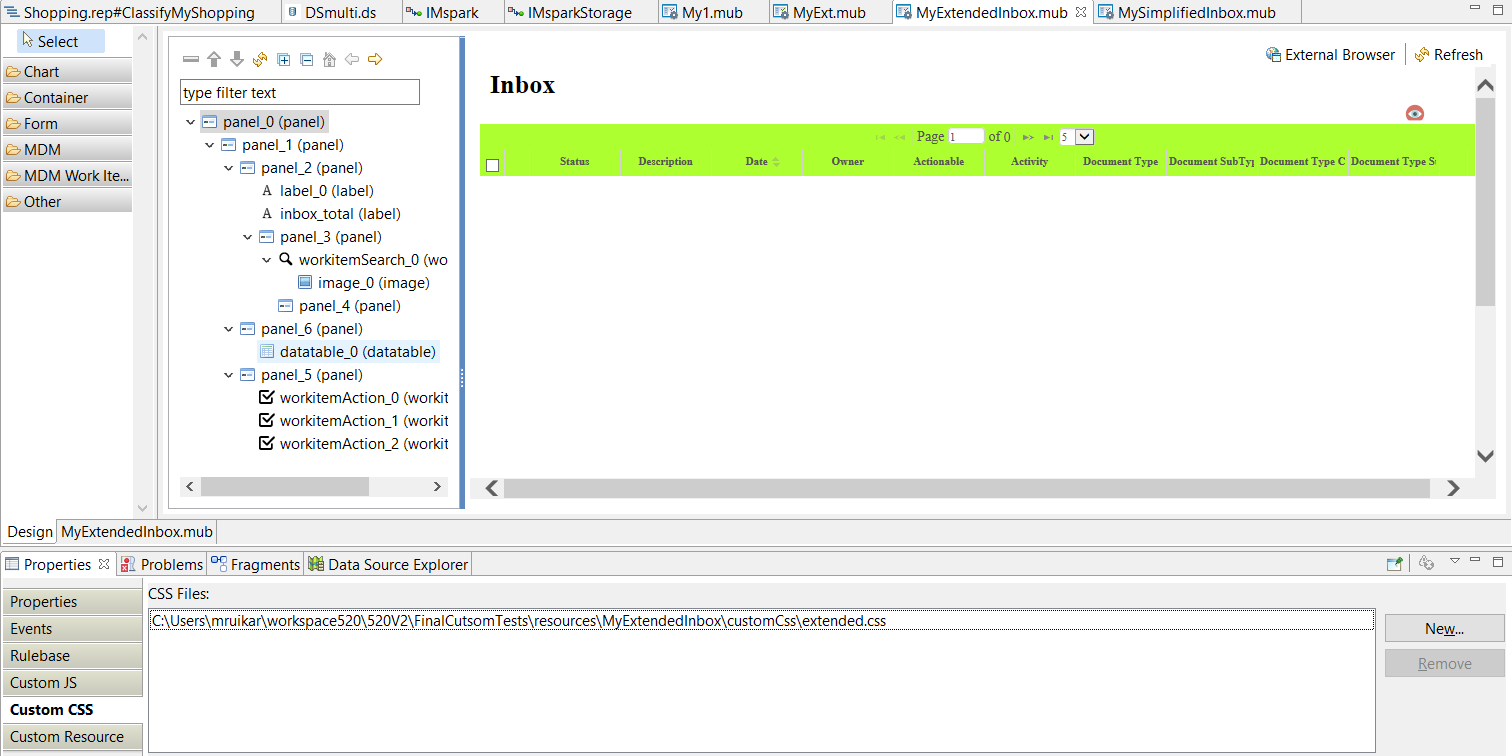
Following is the sample code in the CSS file:
<style type="text/css">
.userActions {
  padding:5px;
  display: inline-block;
  overflow: auto;
  white-space: nowrap;
  margin: 0px auto;
  width: 100%;
}

.actionBtns {
  float: left;
}

.configBtns {
  float: right;
}

.btnAction {
  position: relative;
  background-color: #4CAF50;
  border: none;
  font-size: 12px;
  padding: 8px;
  width: auto;
  text-align: center;
  -webkit-transition-duration: 0.4s;
  transition-duration: 0.4s;
  text-decoration: none;
  overflow: hidden;
  cursor: pointer;
}

.btnAction:after {
  content: "";
  background: #90EE90;
  display: block;
  position: absolute;
  padding-top: 300%;
  padding-left: 350%;
  margin-left: -20px!important;
  margin-top: -120%;
  opacity: 0;
  transition: all 0.8s
}

.btnAction:disabled {
  color: white;
}

#searchFields {
  position: relative;
  display: none;
  height: 150px;
  border: 1px solid black;
  border-radius: 5px;
  padding-bottom: 5px;
  margin-bottom: 5px;
  overflow: auto;
  min-width: 1000px;
}

.searchBtns {
  position: absolute;
  bottom: 0;
  padding: 5px;
  right: 0;
}

.searchAction {
  font-size: 12px;
  padding: 3px;
    margin-left: 5px;
}

.searchValue {
  float:left;
  width: 30%;
  height: 25px;
  min-width: 365px;
}

.searchValue label {
  display: inline-block;
  width: 140px;
  text-align: left;
}

.searchValue input{
	width: 200px;
}
</style>
A

Copyright © Cloud Software Group, Inc. All rights reserved.