Creating a Cloud MDM Deployment Server
Using the deployment option, you can create a Cloud MDM deployment server to deploy project from TIBCO MDM Studio to TIBCO Cloud MDM.
 and select
Procedure
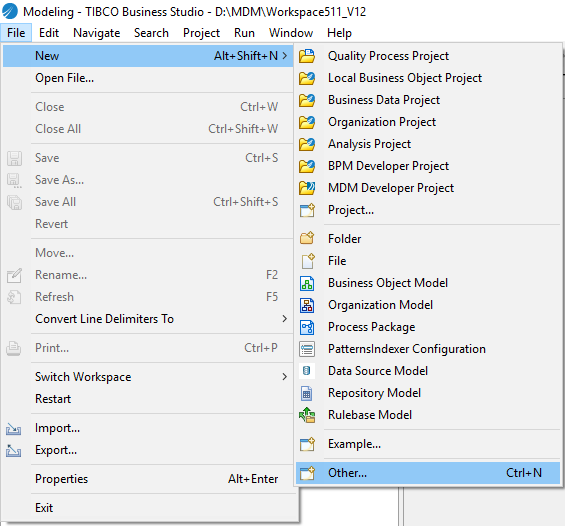
- On the menu bar, click .
- On the Select a wizard page, navigate to Alternatively, you can also type "Server" in the type filter text field and select Server. Click Next.
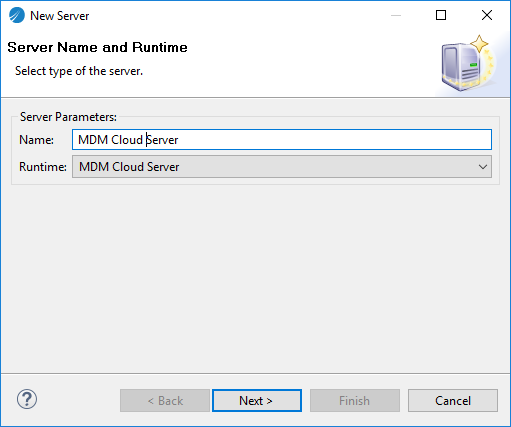
- On the Server Name and Runtime page, specify the server name and select the Runtime value as MDM Cloud Server.
-
On the
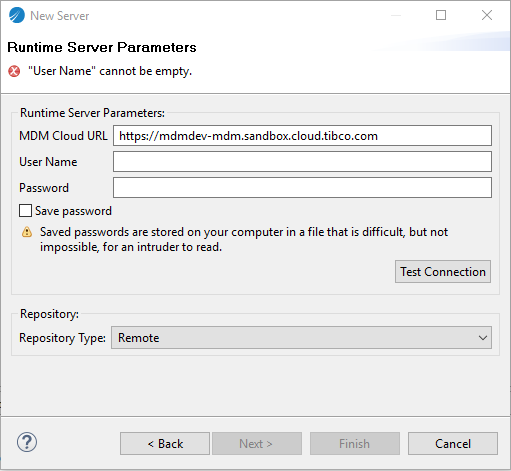
Runtime Server Parameters page, perform the following steps:
- In the Runtime Server Parameters section, enter the user name and password.
- If you do not want to be prompted for a password when connecting to TIBCO Cloud MDM during deployment, select the Save password check box.
The MDM Cloud URL is auto-populated. This is the default URL that you set on the MDM Cloud Configuration Page. For more information, refer Setting MDM Cloud Preferences
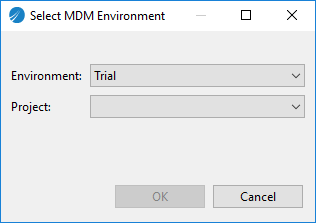
- The Select MDM Environment dialog box is displayed. All the environments with running and partial running status are displayed.
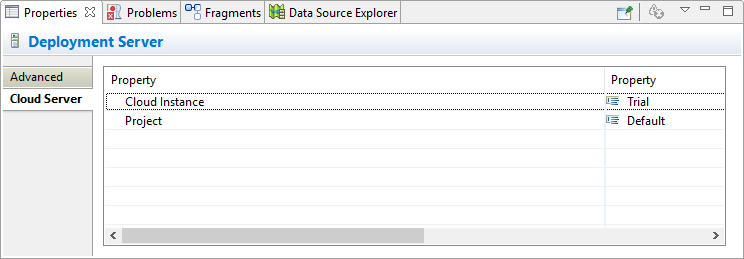
- After connecting to the Deployment Server for example, "MDM Cloud Server", in the Cloud Server section of the Properties tab, you can view the Environment (Cloud Instance) and the Project name to which you are connected.
Copyright © Cloud Software Group, Inc. All rights reserved.