Creating a Business Process
You can create a Process and its containing package and Project in one operation or you can create a business process.
See Creating a Project.
Procedure
- Before creating a process, you must create a project and a package to contain your process.
- In the Project Explorer, select the package you created, right-click and select New > Business Process.
-
The
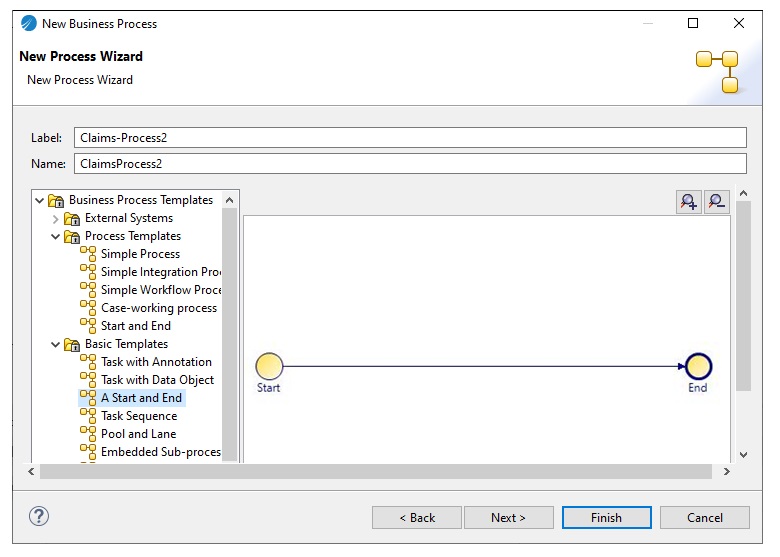
New Business Process wizard is displayed.
Note: If you start this wizard from the File > New menu, the first dialog is the Project and Package dialog, where you must specify a valid project and package. This dialog is not displayed if you right-click at the package level to start the dialog; however you can click Back to display it if necessary.
- Enter the Label of the process. To use a template to create the process, select the template and click Next. This example shows one of the basic templates (a task sequence).
- In the Description dialog, add optional text that describes the process, an optional URL that links to documentation about the process, and click Next.
- The Extended dialog is displayed. This allows you to add optional supplemental information to the XPDL for the process.
- Click Finish.
-
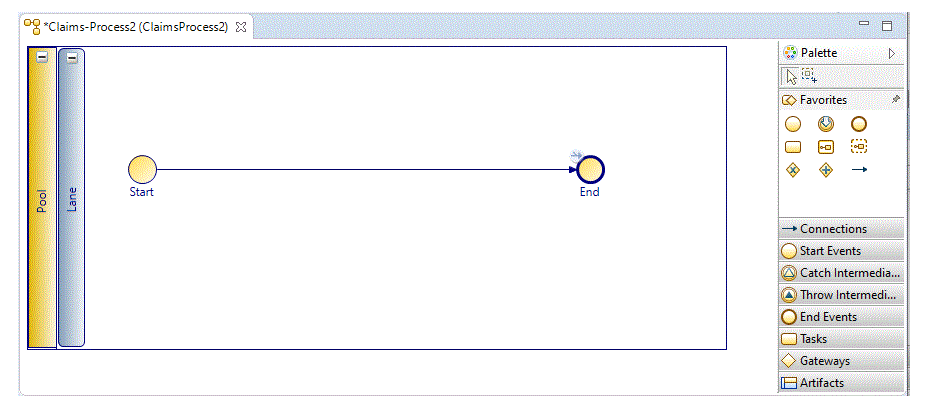
The process that you created is displayed in the Process Editor. When you first start the Process Editor, the palette (on the right side of the diagram) might be collapsed; if so, expand it:
You can expand this window to fill your screen by double-clicking the title bar).
The Process Editor provides a Pool and Lane that you can rename if you plan on using pools and lanes (see Controlling Flow in a Process). You add elements of your business process using the Palette.
Copyright © 2021. Cloud Software Group, Inc. All Rights Reserved.


