Adding and Configuring a CDD
You can create multiple CDD files for a project and at deploy time use the one that has the configuration you want to use.
- Procedure
- In TIBCO BusinessEvents Studio Explorer, right-click the project name
FraudDetectionand select .You will see the New Cluster Configuration Wizard. - In the
File name field, type
fdand click Next.Unlike in other project resources, you can change the name later as desired. Short names are easier to type when starting the engine at the command line. - In the
Object Manager Selection page, select the following values and click Finish.
- Cluster Provider Type -
Unclustered - Object Management Type -
In Memory
You will see the CDD editor, displaying the template for In Memory OM. For an In Memory project, very little deployment configuration is required. - Cluster Provider Type -
- Click the
Collections tab, and do the following:
- Select Input Destinations and click Add.
- In the Destinations Collection field, type Http and again click Add.
- In the
Select Input Destinations dialog, select
/Channels/HTTP/AllOps and click
OK.
A Configuration panel appears.
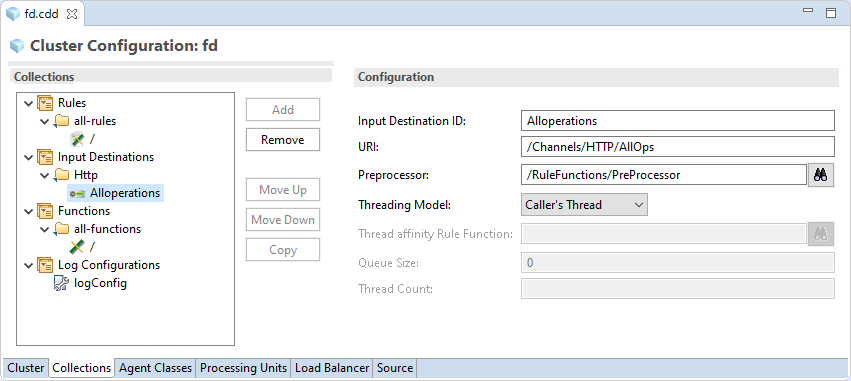
- In the Input Destination ID field, type AllOperations, replacing the generated ID.
- In the
Preprocessor field, select
/RuleFunctions/PreProcessor.
Note: Now this preprocessor will act on events arriving at the AllOps destination.
The Configuration panel looks like the follow image:
- Select the
Agent Classes tab and expand the default agent class, which is called
inference-class.
When configuring an agent class, you can select a subset of the project rules, select and configure destinations, and select startup and shutdown rule functions. Thus different agent classes can behave quite differently at runtime.
- Select
Input Destination Collections and click
Add.
You see the Select Input Destinations dialog. In the Reference Collections area, select
Httpand click OK.As mentioned above, you can configure input destinations here, or link to input destinations configured in the Collections tab, or use both methods. Here we reference the collection you already defined.
- Select
Startup Functions
and click
Add.
In the Select Rule Functions dialog, select /RuleFunctions/InitializeScorecard and click OK. When the engine starts, this rule function executes and initializes the scorecard values.
- Save and close the CDD.
Subtopics
