Launching Single Amazon Machine Image (AMI)
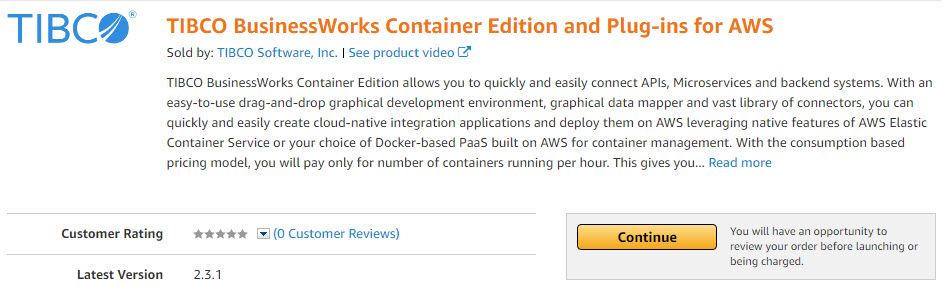
You can create an EC2 instance from Amazon Machine Image (AMI). After you subscribe to TIBCO BusinessWorks Container Edition and Plug-ins on AWS marketplace, you can launch the AMI from the marketplace page.
For more details about AMI, Refer AWS Documentation.
Prerequisites
Procedure
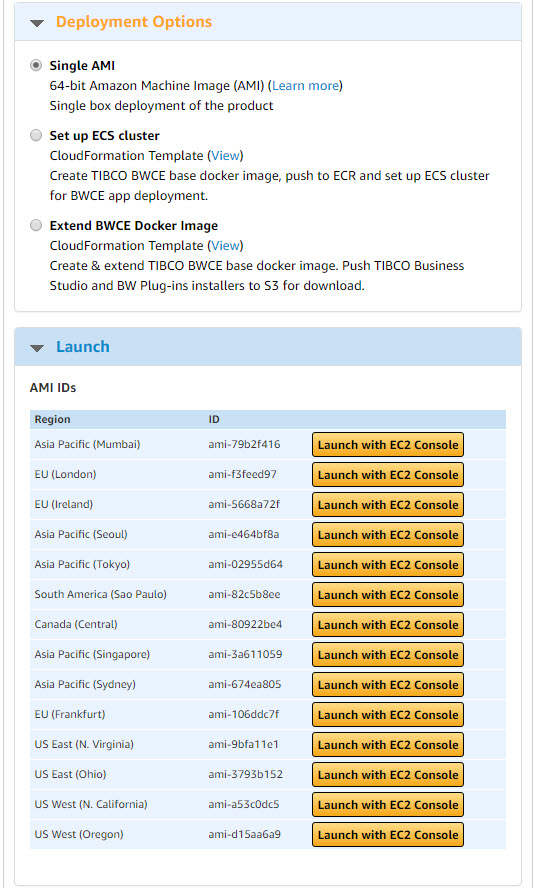
- In the Pricing Information section, select the region where you want to make the software available and specify the delivery method as Single AMI.
- Click Continue to go to the Launch page.
- Click the Launch with EC2 Console button for you region to launch the EC2 instance from the AMI.
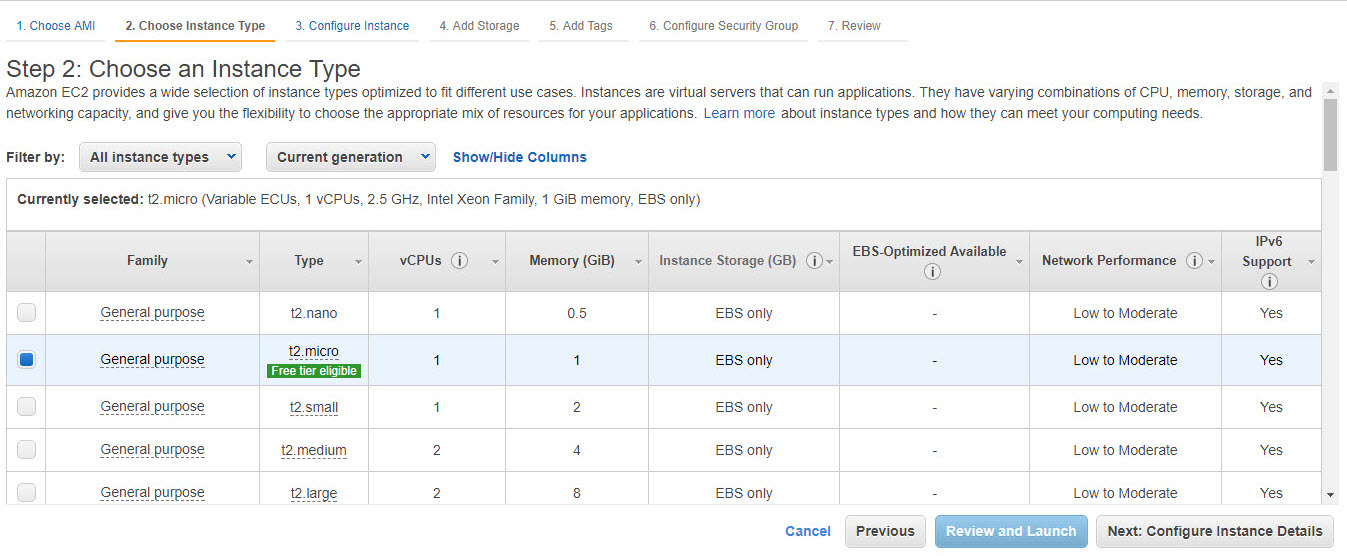
- From All instance types list, select an instance type. For more information, see Amazon EC2 Instance Types
-
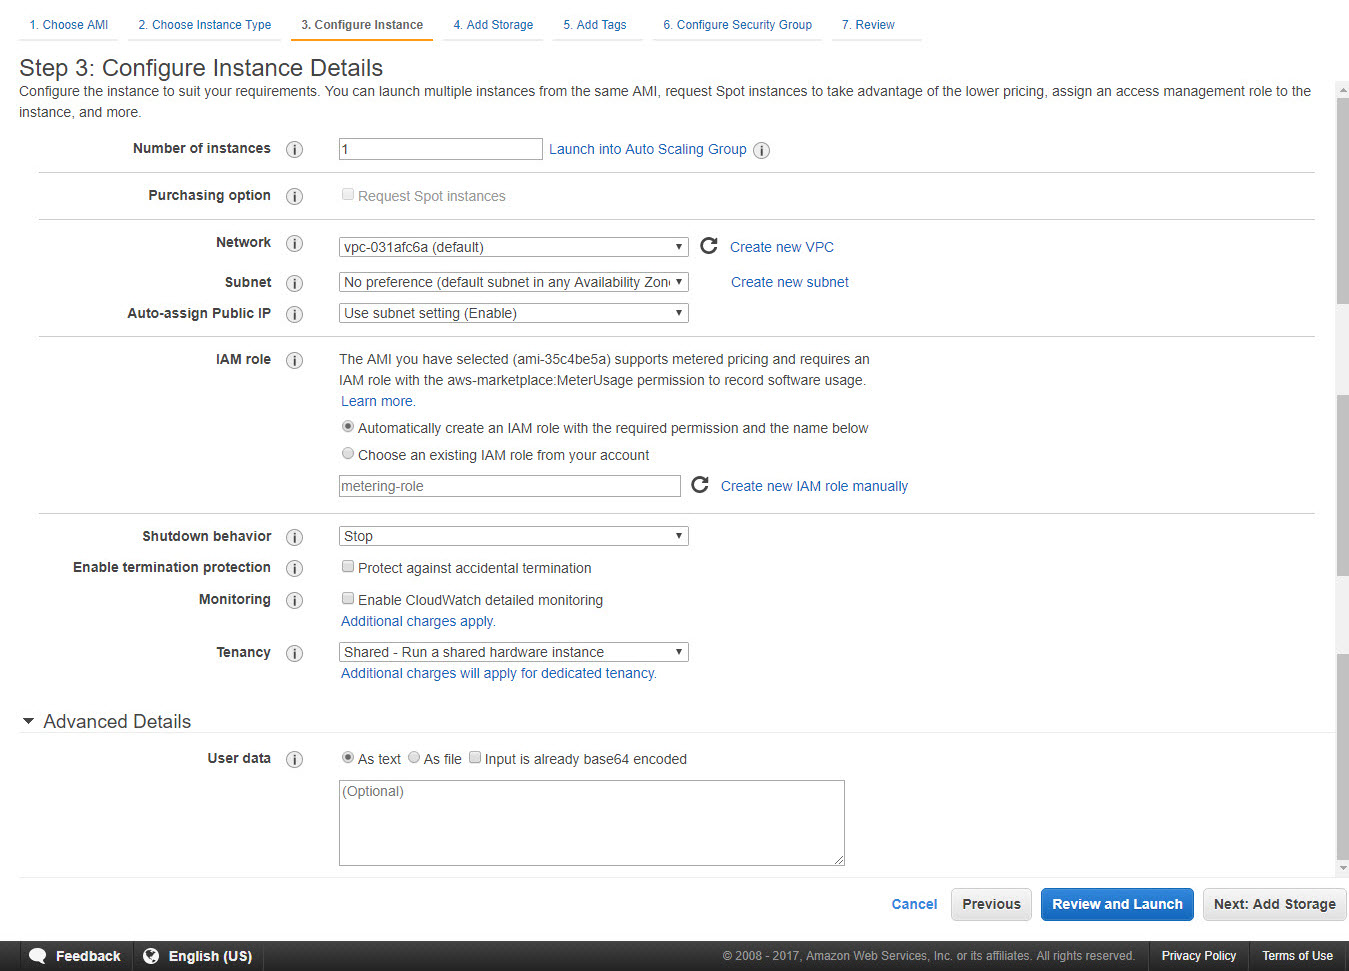
Click Next: Configure Instance Details at the bottom of the page, and provide the following details as per requirement. See the
 icon for descriptions of each item.
- Expand the Advanced Details section and fill out the User data field if required.
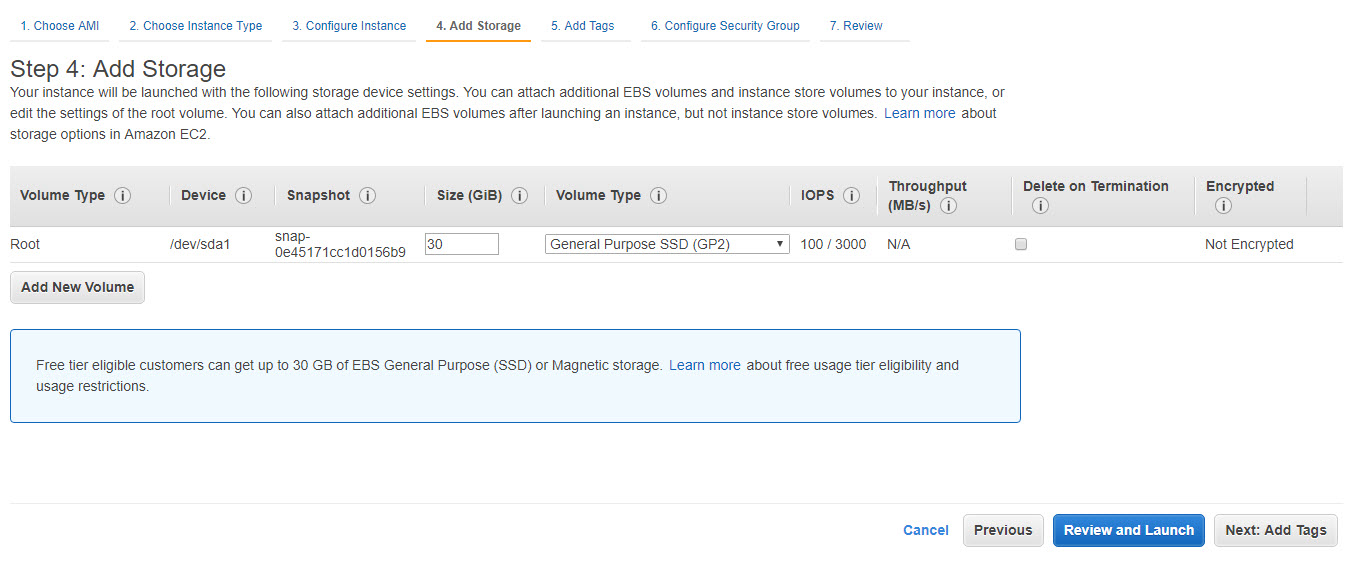
- Click Next: Add Storage and review the storage details. You can add Elastic Block Store and instance store volumes by clicking the Add New Volume button.
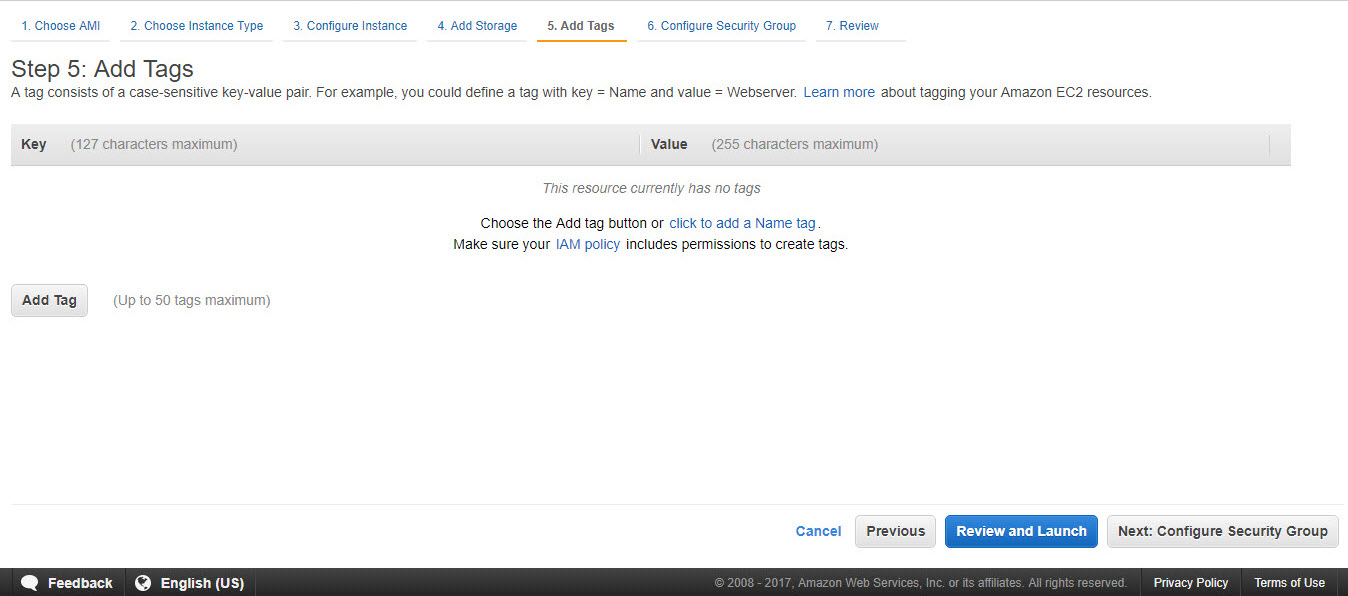
- Click Next: Tag Instance and add optional tags. To add more tags, click the Create Tag button.
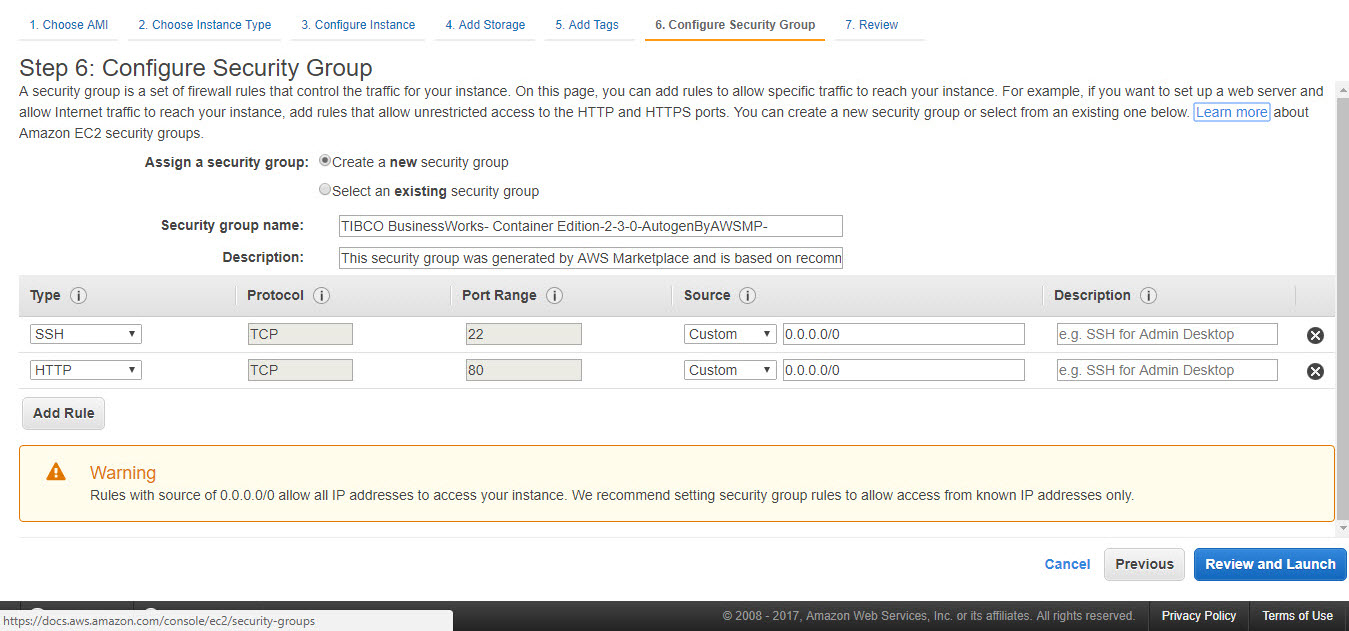
- Click Next: Configure Security Group and configure your firewall rules. Choose an existing security group or create a new security group.

Copyright © Cloud Software Group, Inc. All rights reserved.