Launching CloudFormation Template to create and extend TIBCO BusinessWorks™ Container Edition Base Docker Image

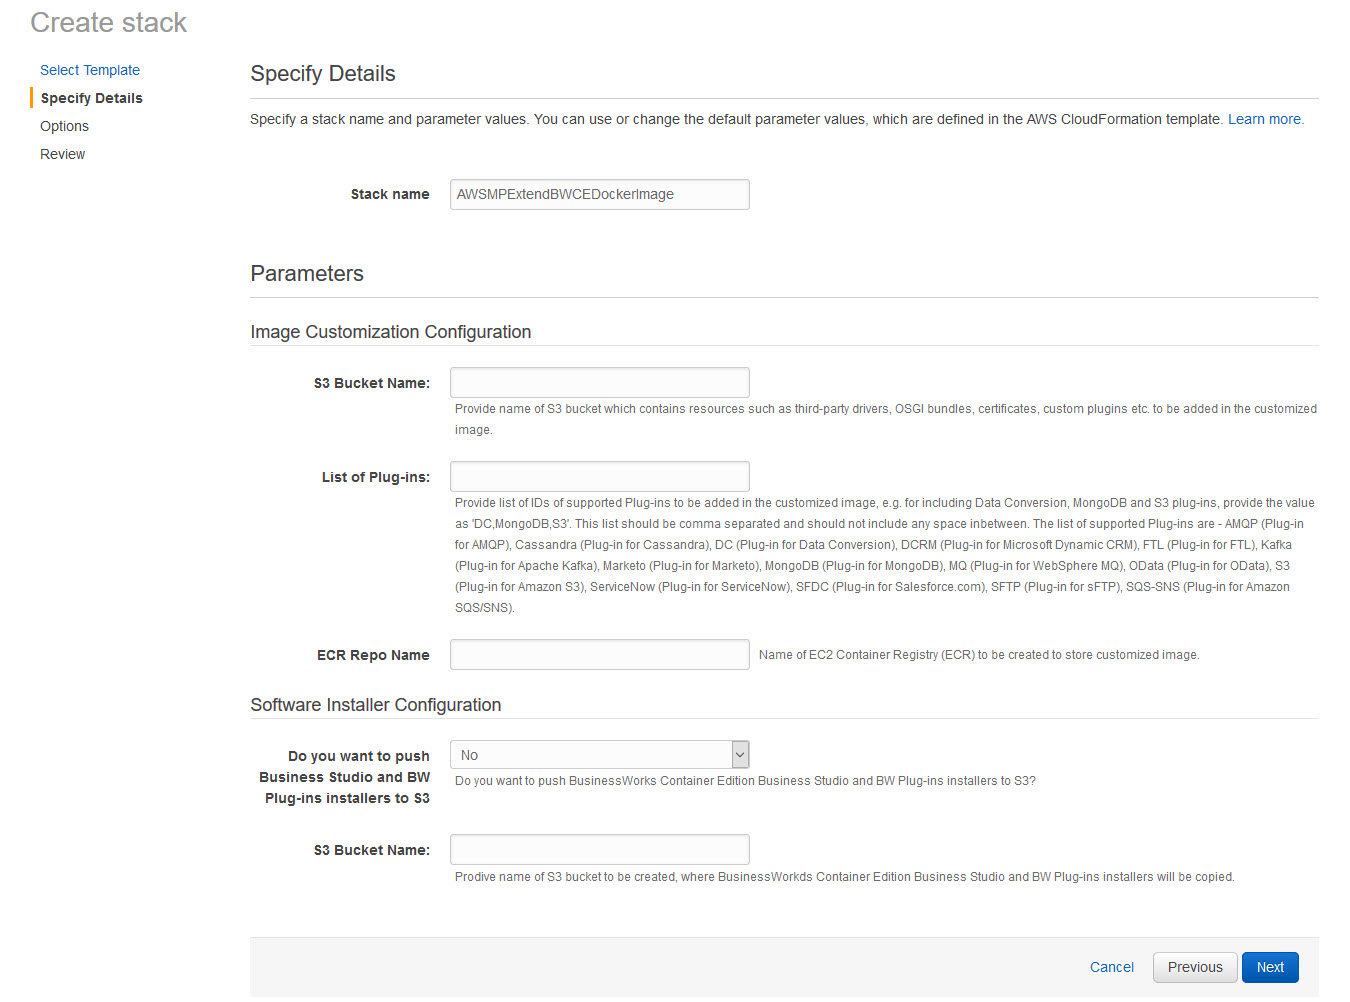
The CloudFormation template creates new ECR repository and pushes TIBCO BusinessWorks Container Edition base docker image into the repository. You can use it to extend the base docker image. If you provide S3 Bucket Name, the template adds all resources uploaded in the S3 bucket to the base image. If you provide List of Plug-ins, the template adds specified BusinessWorks Plug-ins runtime artifacts to the base image. In case, you select Do you want to push Business Studio and BusinessWorks Plug-ins installer to S3 as Yes and provide S3 Bucket Name, the TIBCO Business Studio™ Container Edition and Business works Plug-ins installer is copied to S3 bucket.

Prerequisites

Ensure that you have subscribed to TIBCO BusinessWorks Container Edition on AWS Marketplace. Refer Subscribing to TIBCO BusinessWorks Container Edition and Plug-ins on AWS Marketplace.

Procedure

  1. Open the TIBCO BusinessWorks Container Edition and Plug-ins for AWS webpage.
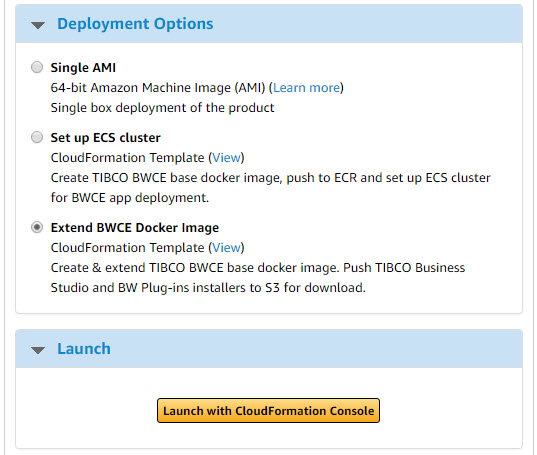
  2. Select the region where you want to make the software available and select the delivery method as Extend BWCE Docker Image from the drop-down list.
  3. Click Continue to go to the Launch page.
  4. Click the Launch with CloudFormation Console button.
    The Select Template page is displayed.
    Note: By default, AWS provides a template source URL. Do not change this.
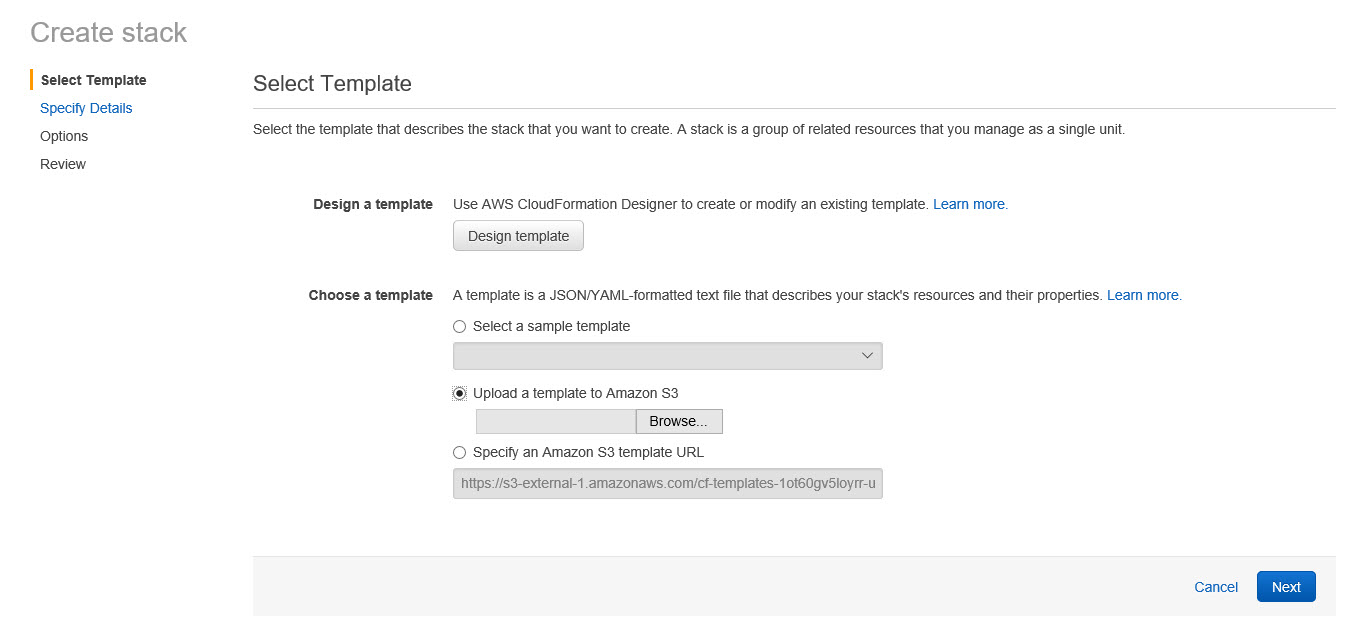
  5. Click Next. The Specify Details page is displayed.
  6. In the Stack Name field, give a unique name to your CloudFormation stack .
  7. In S3 Bucket Name field, provide the bucket name from where the artifacts are included in the customized base image.
  8. Provide list of IDs of supported Plug-ins to be added in the customized image. For more information, refer Supported Plug-ins.
    Note: List of Plug-ins is case sensitive and must be comma separated with no space in between. This field is not available for TIBCO BusinessWorks Container Edition and Plug-ins for AWS (BYOL). You need to download the plug-in installer from edelivery site and upload it to the plug-in S3 bucket.
  9. In the ECR Repo Name field, enter the name of EC2 Container Registry (ECR) to be created to store customized image.
  10. Select Yes to push Business Studio and BW Plug-ins installers to S3 and specify S3 Bucket Name.
    Note: This field is not available for TIBCO BusinessWorks Container Edition and Plug-ins for AWS (BYOL).
  11. Click Next. The Options page is displayed.
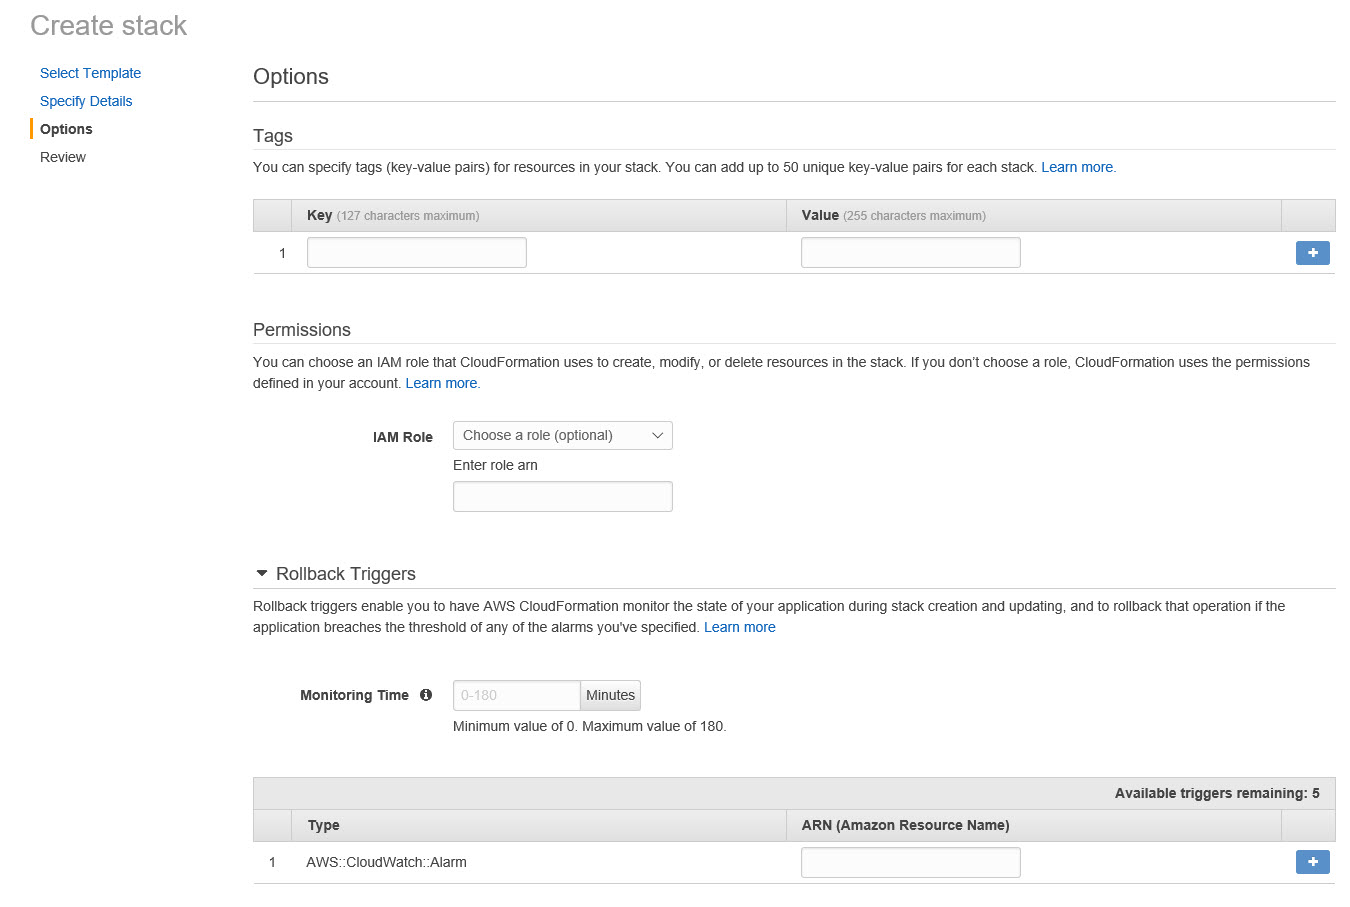
  12. Add any tags you want to simplify administration of your infrastructure.
    Note: A tag consists of a key-value pair and flows to resources inside your stack. You can add up to 10 unique tags for each instance.
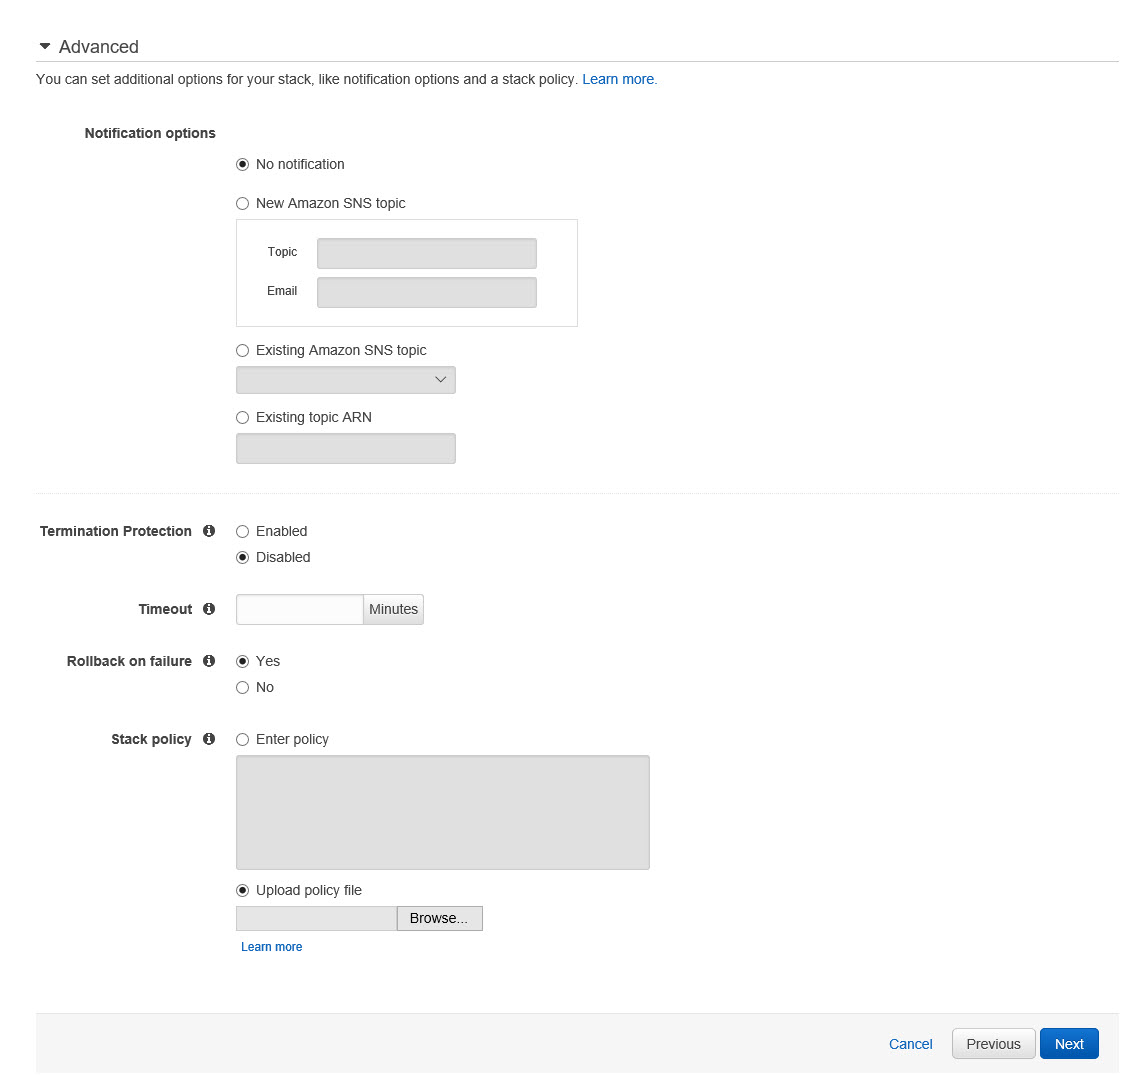
  13. Expand the Advanced section of the Options page and set your notification, timeout, and other options. Click the Learn more link for an explanation of these options if required.
  14. Click Next. The Review page is displayed.
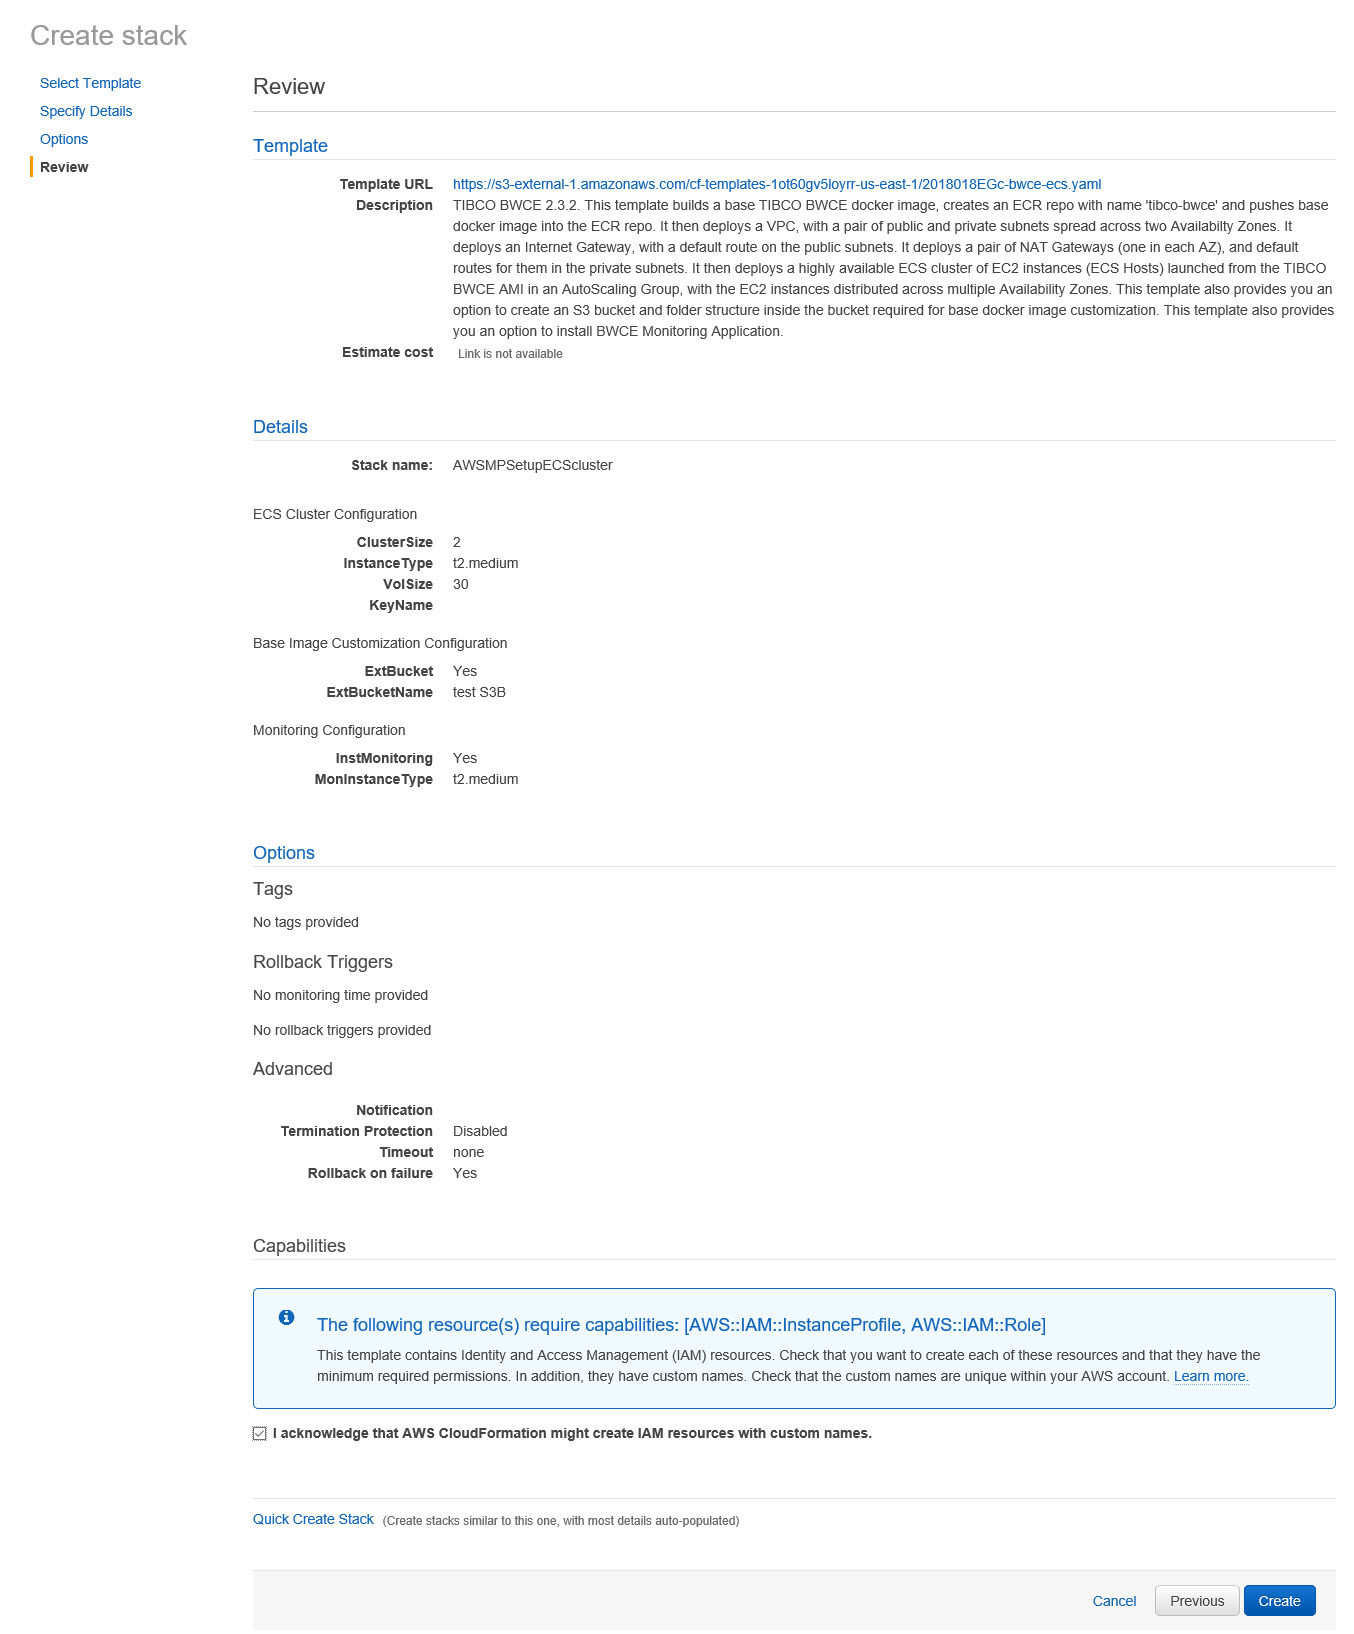
  15. Select the acknowledgment check box and click Create.
    You see your Stack Name listed in a table. While it's being created the Status column displays CREATE_IN_PROGRESS. After a few minutes, the status should change to CREATE_COMPLETE.