Launching Single Amazon Machine Image (AMI)

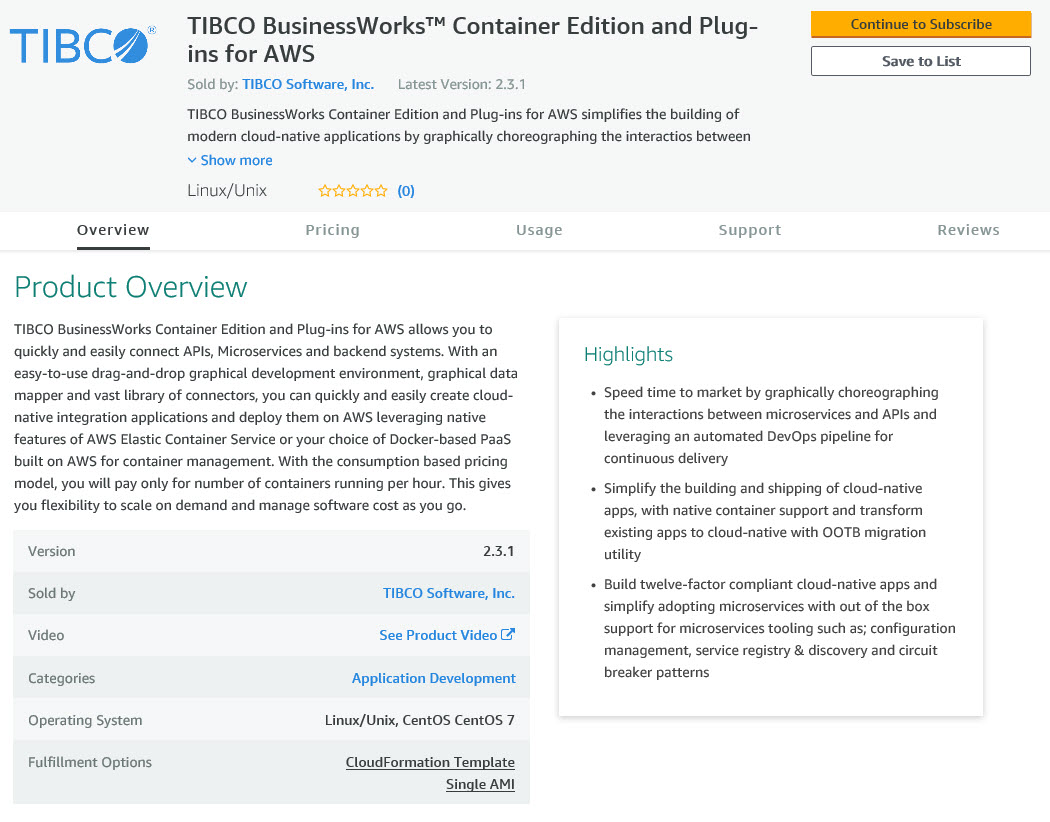
You can create an EC2 instance from Amazon Machine Image (AMI). After you subscribe to TIBCO BusinessWorks Container Edition and Plug-ins on AWS marketplace, you can launch the AMI from the marketplace page.

The following are the artifacts that are provided in the Single AMI:

Directory /home/ec2-user/bwce/ includes the following directories:
  • bwce-runtime: Contains bwce-runtime zip.
  • bwce-docker: Contains TIBCO BusinessWorks Container Edition docker open source script. For more information, refer to https://github.com/TIBCOSoftware/bwce-docker.
  • scripts: Contains create-push-image.sh script which creates TIBCO BusinessWorks Container Edition base image and pushes it to ECR repo.
  • bwce-mon: Contains application monitoring feature for TIBCO BusinessWorks Container Edition .
The following are the installer that are shipped with the Single AMI:
  • bwce: Contains TIBCO Business Studio™ Container Edition installers for all supported OS
  • plugins: Contains installer for TIBCO BusinessWorks Container Edition supported plugins & runtime zip files for all supported OS. For more information on supported plug-ins, see Supported Plug-ins.
For more details about AMI, Refer AWS Documentation.

Prerequisites

Ensure that you have subscribed to TIBCO BusinessWorks Container Edition and Plug-ins. See Subscribing TIBCO BusinessWorks Container Edition and Plug-ins on AWS Marketplace.

Run the following command,

to install docker in Single AMI.
sudo yum -y install docker-ce
to start docker
sudo systemctl start docker
For more details about Docker, Refer Docker Documentation.

Procedure

  1. Open the TIBCO BusinessWorks Container Edition and Plug-ins for AWS web page in AWS Marketplace.
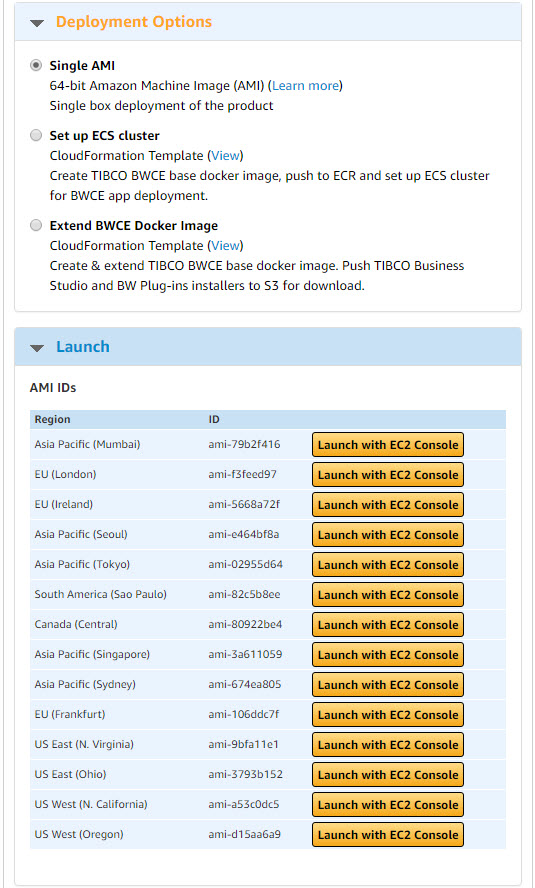
  2. In the Pricing Information section, select the region where you want to make the software available and specify the delivery method as Single AMI.
  3. Click Continue to go to the Launch page.
  4. Click the Launch with EC2 Console button for you region to launch the EC2 instance from the AMI.
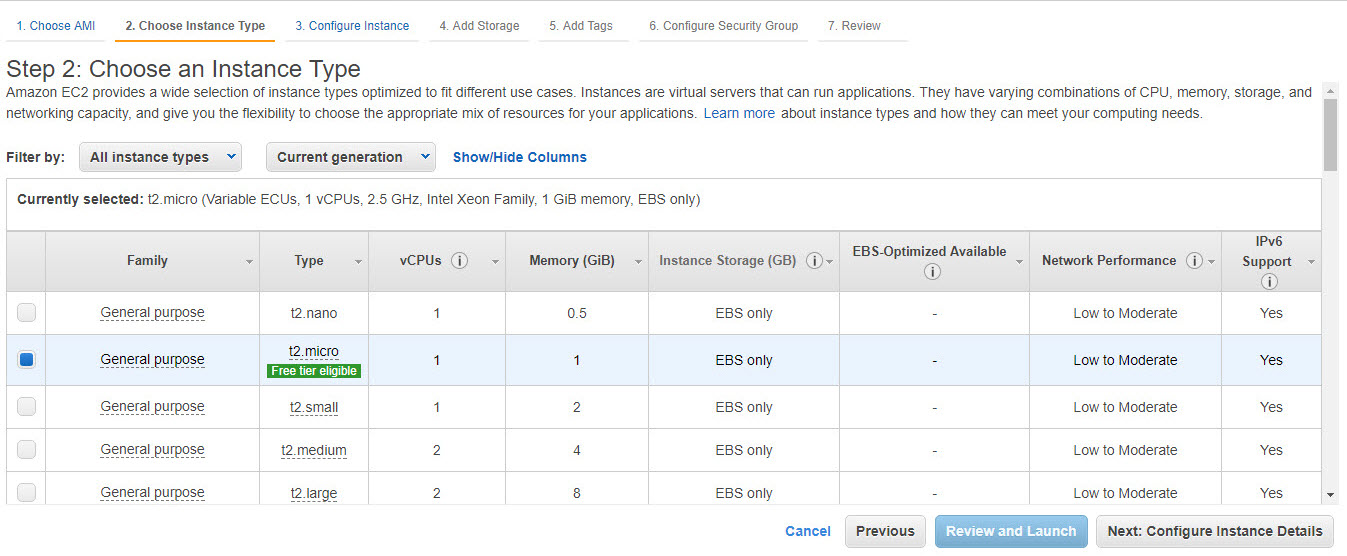
  5. From All instance types list, select an instance type. For more information, see Amazon EC2 Instance Types
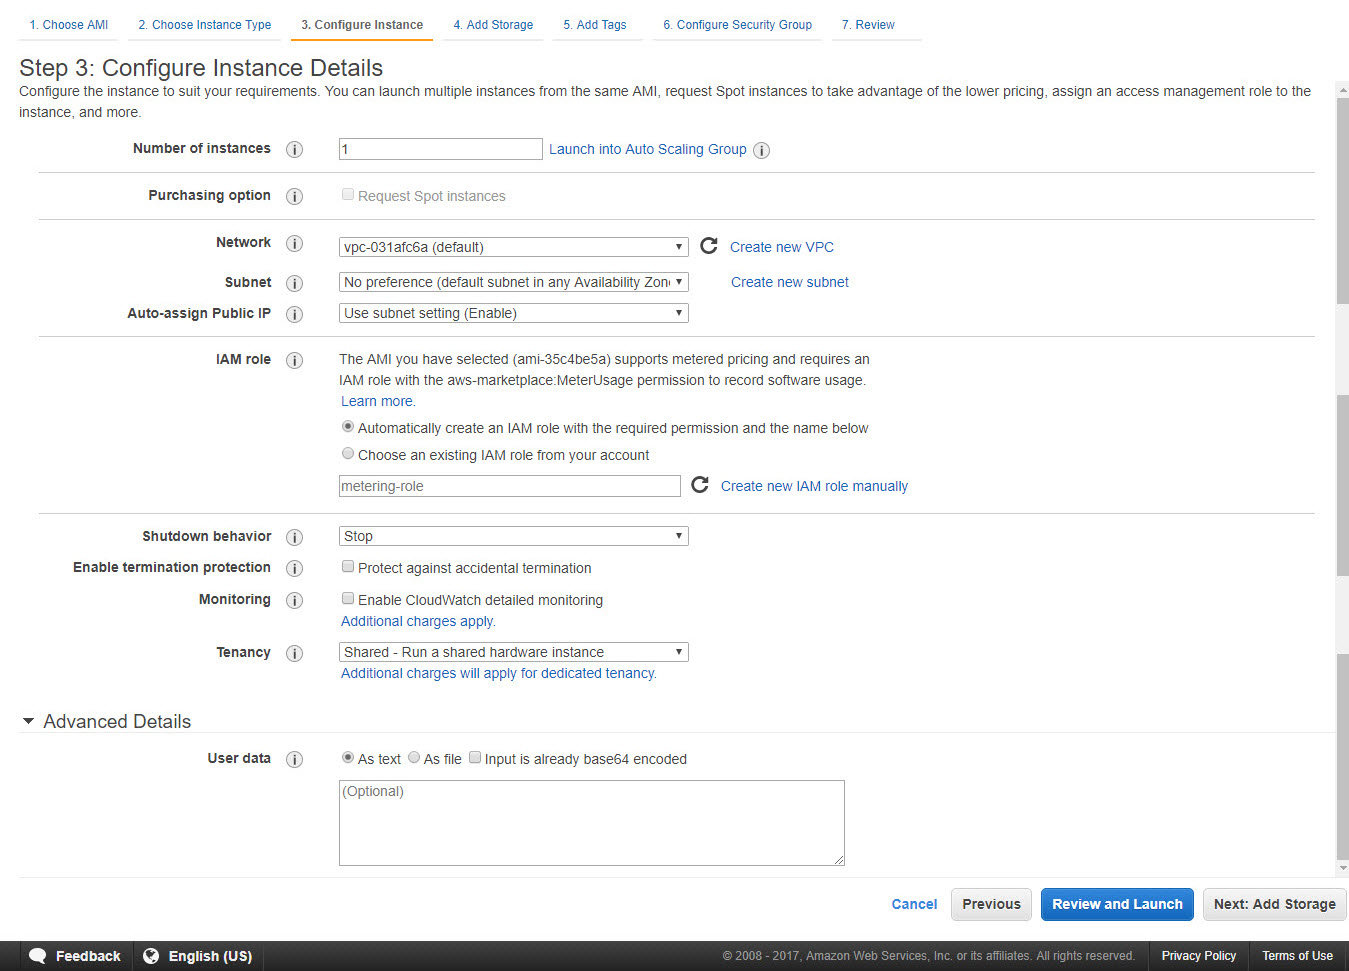
  6. Click Next: Configure Instance Details at the bottom of the page, and provide the following details as per requirement. See the icon for descriptions of each item.
    • Number of instances
    • Purchasing option
    • Network
    • Availability Zone (if using EC2) or Subnet (if using VPC)
    • Auto-assign Public IP
    • IAM role
      Note: IAM role must have permission for action aws-marketplace:MeterUsuage.
    • Shutdown behavior
    • Enable termination protection
    • Monitoring
    • Tenancy
  7. Expand the Network interfaces section, where you can attach one or more network interface to your instance during launch.
  8. Expand the Advanced Details section and fill out the User data field if required.
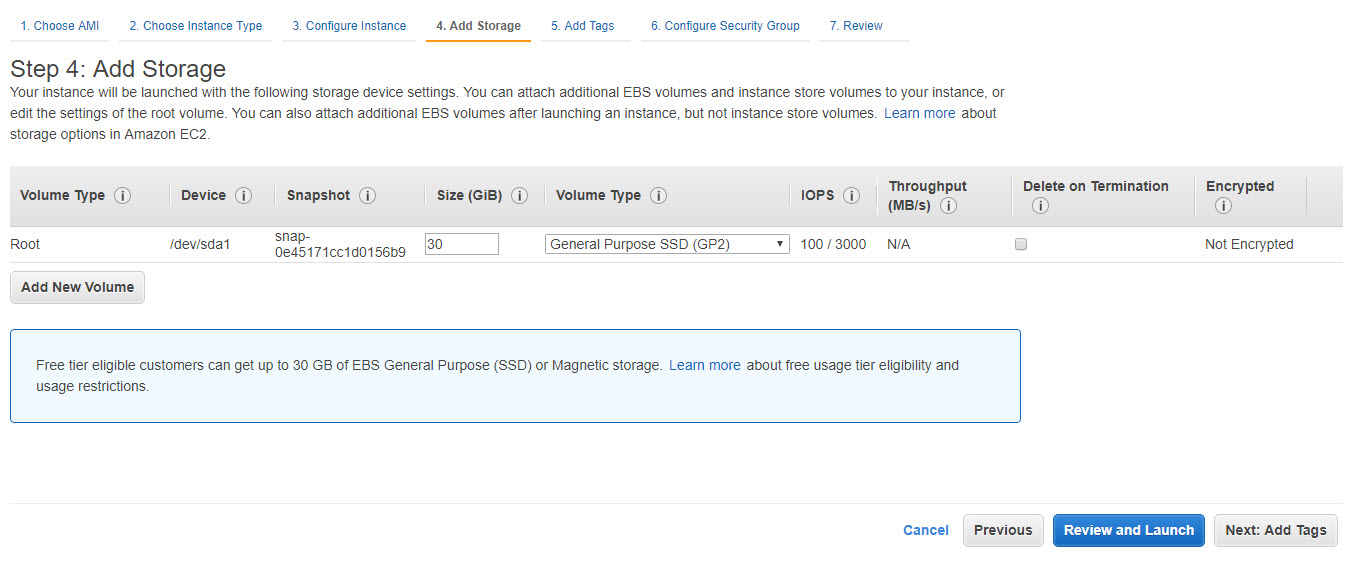
  9. Click Next: Add Storage and review the storage details. You can add Elastic Block Store and instance store volumes by clicking the Add New Volume button.
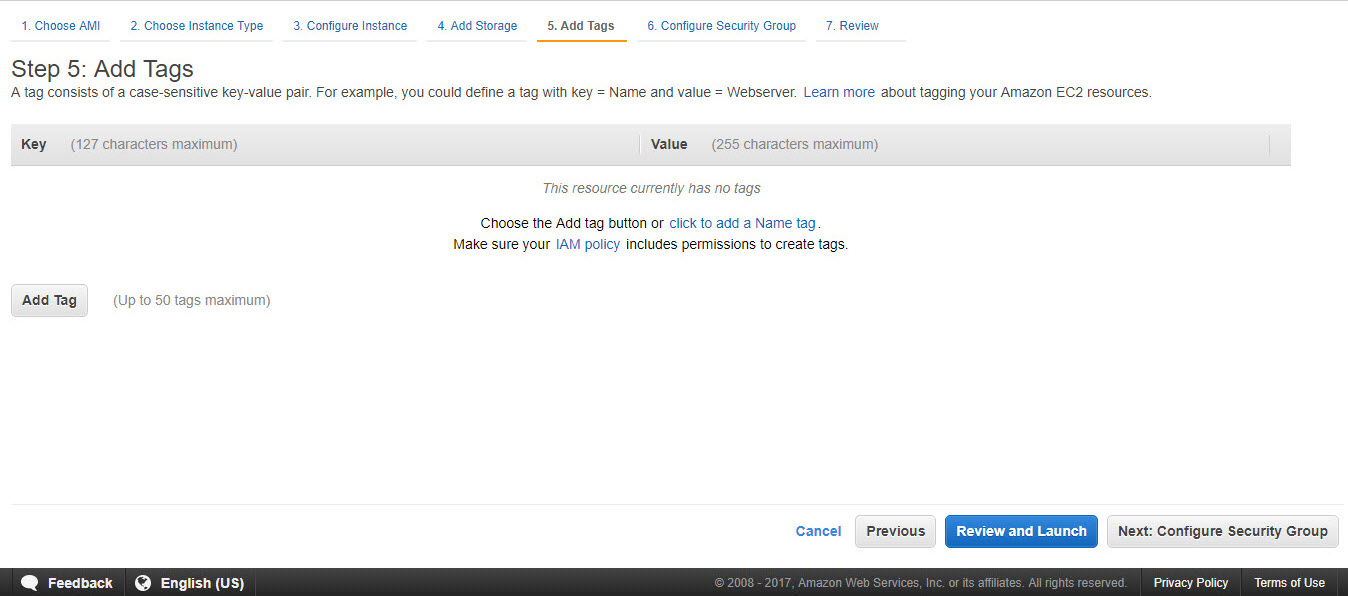
  10. Click Next: Tag Instance and add optional tags. To add more tags, click the Create Tag button.
    Note: A tag is a key or value pair that flows to resources inside your stack. You can add up to 10 unique tags to each instance.
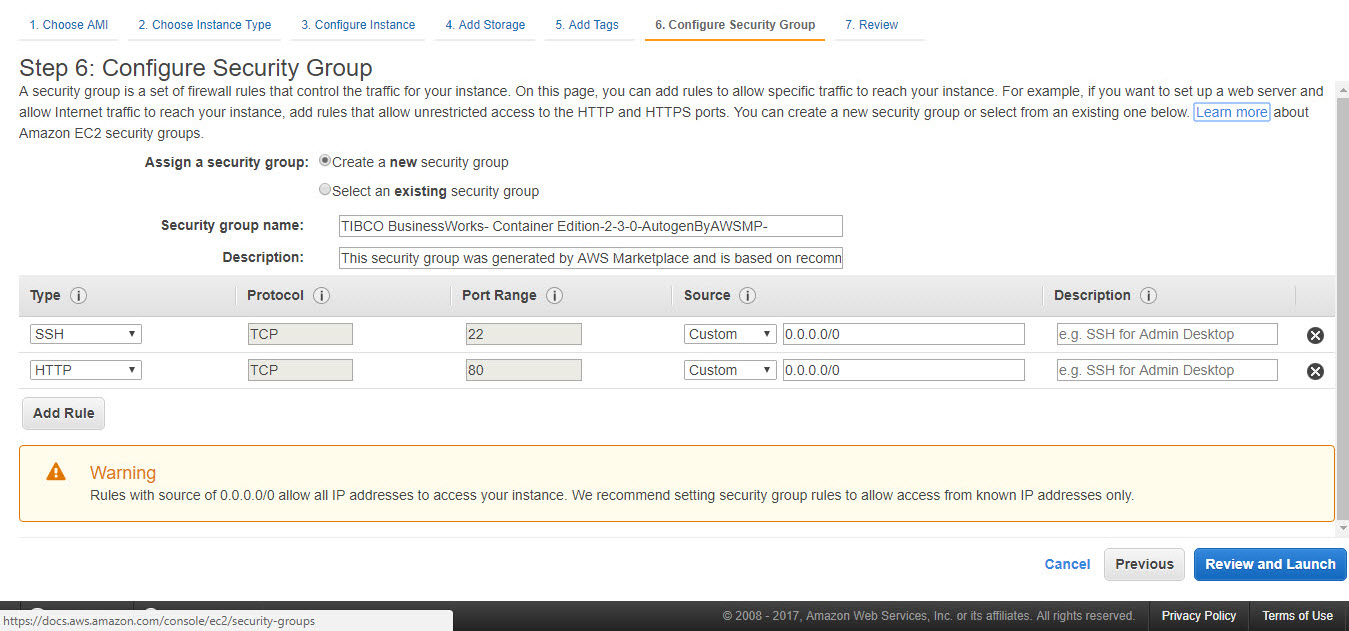
  11. Click Next: Configure Security Group and configure your firewall rules. Choose an existing security group or create a new security group.
  12. Click Review and Launch. Review your information and edit if necessary.
  13. Click Launch.

    A message is displayed, informing you that the instance is now launching. Your instances might take a few minutes to launch, depending on the software you are running.

  14. Click Close.