Merge
The merge feature is used to merge changes made from one branch to another branch or from the main branch to feature branch and vice versa.
For version control system, where a branch is used to maintain separate lines of development, at some point it is required to merge the changes from one branch to another or main branch.
To use the merge option, right-click on an application or application module, select Team > Merge. The merge feature is supported for both GIT and SVN.
Merge using SVN
The merge feature using SVN merges changes from a single path or URL of a branch to a working copy of another branch where the changes need to be merged.
To use SVN merge, ensure the SVN plug-in is installed. To install the plug-in, see Configuring TIBCO Business Studio for BusinessWorks with SVN plug-in.
Merge Modes:
The following are the supported modes for SVN merge:
| Merge Mode | Description |
|---|---|
| Single path or URL merge |
|
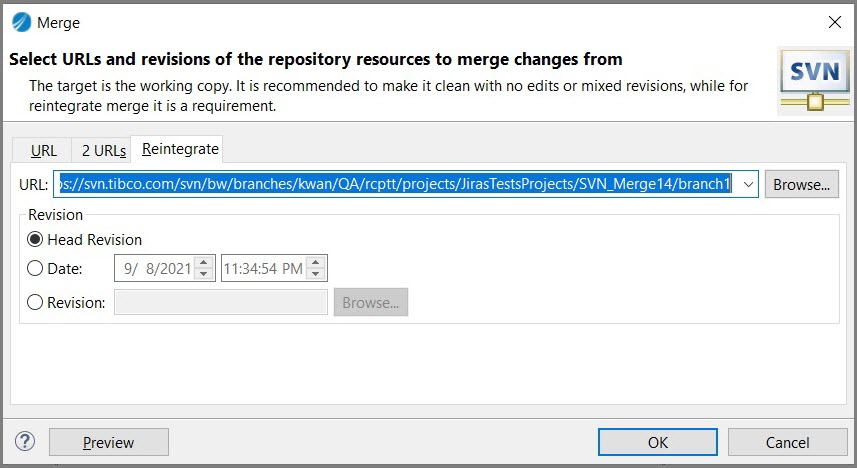
| Reintegrate merge |
|
Follow the steps to merge changes from branch A to branch B:
-
In the Project Explorer, right-click on the project and select Team > Merge. The Merge window is displayed.
-
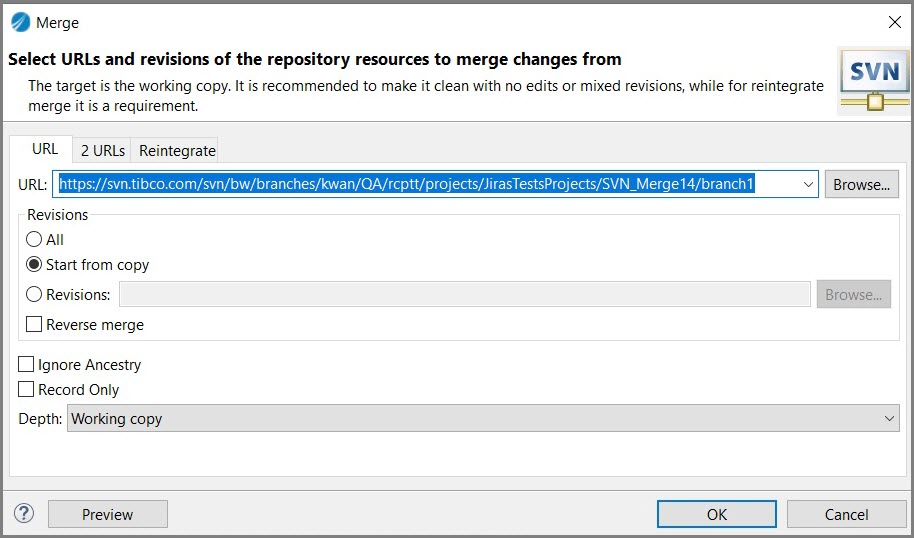
On the Merge window select one of the merge modes, URL merge or Reintegrate merge.
-
In the URL field, add the source URL from where you need to merge.
-
Select any one type of revision to use in merge.
-
All: Consider all eligible revisions for merge.
-
Start from Copy: Merge the changes from the recent revision copy.
-
Revisions: Specify a single or a set of revisions.
By default, the Start from Copy option is selected.
-
-
Select any one of the Depth options. This specifies the depth of the merge to be covered. The following are the options:
-
Only Folder.
-
Files in Folder
-
Directly Children
-
Recursively
-
Working Copy
By default, the Working Copy option is selected.
-
-
Select the Preview button to inspect the consequences of the merge operation without applying any actual changes to the working copy.
-
Click Ok to complete the merge.
- As a best practice before merging, ensure the working copy does not have any changes and should be clean and updated.
- For a successful merge, avoid conflicts by using a separate branch and keep the branch updated regularly.
Merge using GIT
The merge feature using GIT, merges changes across two branches or from feature branch to main branch and vice versa.
Before merging from one branch to another, you need to configure source branch in fetch list and fetch changes from the source branch. This is required to fetch the unmerge changes from the source branch.
Follow the steps to add the source branch to the fetch list:
- In the Project Explorer, right-click on a project and select Team > Remote > Fetch From. The Fetch from Another Repository window is displayed.
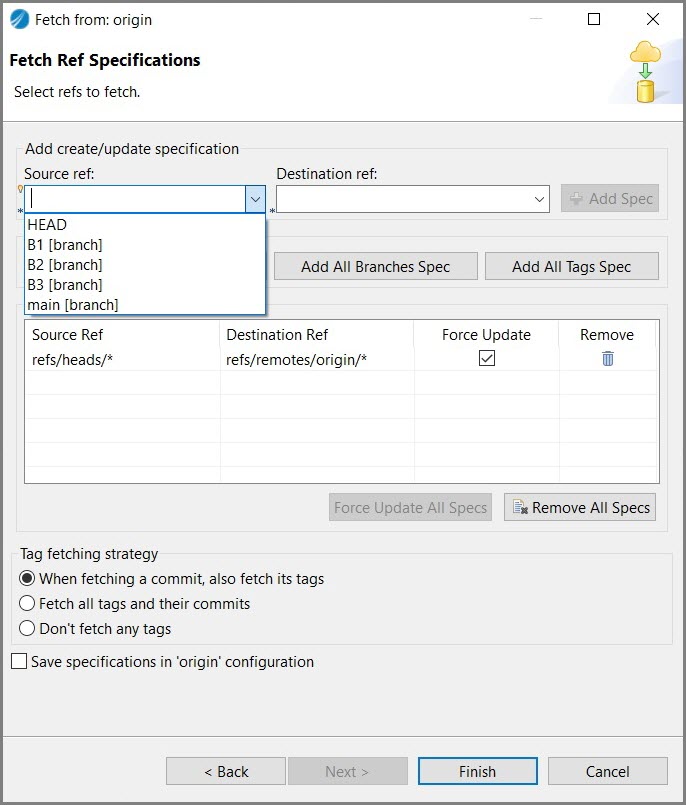
- In the Fetch from Another Repository window, configure the repository by enabling the Configured remote repository button, then click Next. The Fetch from: origin window is displayed.
- In the Fetch from: origin window, select the source branch from the Source ref: drop-down in the Add create/update specification section, then click Finish.
- In the Fetch Results: window select the Configure... button and then click Add.
- In the Source field, select the name of the source branch and click Next > Finish > Save and Fetch.
All the unmerge changes of the source branch are now fetched and displayed in the Merge window.
Follow the steps to merge changes from Branch A to Branch B:
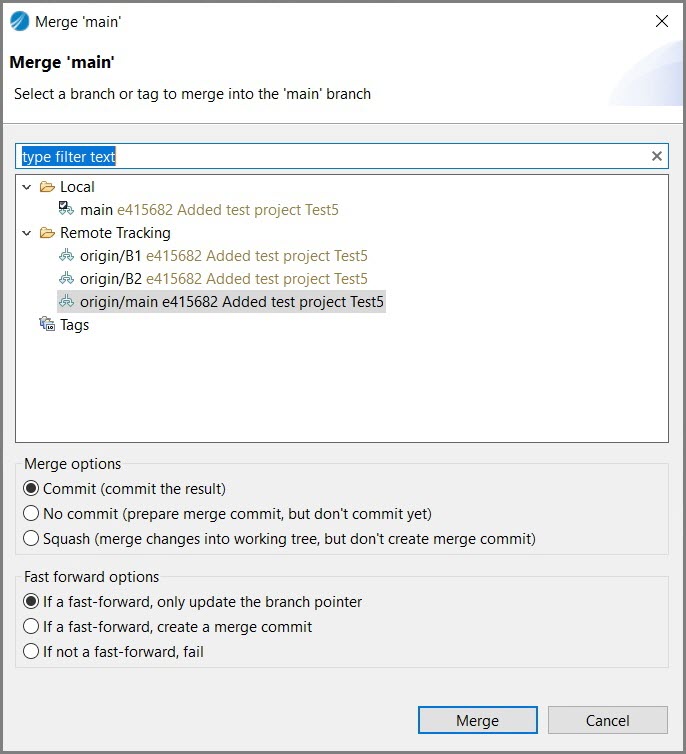
- In the Project Explorer, right-click on a project and select Team > Merge. After fetching, all the changes or commits of the source branch which are not merged are displayed in the fetch list.
- In the Merge Options section, select one of the merge options. By default, the Commit (Commit the result) option is selected.
- In the Fast Forward options, select one of the fast forward options. By default, the If a fast forward, only update the branch pointer option is selected.
-
Click Merge.
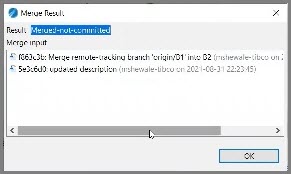
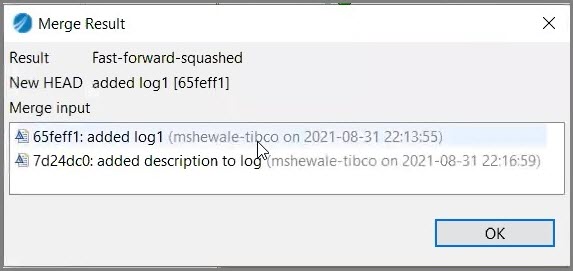
The merge is completed, and the Merge Result is displayed.
Note:- As a best practice before merging, ensure the working copy does not have any changes and should be clean and updated.
- For a successful merge, avoid conflicts by using a separate branch and keep the branch updated regularly.
Merge Options:
The following are the merge options for GIT:
| Merge Options | Description and Merge Result |
|---|---|
| Commits |
This option on merging prepares the commit message and commits the changes.
|
| No Commit |
This option on merging only prepares the commit message but does not commit the changes.
|
| Squash |
This option on merging only adds the changes to the working copy but does not prepare any commit.
|

Fast Forward Options:
In GIT, when two branches are not diverged and there is a linear path from the target branch to the source branch , then GIT runs a fast forward merge.
| Fast Forward Options | Description |
|---|---|
| If fast forward, only update pointer | For this option, instead of creating a new merge commit, the head pointer is moved to the current commit. |
| If fast forward, create a merge commit | For this option, a snapshot of all the merge commit history and its details is created. |
| If not a fast-forward, fail | For this option, the merge is not performed and is aborted. |