Working with Arrays
Swagger provides an interface description that could return JSON objects. An operation may return a single object, or if the "type":"array" attribute is added to the configuration then it returns an array of that object type. TIBCO Business Studio™ for BusinessWorks™ supports sending and receiving arrays in REST requests and responses.
In TIBCO Business Studio for BusinessWorks, you can create a REST API by starting with a Swagger-compliant JSON file or you can create the API from scratch using the wizards in TIBCO Business Studio for BusinessWorks. If you use JSON as your starting point, TIBCO Business Studio for BusinessWorks generates an XSD file when the API gets created. When generating the XSD for an array, TIBCO Business Studio for BusinessWorks creates a wrapper element with an "Array" suffix and another single element containing the definition for the element type contained in the array.
For more information about how the TIBCO Business Studio for BusinessWorks handles arrays, see the Arrays section in the topic Conversion Between JSON and XML in TIBCO Business Studio™ .
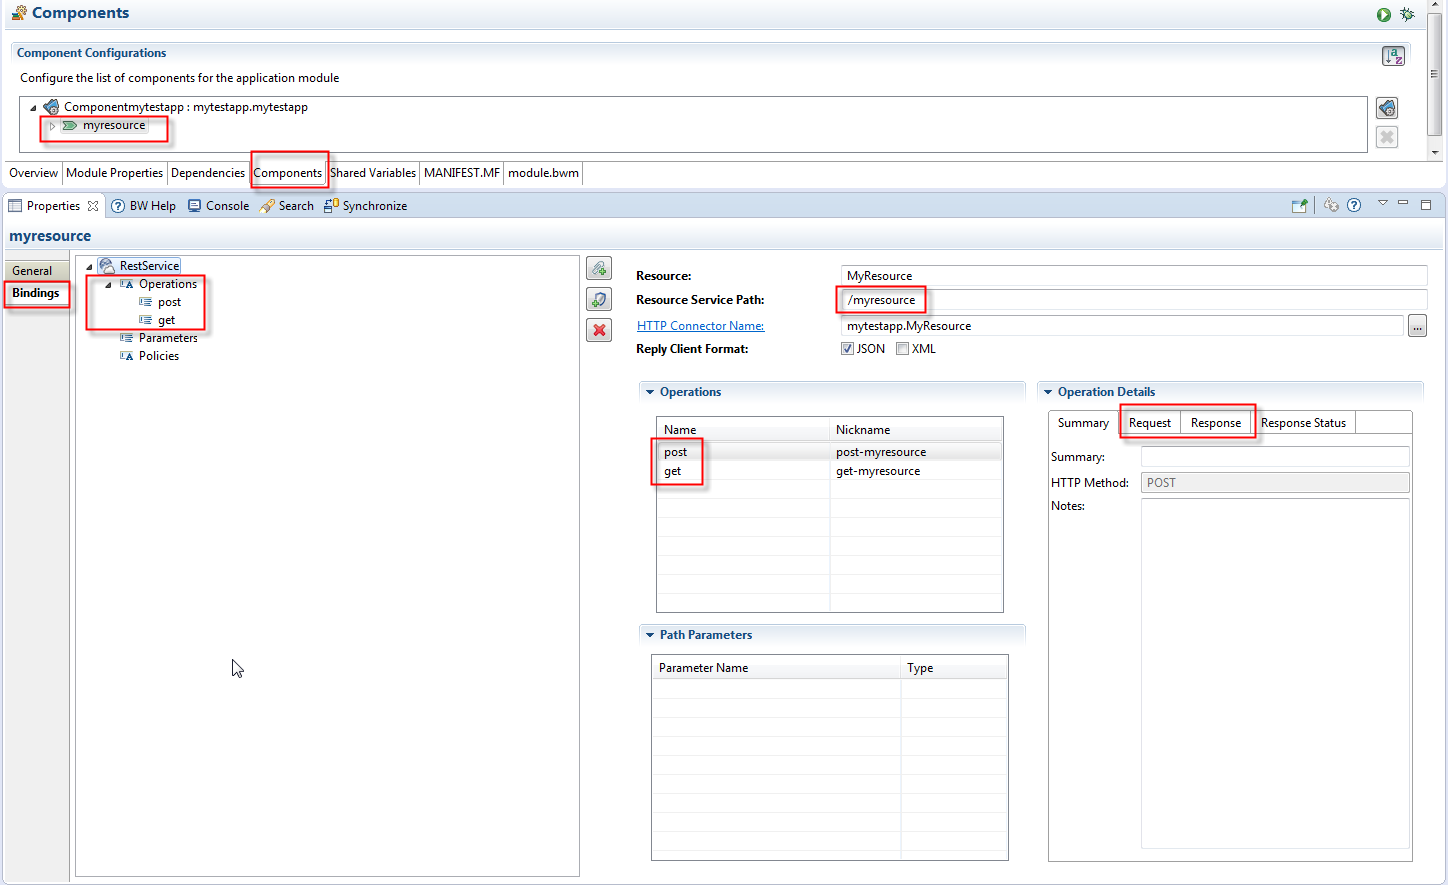
Configuring an array in REST binding in TIBCO Business Studio for BusinessWorks

- In Project Explorer, under Module Descriptors, double-click Components to open its property page.
- Click on the resource to open its properties view.
- Click the
Bindings tab to open it.
- In the Operations Details box, click the Response tab.
- Select the JSON check box in the Format options.
- Select Anonymous Array from the JSON Response Style drop-down menu.
- Select the array element type in the Resource Schema drop-down menu.
- Save your project.
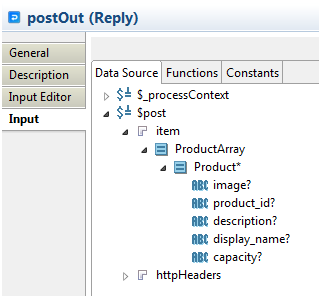
- Verify that the array is available for use in the
Input tab for your postOut activity.