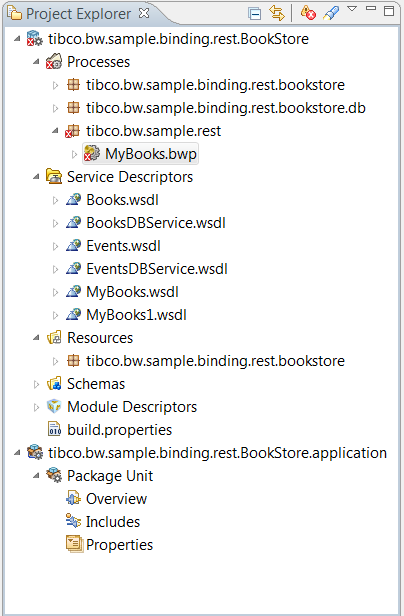
To define a REST Resource named
MyBooks, select tibco.bw.sample.rest > New > BusinessWorks REST Resource.
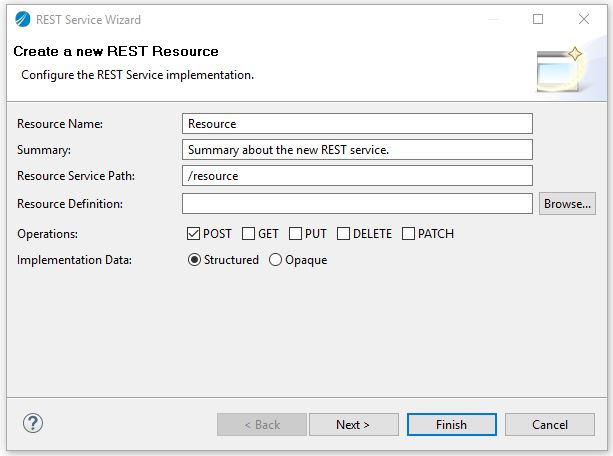
The
REST Service Wizard window opens.
Specify the following values in the
REST Service Wizard window.
Resource Name: MyBooks
Summary: Summary about the new REST service. (default)
Resource Service Path: Auto-filled
Resource Definition: Select Browse > Schemas > Books.xsd > Books in the
Select Schema Element Declaration window.
Operations: Select POST and GET check boxes.
Implementation Data: Accept the default value of
Structured.
Click
Finish.
This creates a new process
MyBooks.bwp process is opened in the
Process Editor.
Open the tibco.bw.sample.binding.rest.bookstore.db process in the
Project Explorer and select the
BooksDB.bwp process. Drag it to the
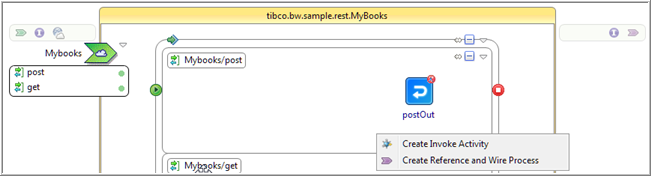
Process Editor and drop it on the implemented POST operation.
A menu is displayed with two options:
Create Invoke Activity and
Create Reference and Wire Process.
Select
Create References and Wire Process.
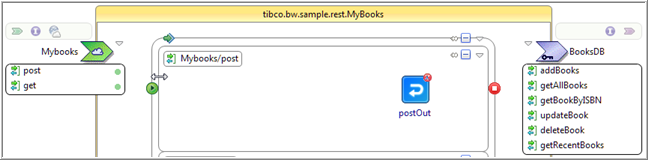
The references are added to the process. The purple chevron indicates the service and its operations that can be referenced by the process.
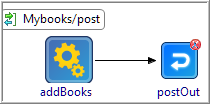
To update the POST process to invoke the appropriate external service operation:
Click the
addBooks operation.
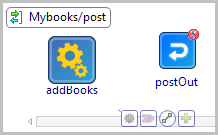
Select and drag the operation to the left of the
postOut activity and drop it. An Invoke process activity is created.
Click the newly added activity. Select the
icon and connect
addBooks to
postOut.
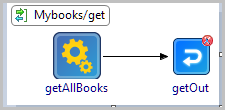
Click the
getAllBooks operation and select, drag, and drop the operation to the left of the
getOut activity in the OUT process.
Connect
getAllBooks to
getOut.
Save your changes.
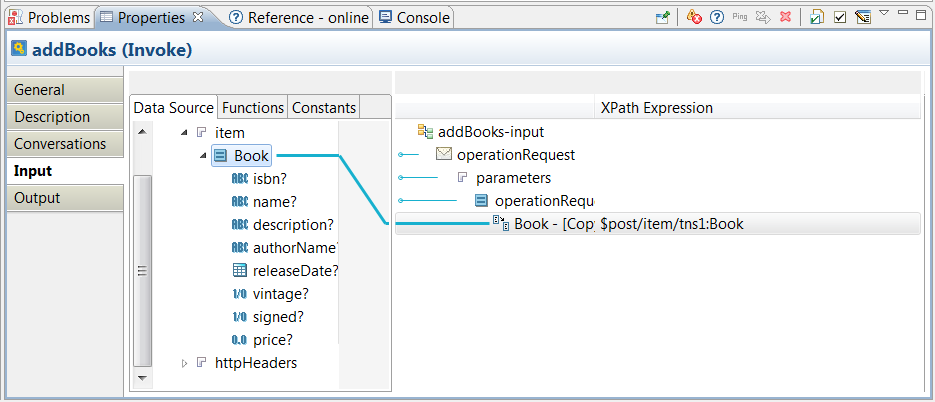
Click the
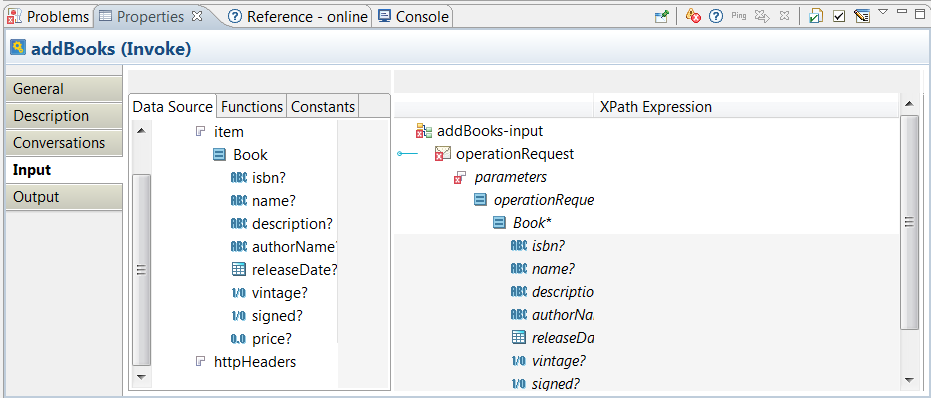
addBooks activity and select
Properties > Input.
Expand the data tree in the
Data Source pane to locate the Book element.
Drag the Book element from the left to the Book* element on the right.
In the pop-up window, select
Make a Copy of each " Book" and click
Finish.
The
Input tab will look like this:
Save your changes.
Click the
postOut activity and open the
Properties > Input
tab. Expand the
post activity and drag the Book* element from left to right.
In the pop-up window, select the
For each option and click
Next. Click
Finish on the
Auto-Map window. The
Properties > Input
tab will look similar to this:
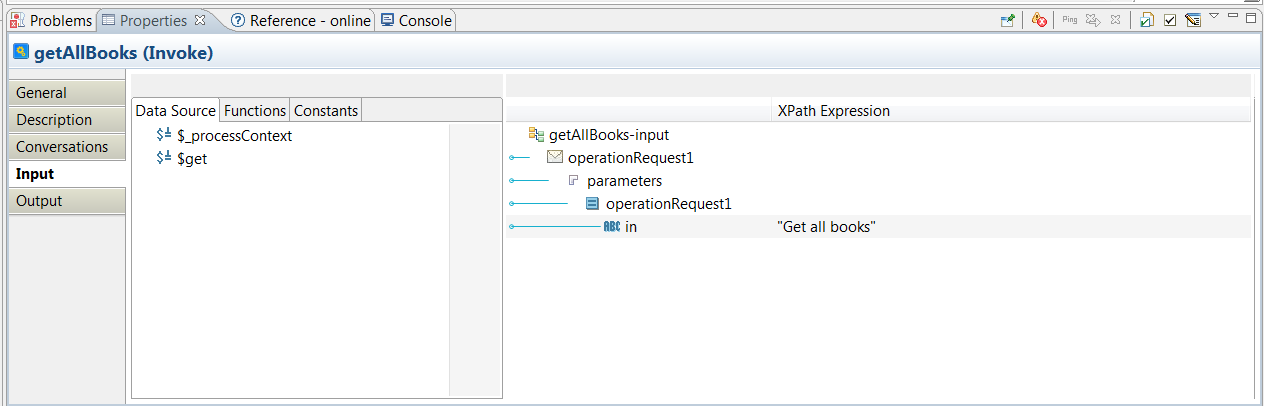
Click
getAllBooks and select
Properties > Input.
In the
XPath Expression pane, add a dummy value to the input element, such as, "Get All Books". The input must be in quotes.
Click the
getOut activity in the
Process Editor, and select the
Properties > Input tab. Expand the
getAllBooks activity and choose Book* to map the Book* element from left to right. In the pop-up window, choose
Make a Copy of each " Book" and click
Finish. The tab will look similar to this:
 icon and connect
addBooks to
postOut.
icon and connect
addBooks to
postOut.