Developing a SOAP Service
A SOAP service makes a Process service available as a SOAP web service. You can achieve this by applying a SOAP service binding on the target process service.
Procedure
-
Click the process package, for example, "HelloWorld", and then click the
Create a new Business Works Process
 icon.
icon.

-
Select a process on which you want to add a service, and click the
Create Service icon.
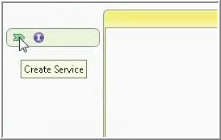
The New Service dialog opens. -
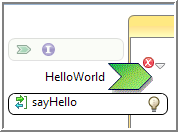
In the New Interface section specify the
Interface Name as
HelloWorld and
Operation Name as
sayHello. Click
Finish.
-
To implement the operation, drag and drop the
sayhello operation, and select
Implement Operation.
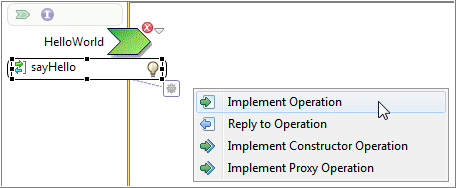
Choose Implement Constructor Operation option, if there are multiple operations in a Port type.Tip: The option Implement Operation implements a single operation and creates a single Receive activity and a Reply. The option Implement Constructor Operation implements a constructor. A constructor provides for multiple operations. Use this option if the PortType has multiple operations which must be implemented by this process. -
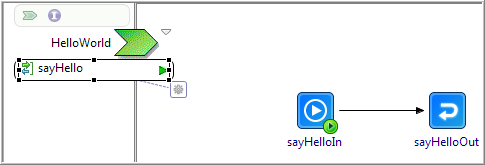
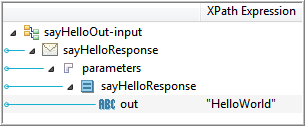
Click the
Reply activity (sayHelloOut) and under the Properties view, click the
Input tab. Configure Reply message.
-
Right-click the green chevron and select
. The
Binding Configuration dialog displays.

-
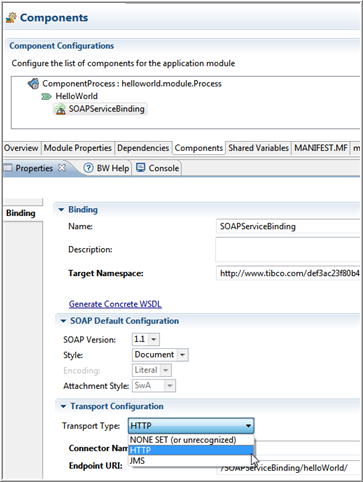
To configure transport on the SOAPServiceBinding, select
HTTP from the
Transport Type drop-down list in
Transport Configuration.
-
To avoid namespace resolution error, click
Next and clear the
Embed Abstract WSDL and
Embed Schema check boxes and click
Finish.
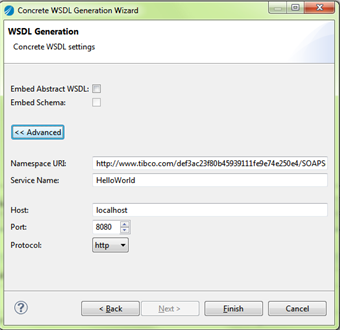
The concrete WSDL is generated at the specified location.
Copyright © Cloud Software Group, Inc. All rights reserved.