Using Configurations from Configuration Management Services
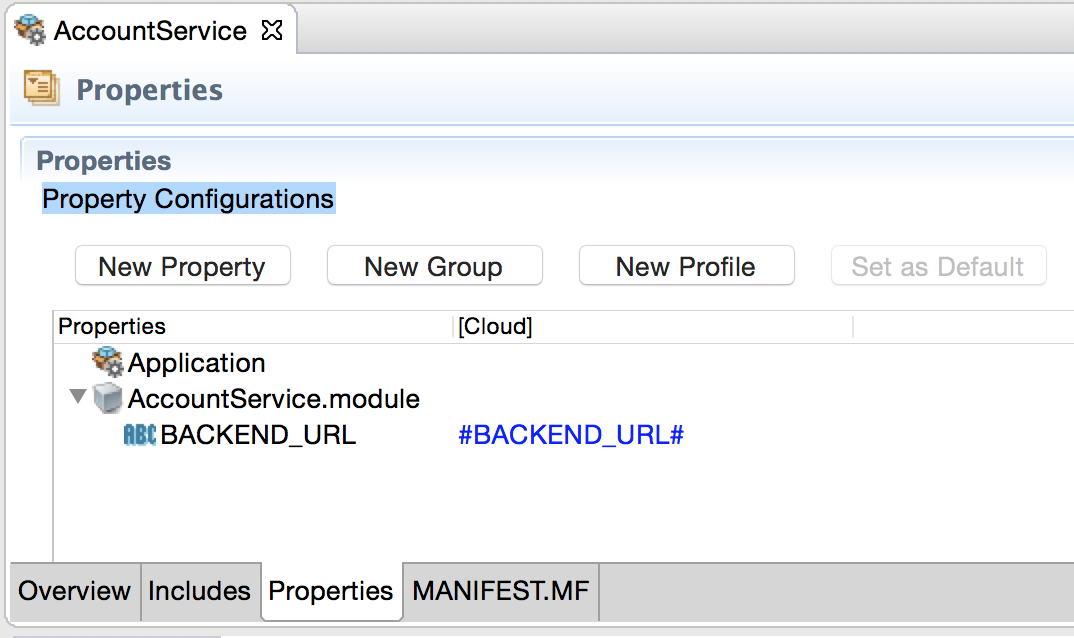
You can use configurations from the configuration management services such as Consul and Spring-Cloud-Config, by defining a token such as #<property name># in the application properties, where <property name> is the name of the configuration parameter.
For example, #BACKEND_URL#.
- Set the environment variable CONSUL_SERVER_URL. For more information, see Environment Variables
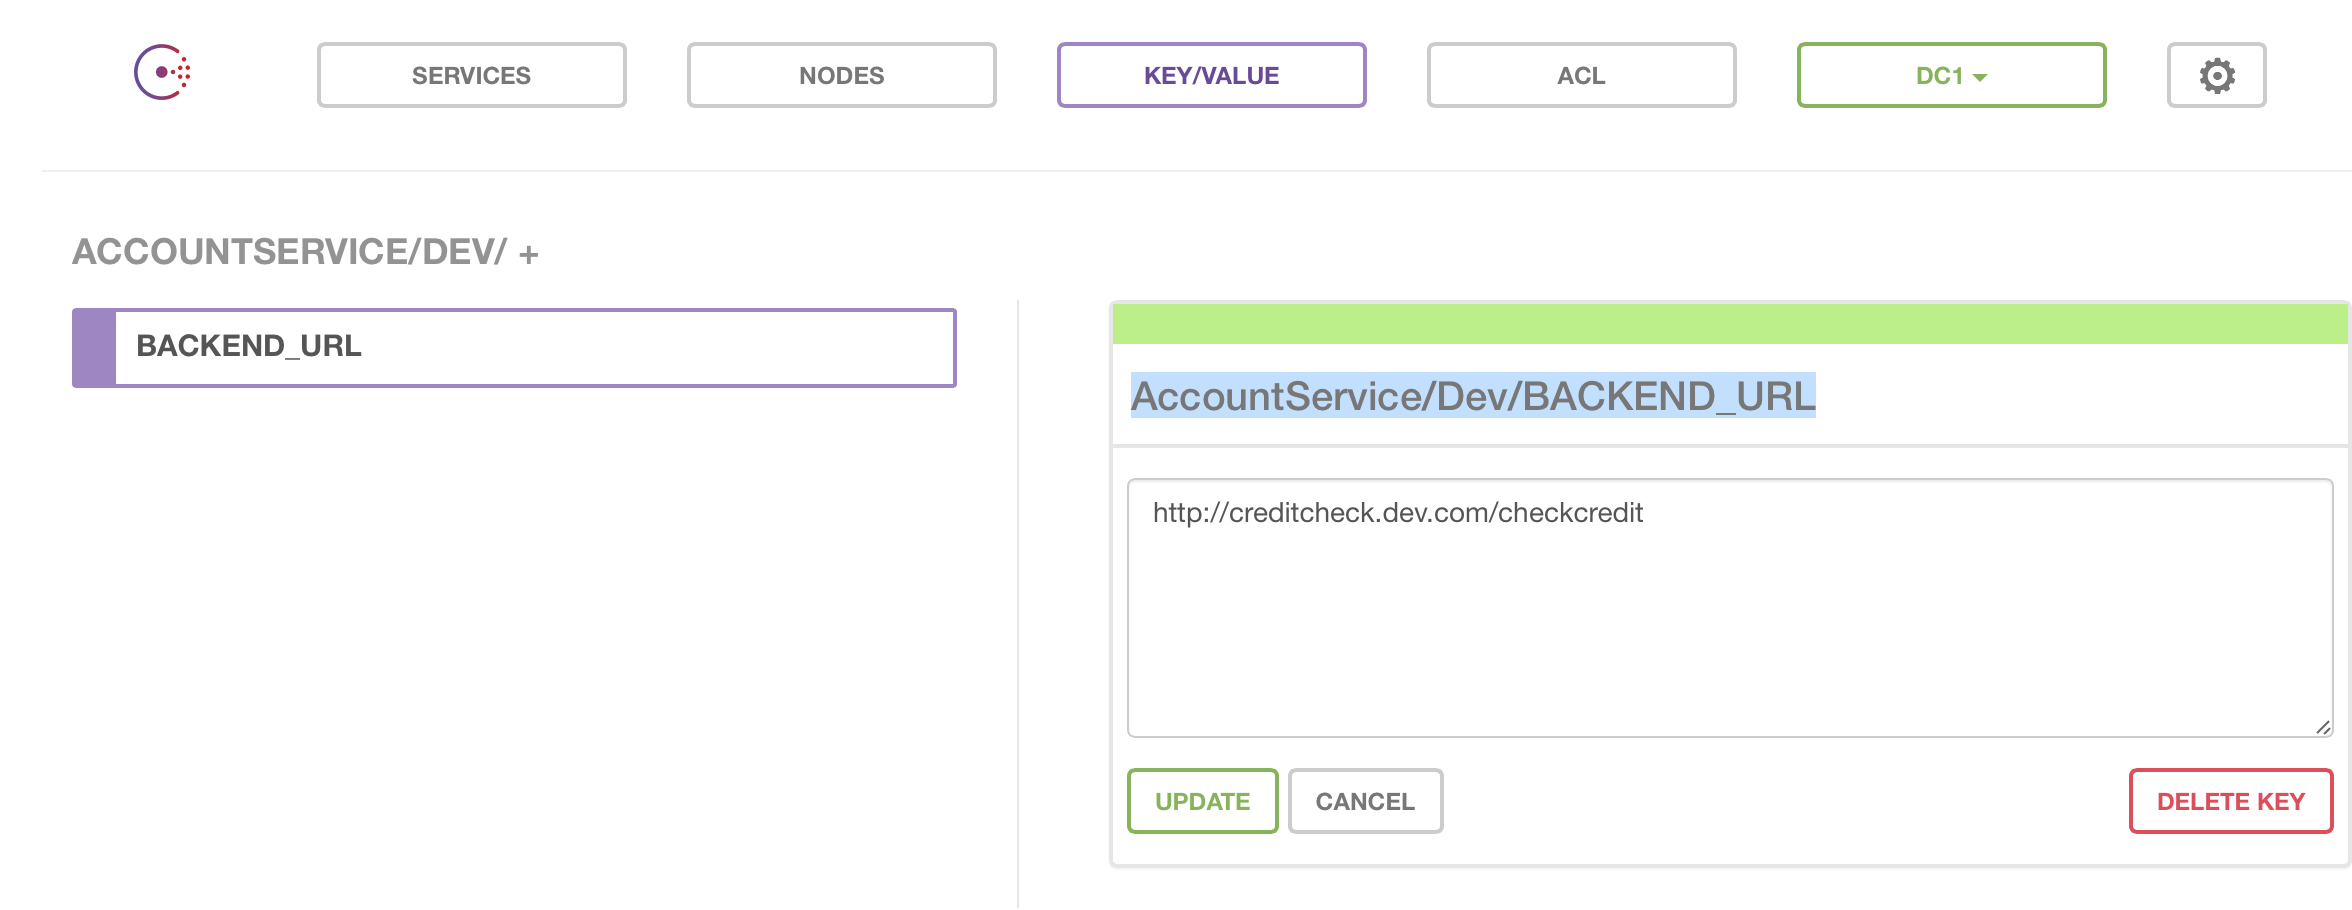
- In your Consul service define the keys using the format
<BWCE_APP_NAME>/<PROFILE NAME>/<KEY Name>.
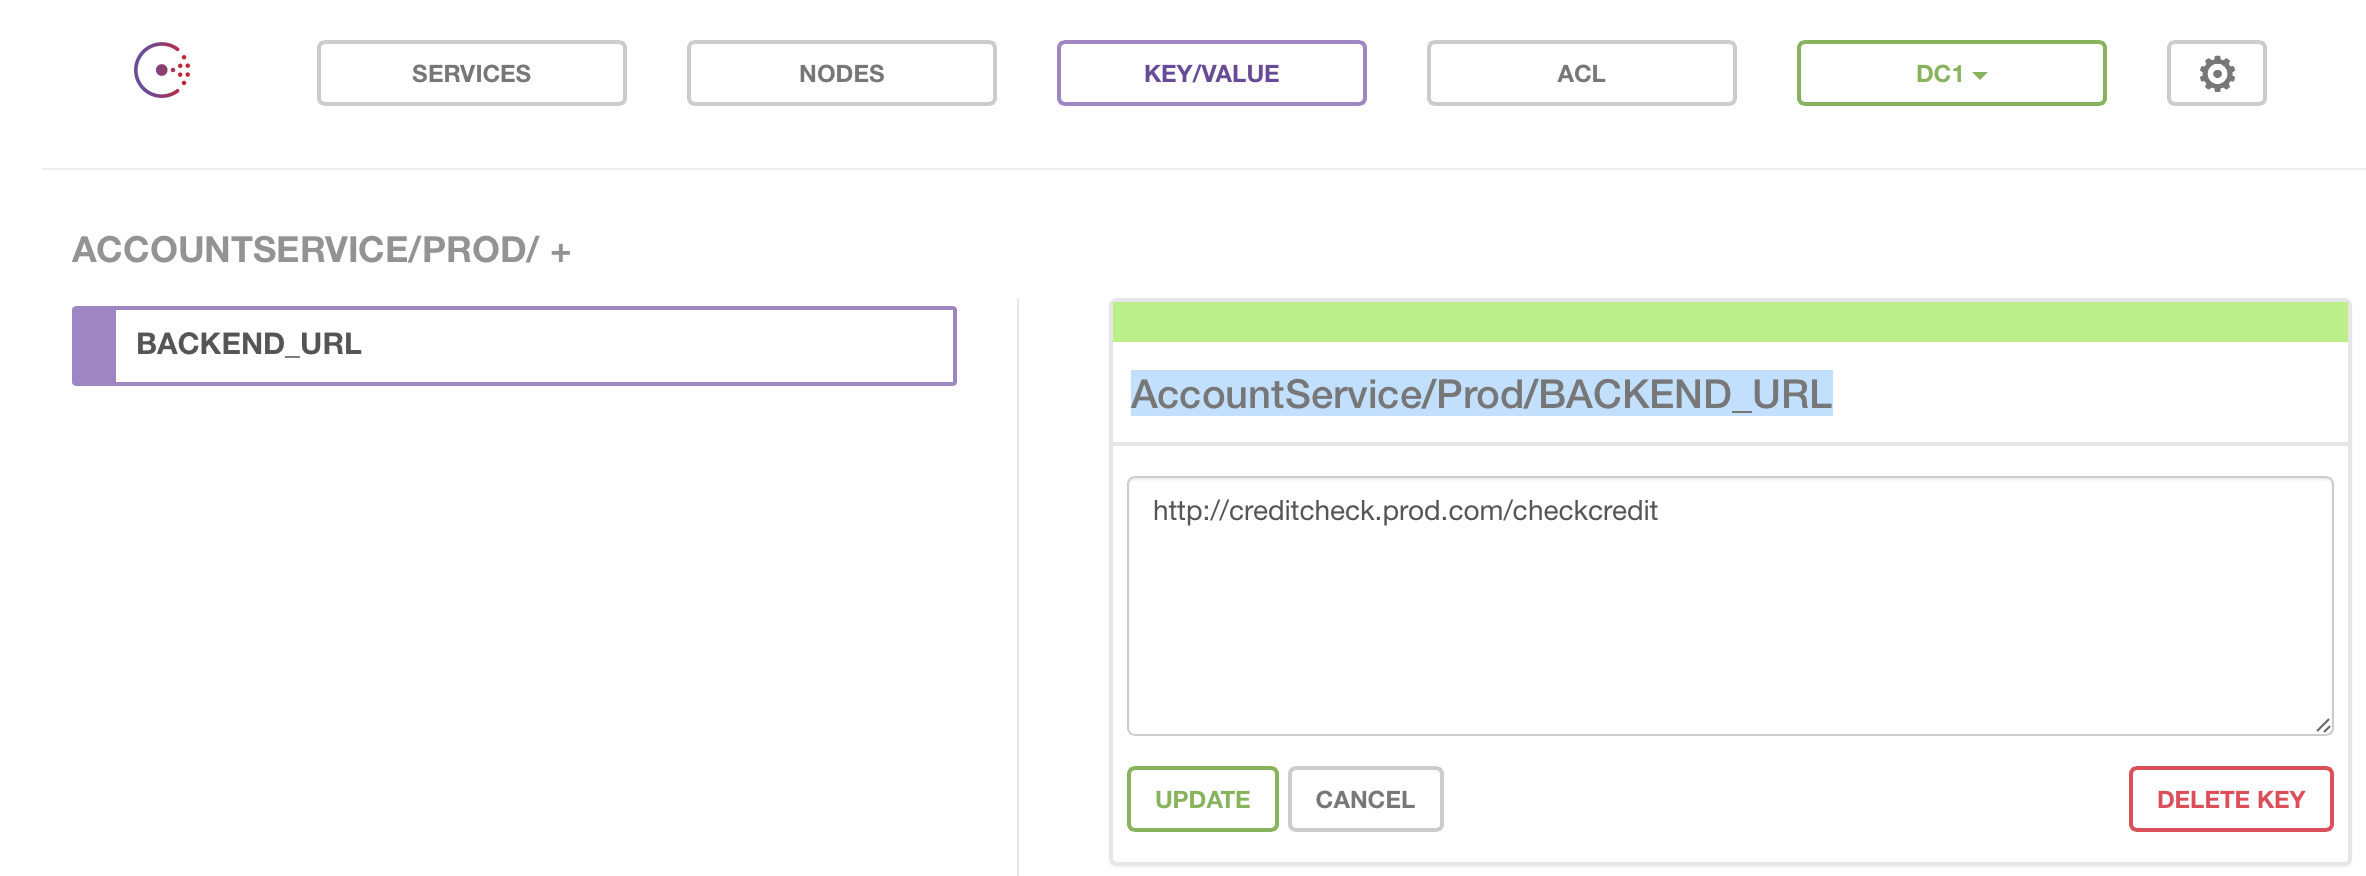
For example, AccountService/Dev/BACKEND_URL
AccountService/Prod/BACKEND_URL
Follow these steps to use configurations from Spring Cloud Config:
- Set the environment variable SPRING_CLOUD_CONFIG_SERVER_URL. For more information, see Environment Variables
- Create a
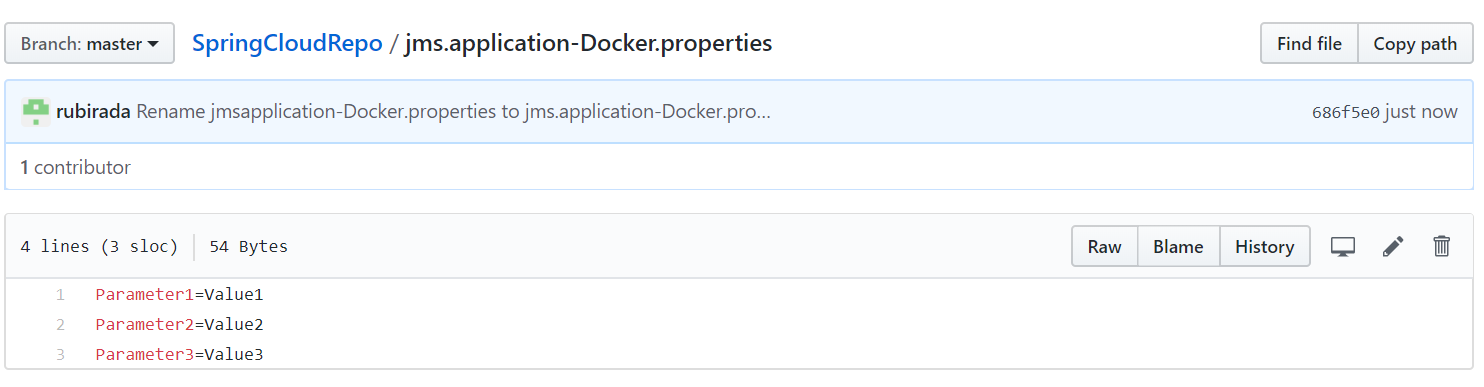
.properties file and add the application properties and their values as key-value pairs in the file. The filename for application specific properties should be
<APPLICATION_NAME>-<PROFILE_NAME>.properties.
For example, jms.application-Docker.properties
For common properties, the filename should be application.properties.
- Add the .properties files to the Spring Cloud Config Server backend.
- Create a new package and inside the new package create a main class.
- Write the custom config management code in the new package with the help of the methods written in ProfileResolverHelper class inside com.tibco.bwce.profile.resolver package.
- Create a JAR for the newly created package
-
Update the setup.sh script by including the name of the new JAR in the classpath and replace the name of the previous package and main class with the new ones. For example, if previously the <package_name>.<main_class_name> was com.tibco.bwce.profile.resolver.Resolver then replace it with the newly created package and main class.
- Unzip the runtime zip folder and navigate to tibco.home/bwce/bwce_version/system/shared. In the shared folder, paste the newly created JAR with the custom config code and zip the files.
Using Kubernetes ConfigMap for Configuration Management with TIBCO BusinessWorks™ Container Edition.
- Export the application properties file for the profile containing the module properties. For more information, see Tokenizing Application Properties for exporting in the Properties file.
- Add a profile name to the exported properties file. For example, BW_PROFILE=Prod.
- Create a Kubernetes ConfigMap using the following command:
kubectl create configmap <Name-of-config-map> --from-env-file=<name-of-exported-file>.properties
- Add the created ConfigMap to the Kubernetes pod specification as follows:
apiVersion: v1 kind: Pod metadata: name: bookstore-demo labels: app: bookstore-demo spec: containers: - name: bookstore-demo image: bookstore-demo:2.4.4 imagePullPolicy: Never envFrom: - configMapRef: name: <Name-of-config-map> -
When a pod is created using above specification, the application will pick values of the tokenized module properties in the application from ConfigMap.