Using the Wizard to Create a REST Reference
In TIBCO Business Studio for BusinessWorks, you can invoke a REST service without a Swagger file. As long as you have the URL for the endpoint in a running service, you can use the REST Reference Wizard in TIBCO Business Studio for BusinessWorks to create a REST reference to invoke the service. A reference created using a wizard can be modified since it does not have a Swagger contract to adhere to.
Obtain the URL for the service endpoint
Typically, the URL for an endpoint can be obtained from the API web page or some other documentation where the service is described. This documentation should list the details of the service such as operations that the service supports, the parameters used and the data definitions for the requests and responses.
Verify the service is running
You can verify that the service is running by invoking it using a testing tool such as Postman or SoapUI.
Create a new application and open the REST Reference Wizard
- Create a new application if you do not already have one. For more information, see the section "Creating an Application" in the TIBCO BusinessWorks™ Container Edition Application Development guide.
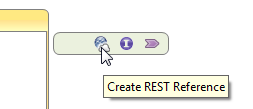
- Click the Create REST Reference icon to open the REST Reference wizard.
- Enter the URL for the service in the Service URL text box.
- Select the operations that you want to implement in your reference by selecting respective check boxes and click Next.
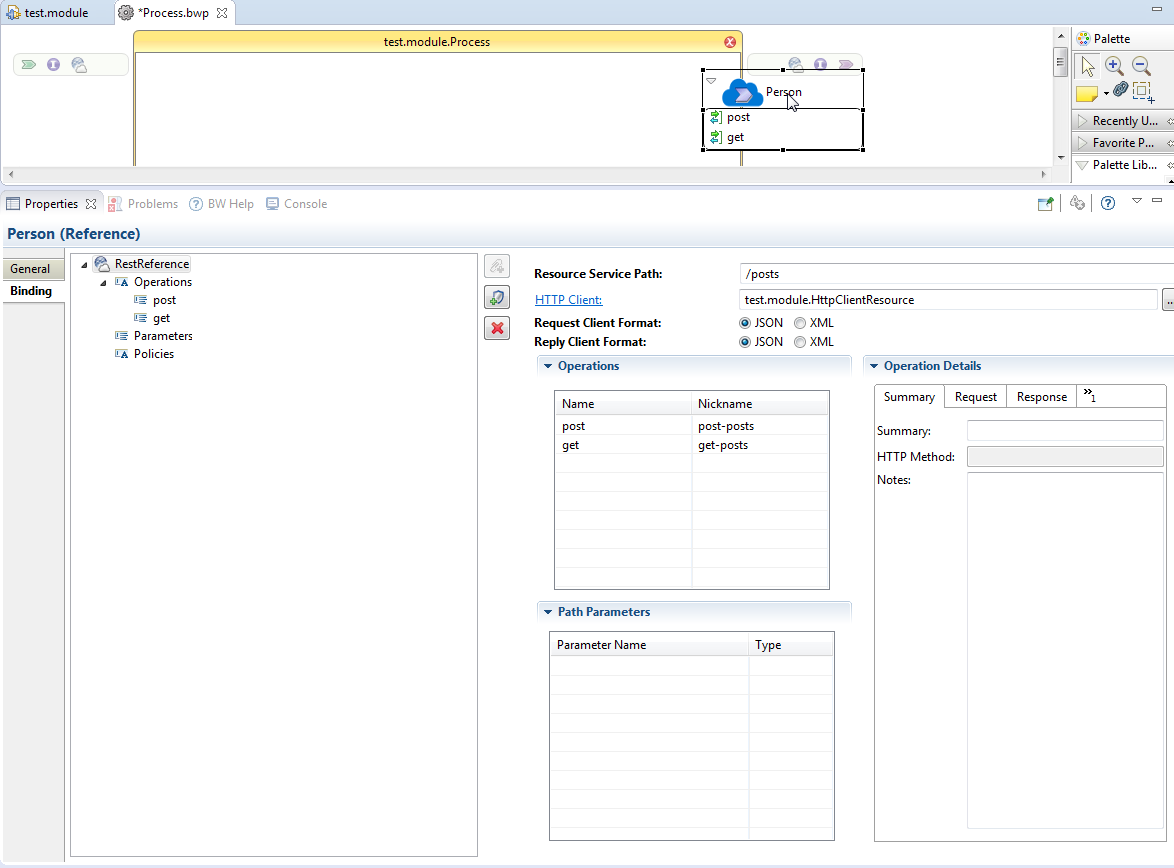
- Configure the request and response type for your operations in the Configuring the Operation screen by selecting the request and response type from their respective drop-down menus. Click Finish. The wizard creates a REST reference. You should see it on the extreme right of your Process Editor.
- Open the Reference properties view by clicking on the reference name.
- Click the HTTP Client link to open the HTTP Client Shared Resource configuration page and verify that the Default Host has been set to the host where the service resides.
- Make sure that the port number is correct.
- You can optionally do the following in the Reference properties view:
- Add parameters for your operations
- Configure operation details, such as Request and Response for an operation by clicking on the operation in the Operations table, then configuring the Response and/or Request details in their respective tabs.
For more information about how to add parameters, see Parameter Support section.
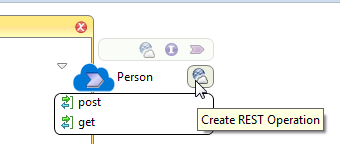
- Optionally, you can add an operation using the Create REST Operation wizard. To open this wizard, hover your mouse next to the REST reference name until you see the
Create REST Operation icon and click the icon to open the wizard:
On the Create new REST Operations page, select the operation you want to create and click Next. Configure the Request and Response for the operation if need be and click Finish. You have the option to configure your request and response for the operation at a later time too from the Reference properties view.
You can now invoke any operation by dragging and dropping it in the process editor.