Building a REST Service
This section details how to build a REST service.
Procedure
-
To define a REST Resource named
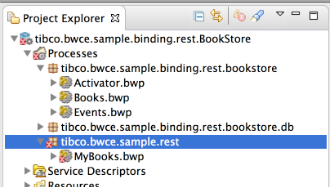
MyBooks, select tibco.bwce.sample.rest > New > BusinessWorks REST Resource.
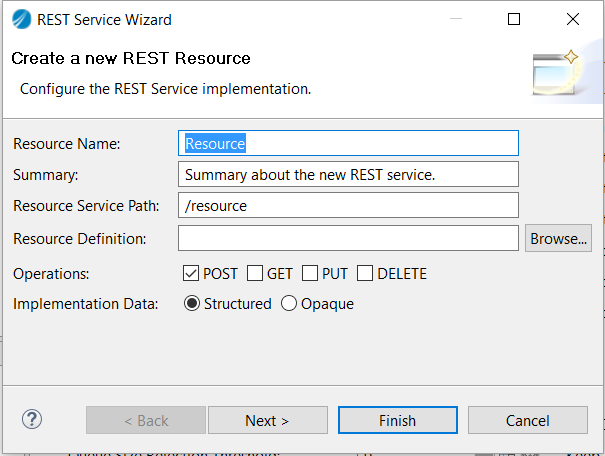
The REST Service Wizard window opens.
-
Specify the following values in the
REST Service Wizard window.
- Resource Name: MyBooks
- Summary: Summary about the new REST service. (default)
- Resource Service Path: Auto-filled
- Resource Definition: Select Browse > Schemas > Books.xsd > Books in the Select Schema Element Declaration window.
- Operations: Select POST and GET check boxes.
- Implementation Data: Accept the default value of Structured.
- Click Finish.
-
Open the
tibco.bwce.sample.binding.rest.bookstore.db package in the
Project Explorer and select the
BooksDB.bwp process. Drag it to the
Process Editor and drop it on the implemented POST operation.
A menu is displayed with two options: Create Invoke Activity and Create Reference and Wire Process.
-
Select
Create References and Wire Process.
The references are added to the process. The purple chevron indicates the service and its operations that can be referenced by the process.
- To update the POST process to invoke the appropriate external service operation:
-
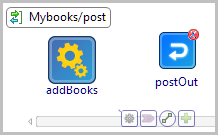
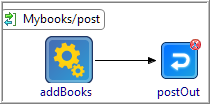
Click the newly added activity. Select the
 icon and connect
addBooks to
postOut.
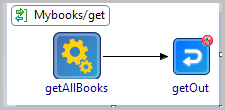
- Click the getAllBooks operation and select, drag, and drop the operation to the left of the getOut activity in the OUT process.
-
Connect
getAllBooks to
getOut.
- Save your changes.
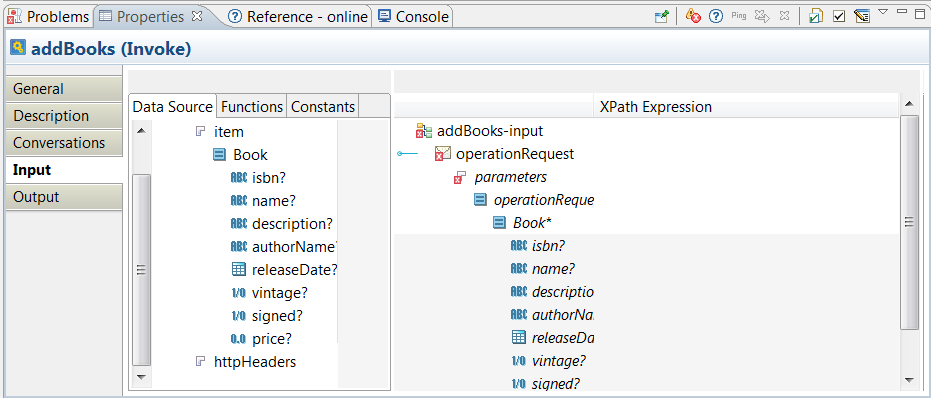
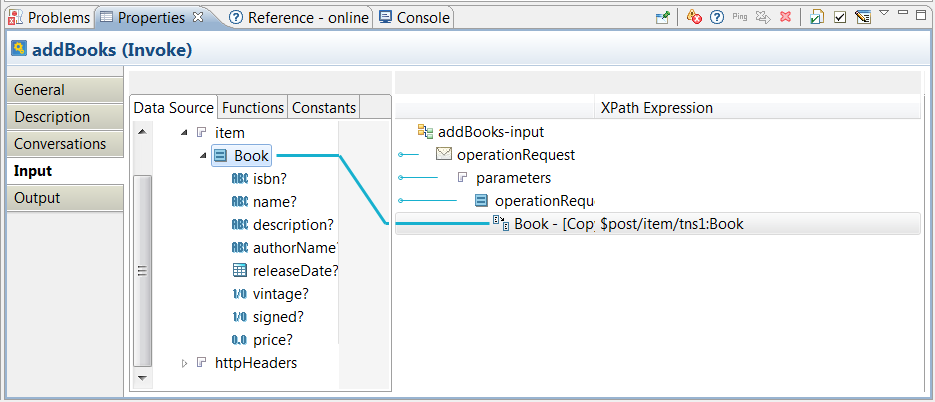
- Click the addBooks activity and select Properties > Input.
- Expand the data tree in the Data Source pane to locate the Book element.
- Drag the Book element from the left to the Book* element on the right.
- In the pop-up window, select Make a Copy of each " Book" and click Finish.
- Save your changes.
-
Click the
postOut activity and open the
Properties > Input
tab. Expand the
post activity and drag the Book* element from left to right.
- In the pop-up window, select the For each option and click Next. Click Finish on the Auto-Map window. The Properties > Input tab will look similar to this:
- Click getAllBooks and select Properties > Input.
- In the XPath Expression pane, add a dummy value to the input element, such as, "Get All Books". The input must be in quotes.
- Click the getOut activity in the Process Editor, and select the Properties > Input tab. Expand the getAllBooks activity and choose Book* to map the Book* element from left to right. In the pop-up window, choose Make a Copy of each " Book" and click Finish. The tab will look similar to this:
Copyright © Cloud Software Group, Inc. All rights reserved.

