Installing a Created Plug-in
You can use Eclipse Update Manager to install a created BusinessWorks 6 plug-in in TIBCO Business Studio.
Procedure
-
Open TIBCO Business Studio in one of the following ways:
 Microsoft Windows: click
.
Microsoft Windows: click
.
 Linux: run the TIBCO Business Studio executable located in the
TIBCO_HOME/studio/version_number/eclipse directory.
Linux: run the TIBCO Business Studio executable located in the
TIBCO_HOME/studio/version_number/eclipse directory.
 Mac OS: run the TIBCO Business Studio executable located in the
TIBCO_HOME/studio/version_number/eclipse directory.
Mac OS: run the TIBCO Business Studio executable located in the
TIBCO_HOME/studio/version_number/eclipse directory.
-
From the menu, click
.
-
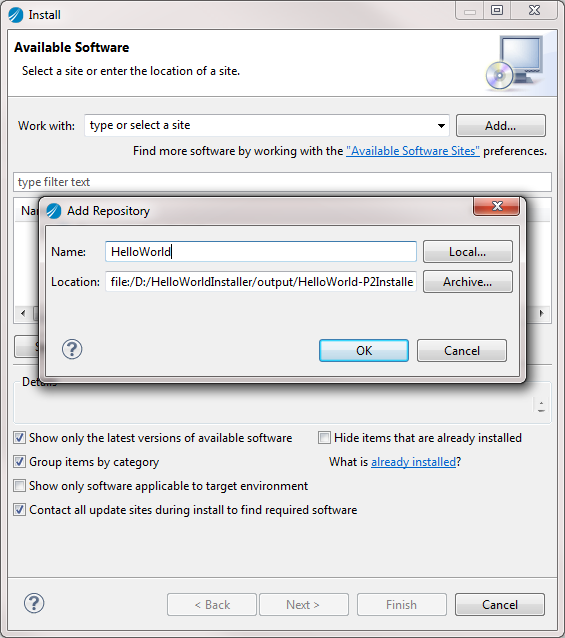
In the
Available Software dialog, click
Add.
-
In the
Add Repository dialog, click
Local and select the p2 installer folder that you have generated. Click
OK.
-
Select the created plug-in that you want to install. Click
Next.
-
In the
Install Details dialog, review the components to be installed. Click
Next.
-
In the
Review Licenses dialog, click I accept the terms of the license agreement. Click
Finish to install the plug-in.
-
During the installation, a security warning dialog is displayed, click
OK to complete the installation.
-
Click
Yes when you are prompted to restart TIBCO Business Studio.
Copyright © Cloud Software Group, Inc. All Rights Reserved.