Deploying an Application with Teradata Database Through CLI
If you have a TIBCO ActiveMatrix BusinessWorks Plug-in for Database application that uses a Teradata database, follow these steps to deploy the application through CLI:
Procedure
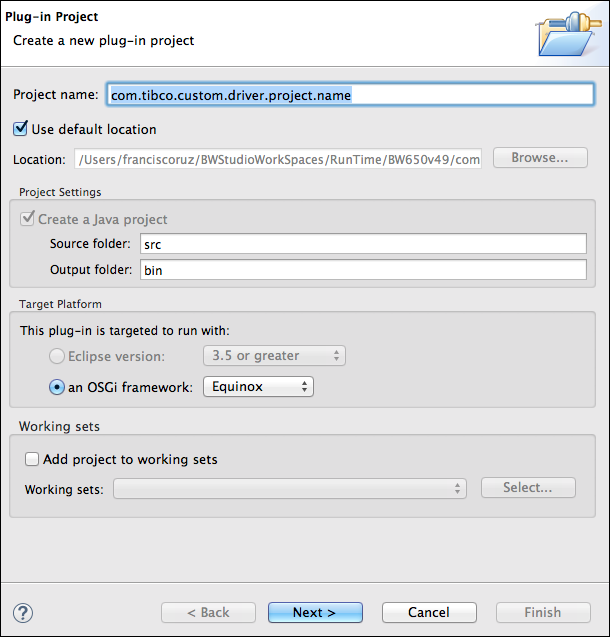
Design Time
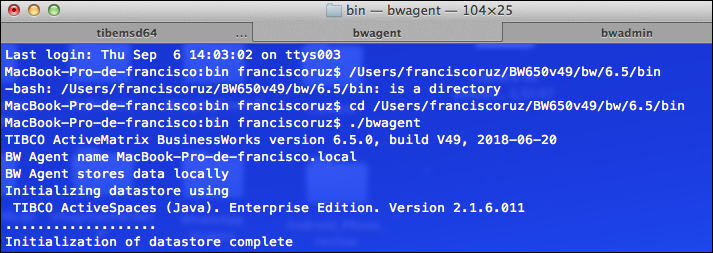
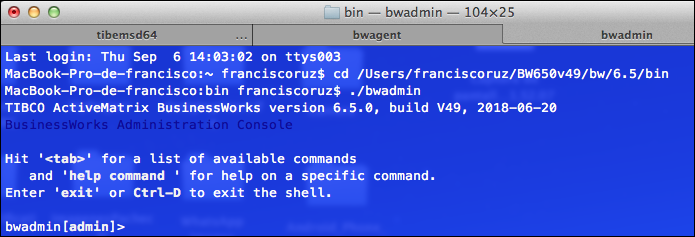
Run Time
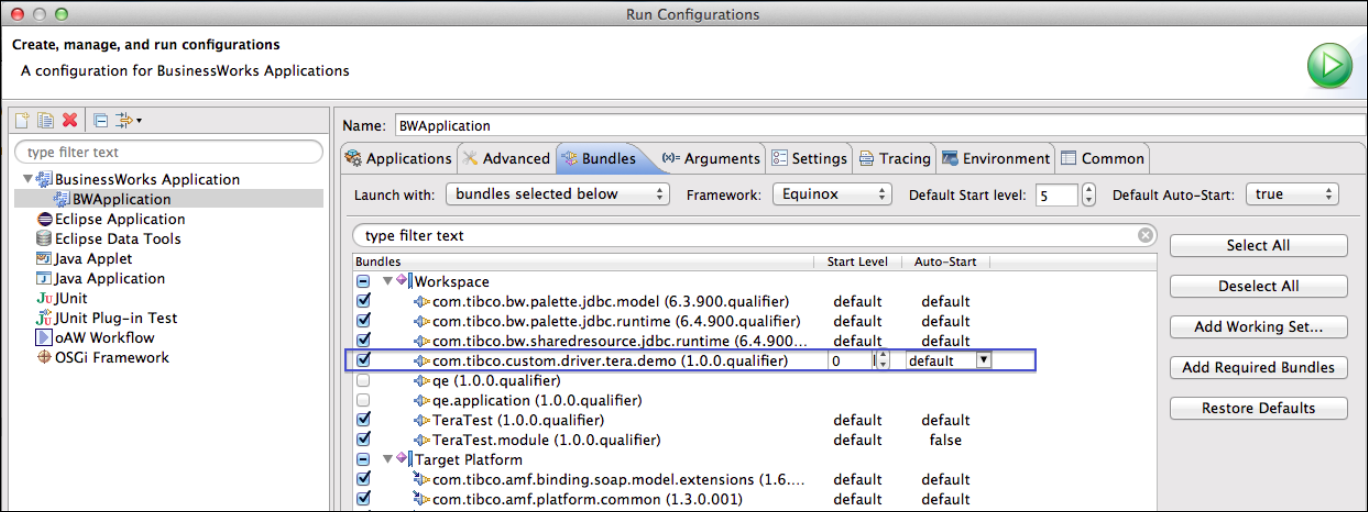
Deploying the Application on TIBCO Business Studio Server
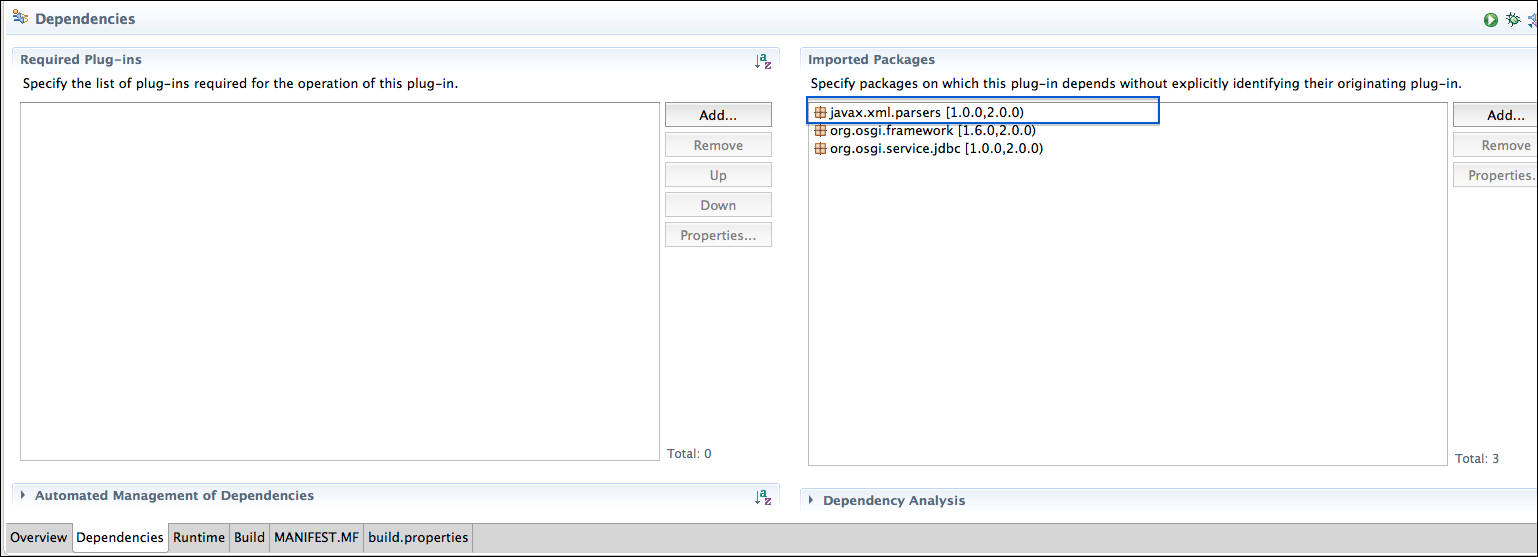
- Go to the Dependencies tab and add the javax.xml.parsers. This is a mandatory step because the Teradata JAR files are dependent on some xml parsers to work. Click Save.
-
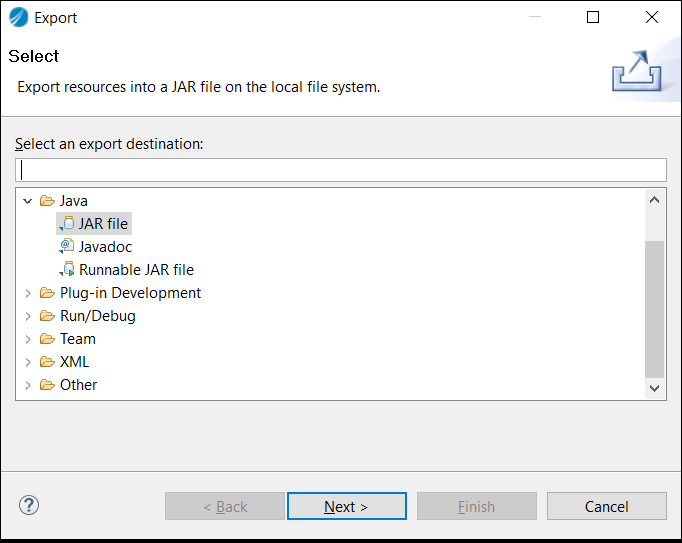
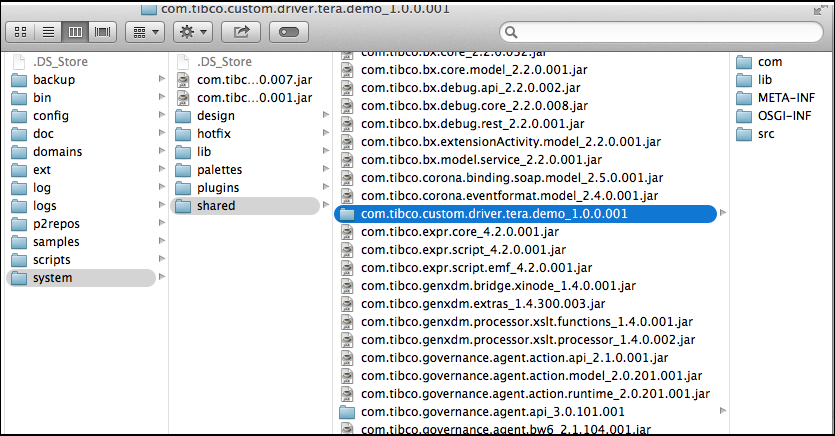
Export the project to
TIBCO_HOME/bw/version_number/system/shared. The project is exported as a JAR.
-
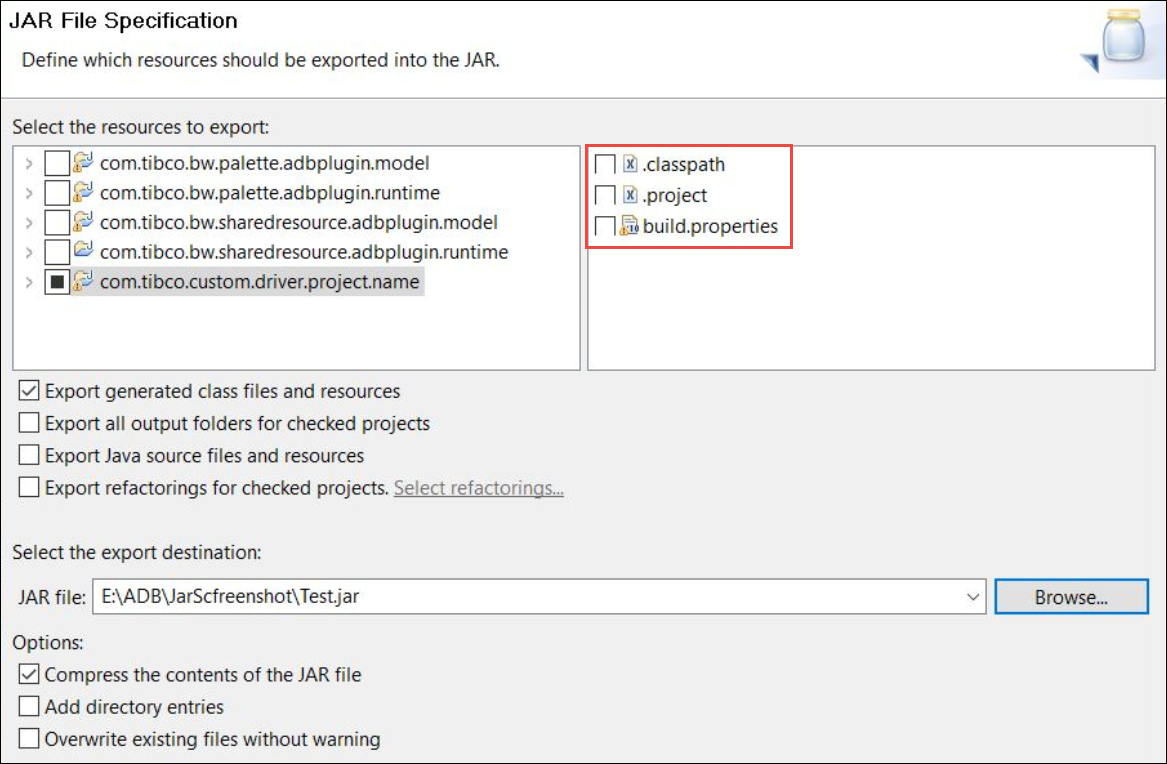
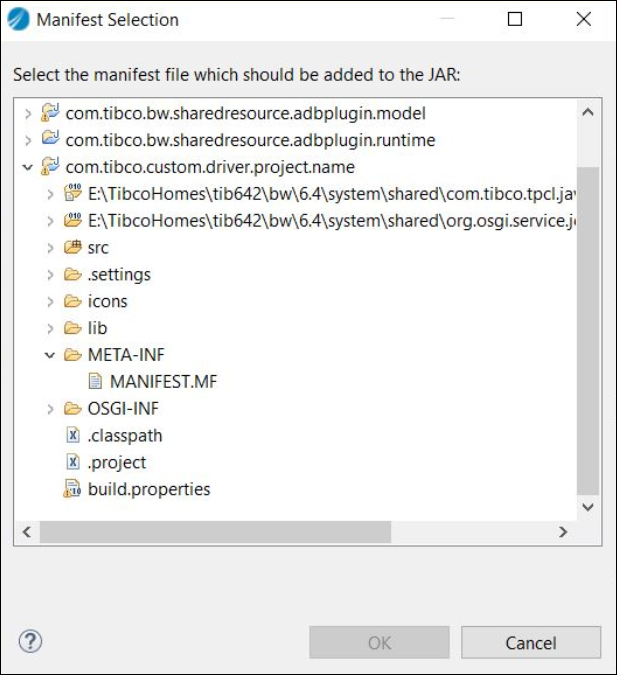
Select the custom project and clear the
classpath,
project, and
build.properties check boxes. Provide the export destination and the JAR file name and then click
Next.
-
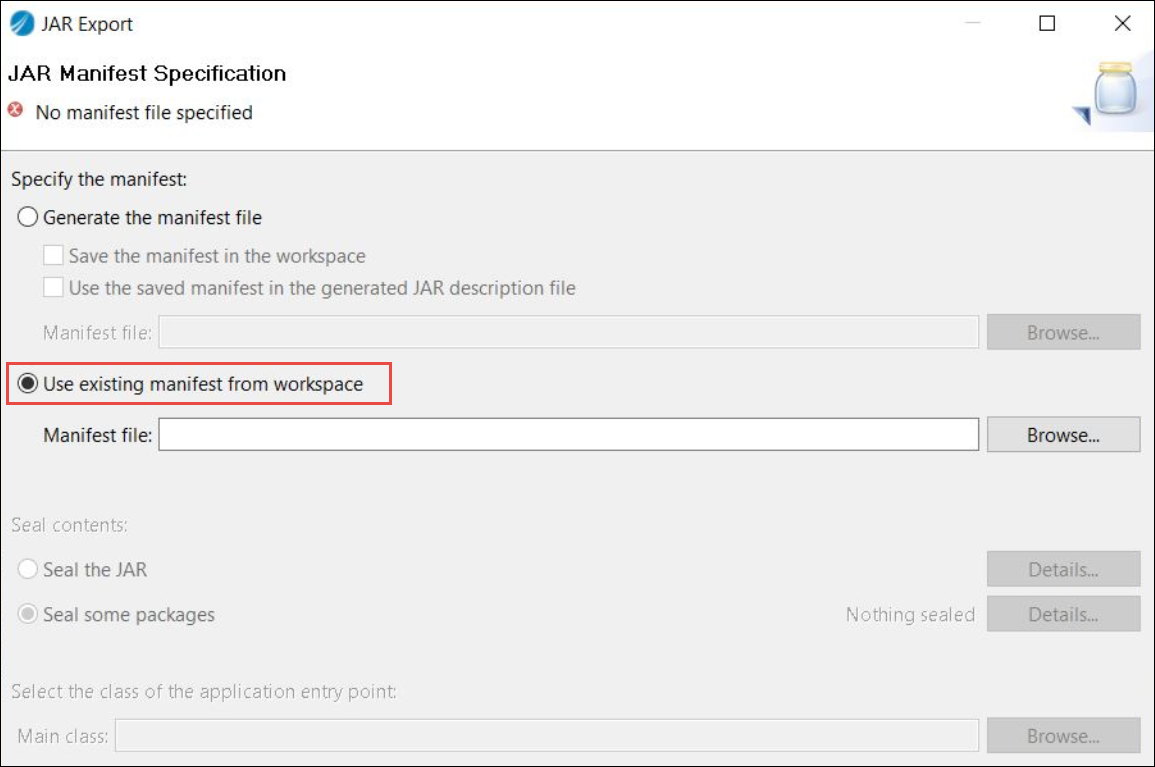
Select the
Use existing manifest from the workspace radio button.
-
Click
Browse to select the manifest file from the custom project and click
OK and then
Finish.
-
The file selected earlier is exported as a JAR file.
What to do next
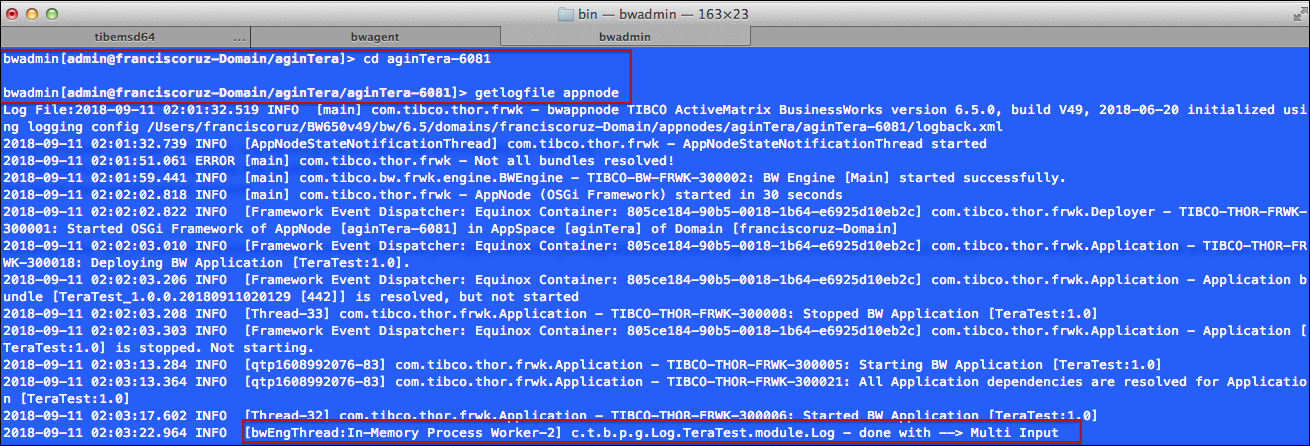
If you want to see debug options from the getlogfile then go to the BW_HOME/bw/version_number/domains/your-Domain/appnodes/youAppNodeName/youAppNodeName-xxxx/logback.xml.
Append the following code for the ADB palette:
<logger name="com.tibco.bw.palette.adbplugin.runtime">
<level value="DEBUG"/>
</logger>
Append the following code for the JDBC shared resource:
<logger name="com.tibco.bw.sharedresource.jdbc.runtime">
    <level value="DEBUG"/>
  </logger>
Note: To push application with Teradata database connection on docker, prerequisite steps must be followed. You follow steps to create JAR file as mentioned earlier. After the JAR file is created, unzip the JAR file. A folder is created. Move this folder under
BWCE_HOME/bwce/version_number/docker/resources/addons/jars
Copyright © 2021. TIBCO Software Inc. All Rights Reserved.