Creating XSD and MAP files
EDISIM Standards Editor allows you to generate XSD and MAP files for translation. This section gives an example of how to use Standards Editor to generate an XSD file and a MAP file.
To generate XSD and MAP files, complete the following steps:
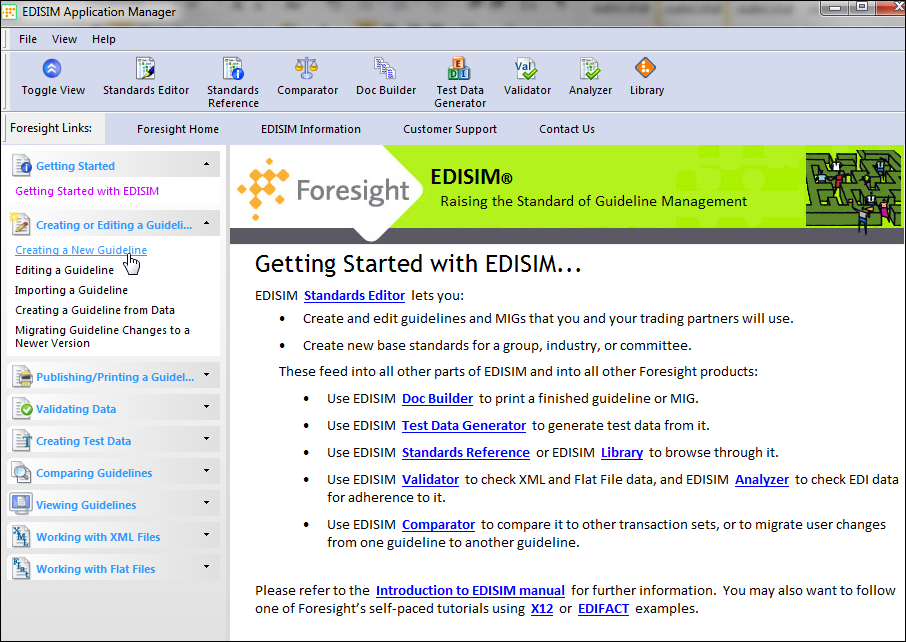
- Start EDISIM Application Manager. Select in Windows. The EDISIM Application Manager window opens.
- Create a guideline. Click Creating Or Editing A Guideline from the left-hand panel and then click Creating A New Guideline.
- Click the Standards Editor link on the right panel. The Empty Guideline - EDISIM window opens.
- Create a new standard. For example, create a new standard based on the HL7_26 guideline.
- Select from the Empty Guideline - Edisim window. The New Guideline - Select Guideline dialog box opens.
- Click the
User Guideline tab and select the guideline. In this example, we have selected the
HL7_26 item.
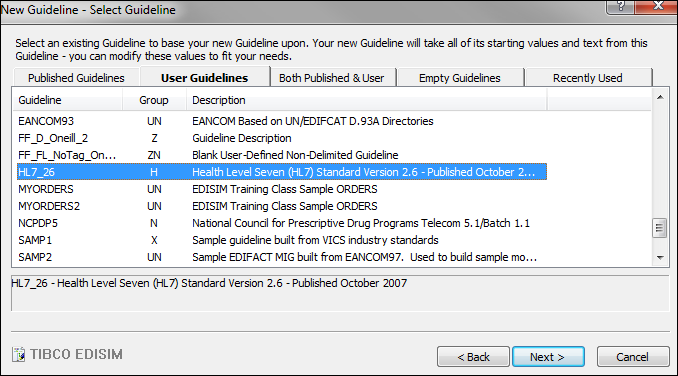
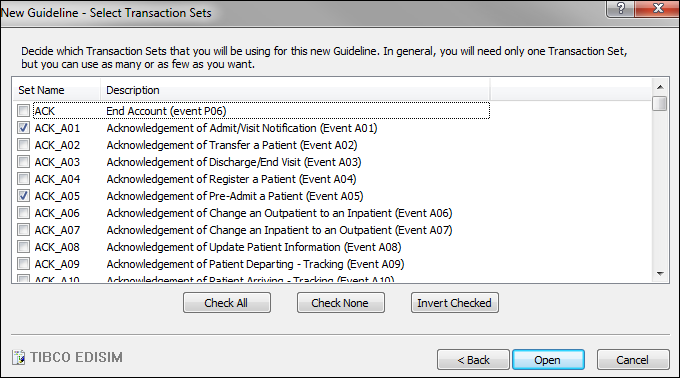
- Click Next. The New Guideline - Select Transaction Sets dialog box opens.
- Select messages you want to include in your new guideline. For example, the ACK_A01 and ACK_A05 messages.
- Click
Open.
- Edit the newly created guideline based on your requirements. For example, add Z segments, remove unused segments, or adjust optionality of fields in the guideline.
- Save the guideline. Select in the menu. The Save Guideline As dialog box opens. Type a guideline name in the Name field and then click Save.
- Export the guideline as a schema.
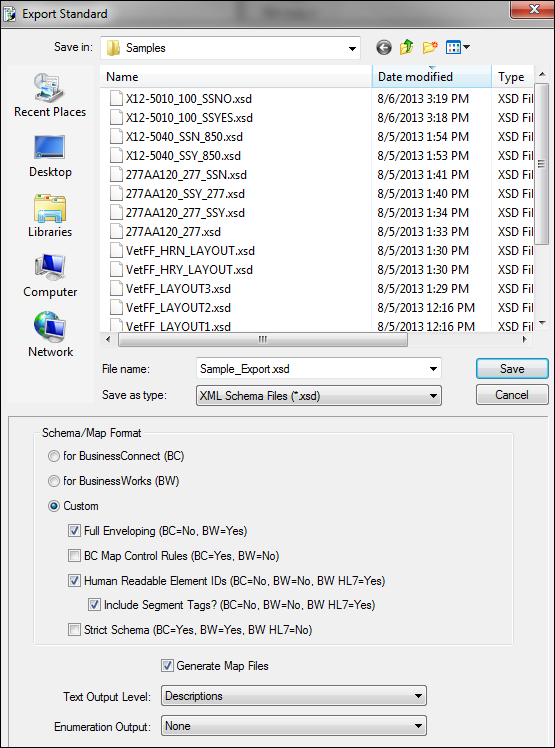
- Select from the menu. The Export Standard dialog box opens.
- Select a path to save the guideline.
- In the Schema/Map Format panel, select the
Custom radio button and then select
Full Enveloping (BC=No, BW=Yes),
Human Readable Element IDs (BC=No, BW=No, BW HL7=Yes), and
Include Segment Tags check boxes.
Uncheck Strict Schema (BC=Yes, BW=Yes, BW HL7=No)
- Check Generate Map Files
- Click Save to save the file. An XSD file and a MAP file are generated.
For more information about how to use EDISIM modules, see TIBCO Foresight® EDISIM® documentation.
Copyright © 2021. Cloud Software Group, Inc. All Rights Reserved.