Creating a Project
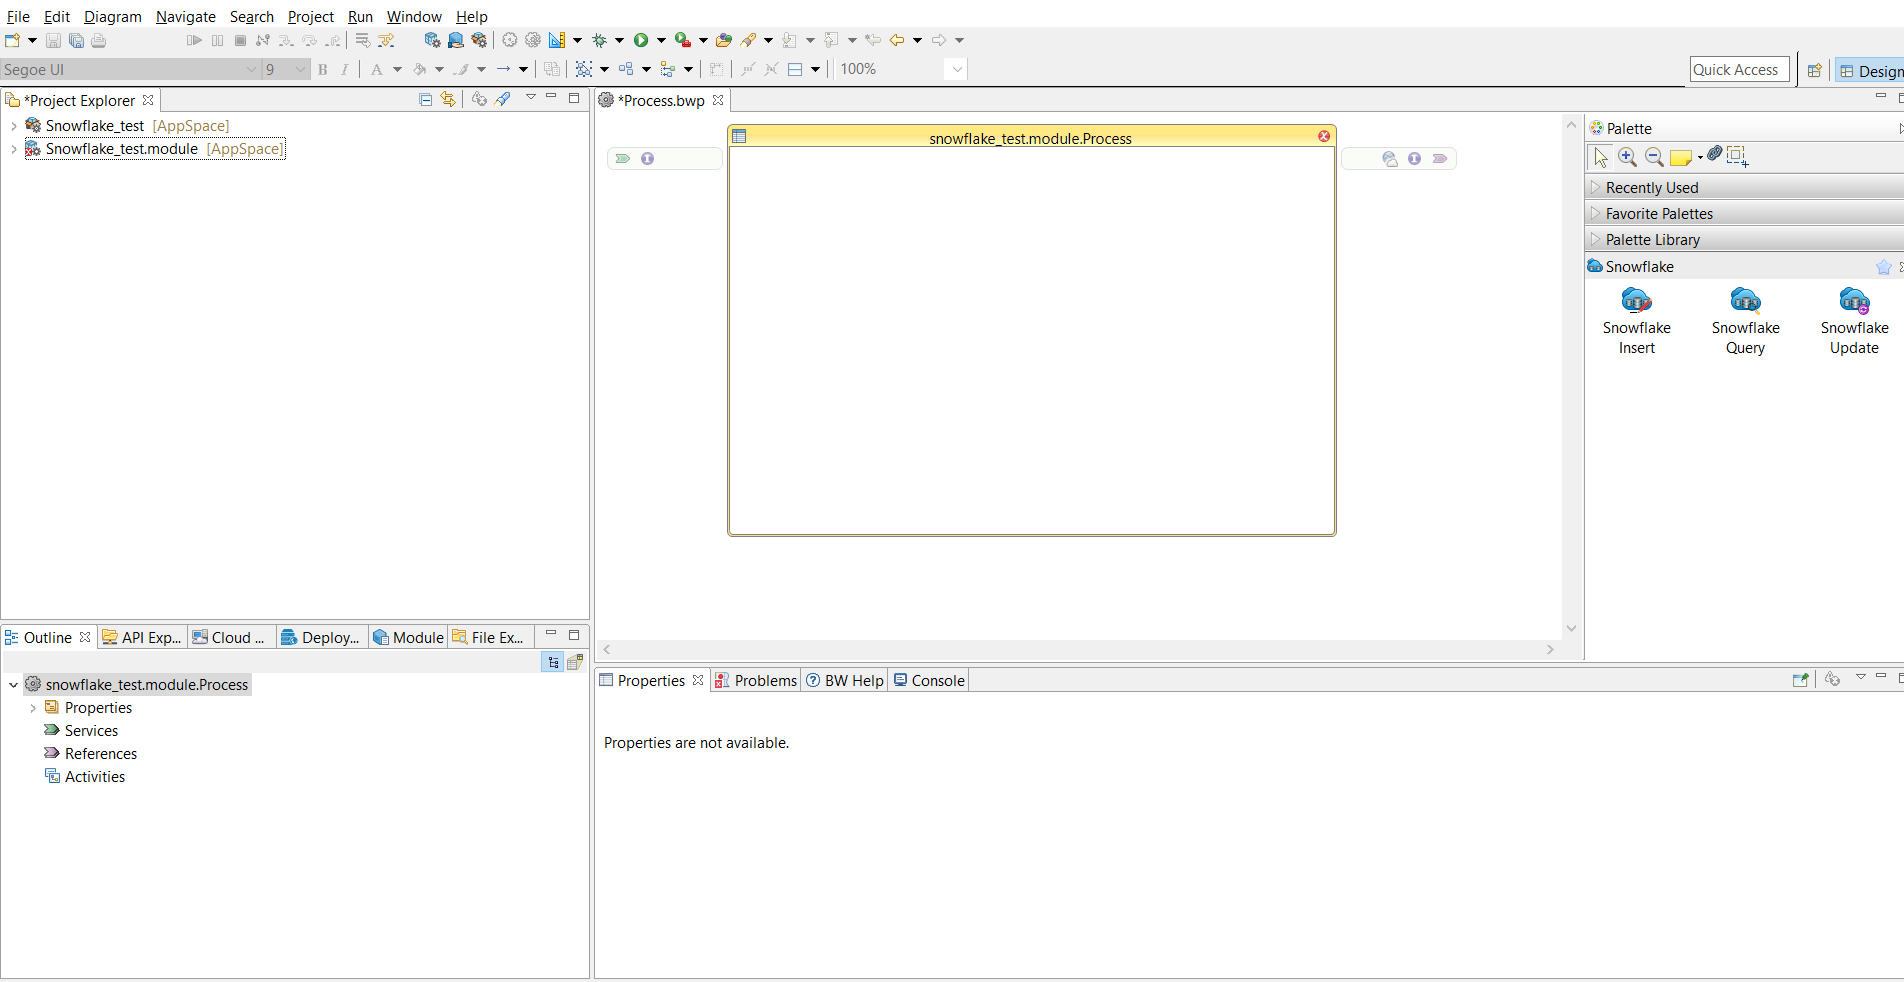
Projects are TIBCO ActiveMatrix BusinessWorks application modules that are created in TIBCO Business Studio for BusinessWorks. Begin by creating a project, and then add resources and processes.
An Eclipse project is an application module configured for TIBCO ActiveMatrix BusinessWorks. An application module is the smallest unit of resources that is named, versioned, and packaged as part of an application.
Procedure
- Start TIBCO Business Studio for BusinessWorks in one of the following ways:
- From the menu, click to open the BusinessWorks Resource wizard.
- On the Select a wizard page, click BusinessWorks Application Module and click Next to open the Project page.
-
On the
Project page, configure the project that you want to create:
- In the Project name field, enter a project name.
- If you do not want to use the default location (current workspace) for the project, clear the Use default location check box and click Browse to select a new location.
- In the Version field, retain the default version of the application module or enter a new version.
- To automatically create an empty process and an application when creating the project, ensure that the Create empty process and Create Application check boxes are selected.
- Optional: To create a Java module, select the Use Java configuration check box.
- Click Finish.
Copyright © 2021. Cloud Software Group, Inc. All Rights Reserved.

