Installing in GUI Mode
The following procedure lists the steps to install TIBCO Product and Service Catalog in the GUI mode:
Procedure
- Review the information on the Welcome dialog box and click Next.
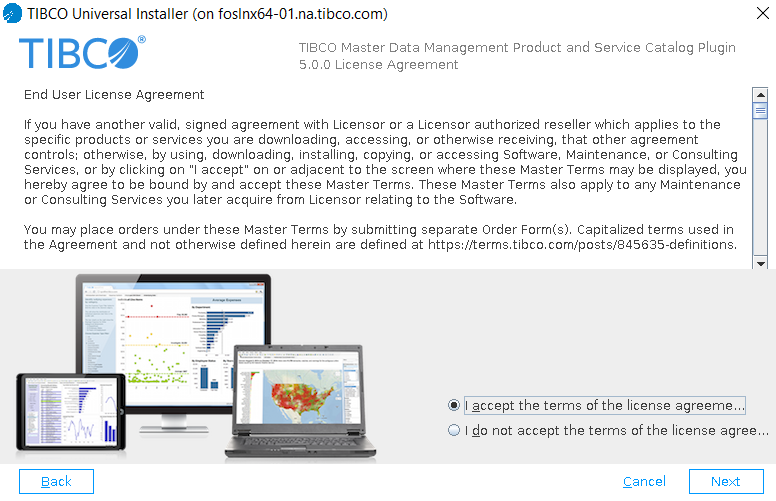
- The License Agreement dialog box appears. Review the terms of the license agreement and select I accept the terms of the license agreement. Then click Next to continue with the installation.
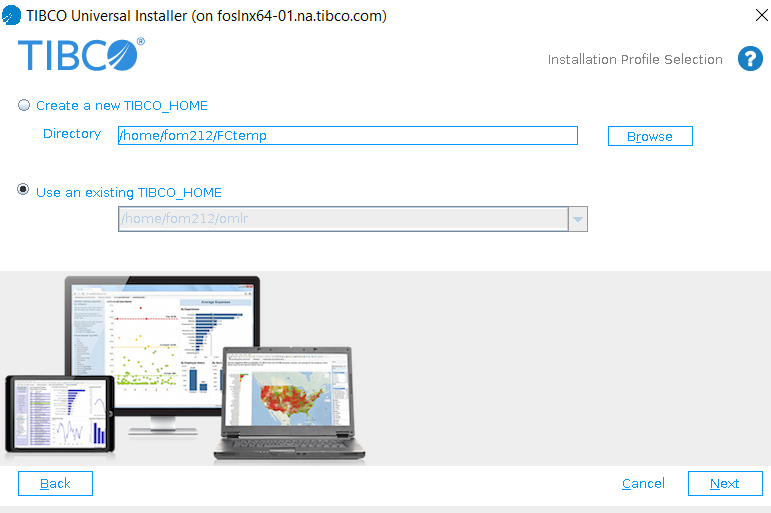
- Select the environment where TIBCO MDM is installed and click Next. The Installation Type dialog box appears.
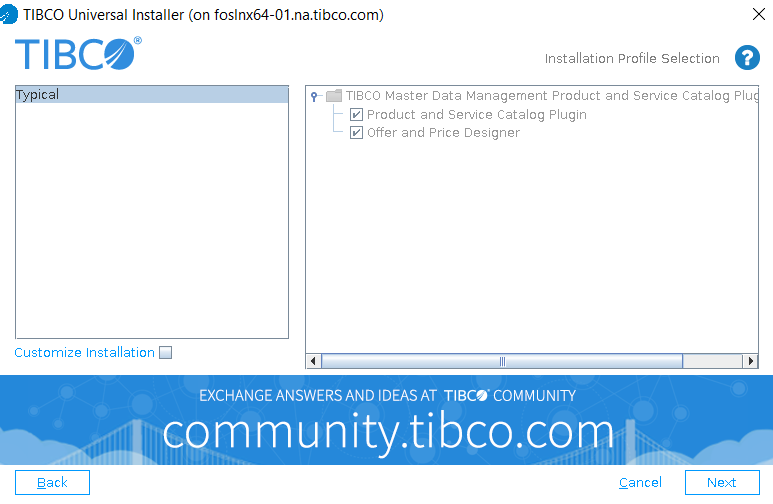
- On the Installation Type dialog box, select one of the following available options:
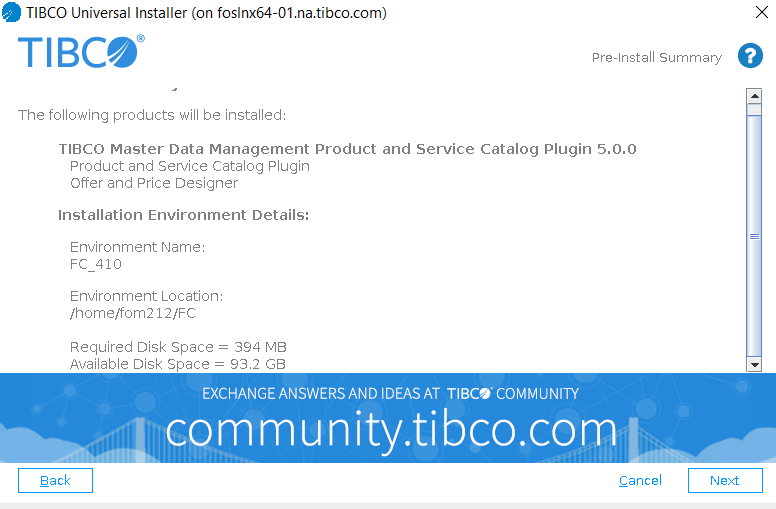
- Select theTIBCO_HOME path and click Next. After the installer configures your installation choices, the Pre Install Summary dialog box appears. Review the information displayed in the dialog box. If you want to change any of your choices, click Back to step back through the dialogs to the appropriate point. You can then proceed with the installation process.

What to do next
Complete the Postinstallation Tasks. After performing the postinstallation tasks, run the Configurator. For more details, see Configuration of TIBCO Product and Service Catalog.
Copyright © Cloud Software Group, Inc. All rights reserved.