Uploading Data
The first step of creating a dataset is uploading your raw data to TIBCO Clarity.
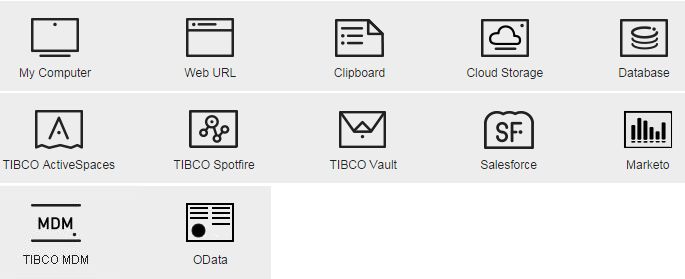
TIBCO Clarity supports uploading data from the following data sources:
- Uploading Data from a Local File
- Uploading Data from the Web
- Uploading Data from a Clipboard
- Uploading Data from Cloud Storage
- Uploading Data from a Database
- Uploading Data from TIBCO ActiveSpaces
- Uploading Data from TIBCO Spotfire
- Uploading Data from TIBCO Vault
- Uploading Data from Salesforce
- Uploading Data from Marketo
- Uploading Data from TIBCO MDM
- Uploading Data from OData
- Uploading Data from a Local File
You can upload your data from your local machine to TIBCO Clarity. - Uploading Data from the Web
You can upload your data from the web to TIBCO Clarity. - Uploading Data from a Clipboard
You can use the clipboard to upload your data to TIBCO Clarity. - Uploading Data from Cloud Storage
You can upload your data from cloud storage to TIBCO Clarity. TIBCO Clarity supports four types of cloud storage: Box, Dropbox, Google Drive, and Amazon S3. - Uploading Data from a Database
You can upload your data from a database to TIBCO Clarity. TIBCO Clarity supports the following databases: Oracle, Microsoft SQL Server, MySQL, PostgesSql, and Amazon Redshift. - Uploading Data from TIBCO ActiveSpaces
You can upload streaming data from TIBCO ActiveSpaces® to TIBCO Clarity. - Uploading Data from TIBCO Spotfire
You can upload data from TIBCO Spotfire to TIBCO Clarity. - Uploading Data from TIBCO Vault
You can upload data from TIBCO® Vault to TIBCO Clarity. - Uploading Data from Salesforce
You can upload data from Salesforce to TIBCO Clarity. - Uploading Data from Marketo
You can upload data from Marketo to TIBCO Clarity. - Uploading Data from TIBCO MDM
You can upload data from TIBCO® MDM to TIBCO Clarity. - Uploading Data from OData
When creating a new dataset, you can upload your data from OData to TIBCO Clarity.
Copyright © Cloud Software Group, Inc. All rights reserved.