Managing Datasets
On the home page, you can find all the created datasets. You can create, import, export, and delete datasets. You can also upload similar source data to an existing dataset from multiple files at a time.
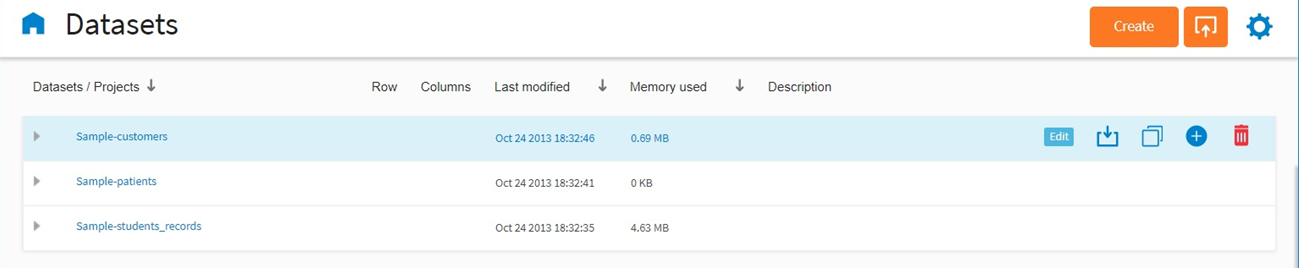
When you click a dataset, you are brought to the Dataset Summary Page where you can get an overview of your dataset and add more files to the dataset. On the home page, move your mouse pointer over a dataset, the following operations are displayed:
- Click Create dataset to create a dataset. See Creating a Dataset for more details.
- Click
Import dataset to import a dataset.
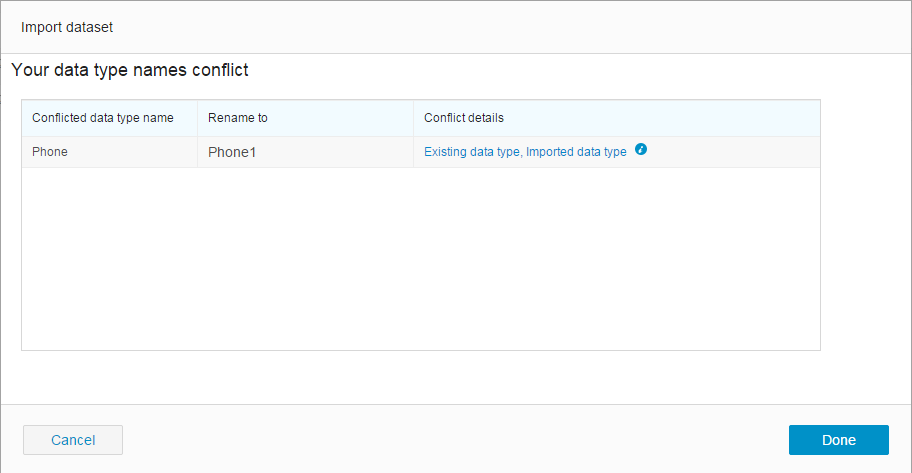
The dataset to be imported must be a ZIP file that is exported from TIBCO Clarity.
If a conflict occurs in the custom data types when importing the dataset, TIBCO Clarity will rename the conflicted custom data type.
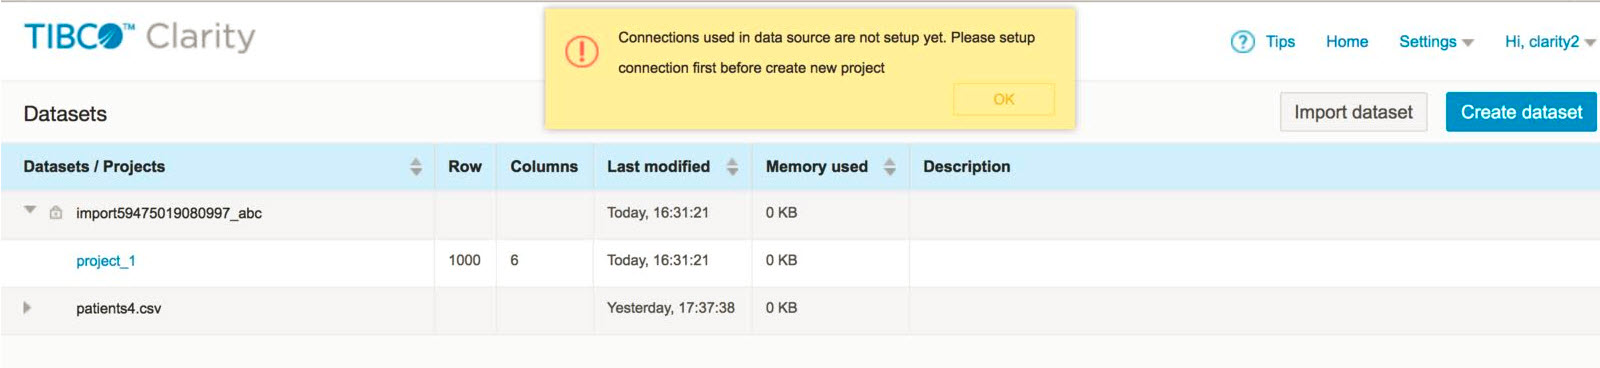
- To import a dataset from another user's project, you have to set the database information. If you have not set the database information, then a lock icon appears beside the dataset and an error message is displayed. You will not be able to create a project.
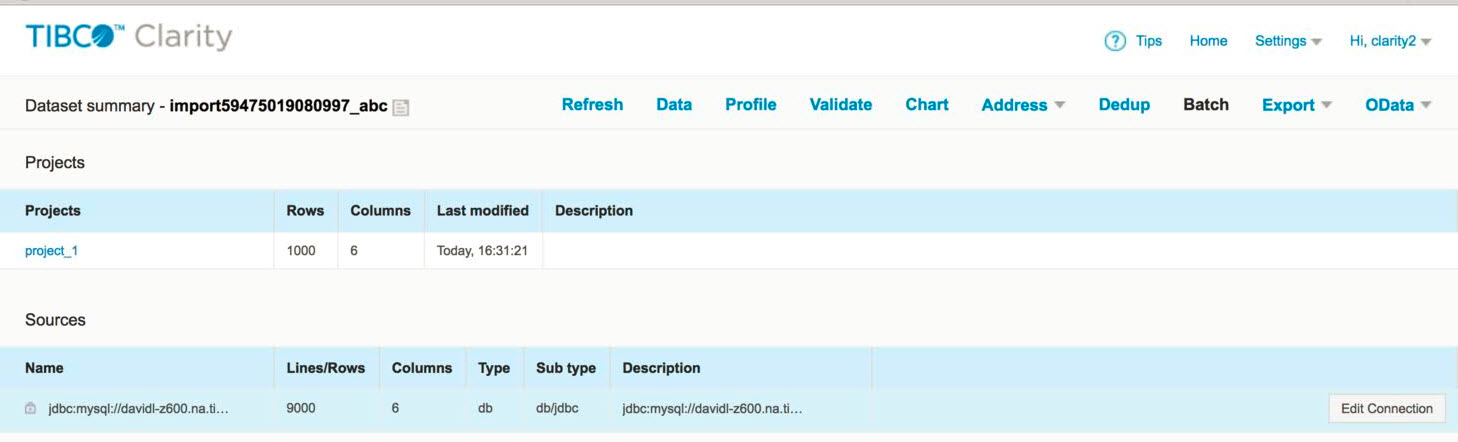
When the lock icon appears, click the imported dataset. The Dataset Summary page is displayed.
Under Sources, click the Edit Connection button and enter the details.
- Click Rename to change the dataset name.
- Click Export to export the projects in the dataset to your machine. See Exporting a Dataset for more details.
- Click Clone to clone a same dataset.
- Click New Project to create a project for the dataset.
- Click
 to delete the dataset.
- Click Edit to edit the dataset description, after moving your mouse pointer over the Description column.