Copyright © Cloud Software Group, Inc. All Rights Reserved


Chapter 4 Sharing Resources with Other Projects : Creating an AliasLibrary

Creating an AliasLibrary
The AliasLibrary resource allows you to specify aliases to file system resources (such as a JAR file) that need to be included in your project. Once the resource is configured, other resources using a standard reference form field can use the AliasLibrary to resolve external file dependencies that they may have at run or debug time.
The AliasLibrary resource is crucial for resources that depend on external files, such as the Java Activity in TIBCO ActiveMatrix BusinessWorks. Resources in your project can reference aliases in the AliasLibrary to resolve external file dependencies that they may have at runtime or debug time.
When you build an enterprise archive file, the files referenced by the aliases defined in an AliasLibrary that you include in your project are included in your archive file.
To Create an Alias for an AliasLibrary:
1.
In palette mode, this resource is in the General palette.
2.
Drag the AliasLibrary resource into the design panel.
The AliasLibrary is displayed in the design panel and the configuration panel now allows you to supply information about the library.
3.
Under the Configuration tab, provide a name and description for the AliasLibrary.
4.
Click the Aliases tab.
Click the 
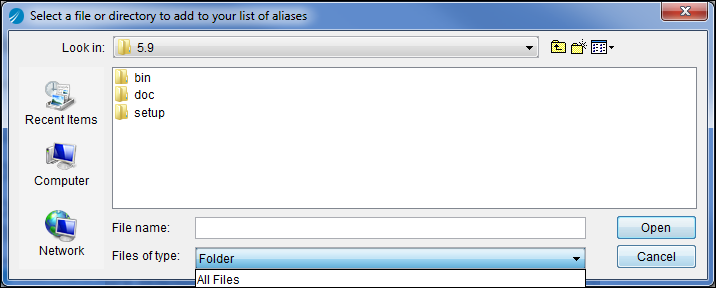
button to select a file or directory to add to the AliasLibrary. The dialog allows you to pick a Folder or All Files.
Figure 30 Select File or Directory for Alias
If you select a folder, all files in the folder become part of the alias, as well as any sub folders. This means that all files and directories under the folder become part of the enterprise archive file when you build it. If a large number of files exist in the folder, your enterprise archive file will also be large. When the archive file is deployed, all files in the archive are moved across the network to the remote machines, without regard to which are actually required for the deployment. It is good practice to include only the files required for your project.
A warning appears if the folder or file you select exceeds a certain size. The warning can be customized. See Enterprise Archive File Size for more information.
5.
Specify whether aliases within the AliasLibrary should be included in the CLASSPATH, deployed with the enterprise archive file, or both. This may be required for a TIBCO ActiveMatrix BusinessWorks Java Activity that loads a jar file in order to find its executable or supporting code.
If you select the Classpath checkbox, the JAR file or file represented by the alias is placed in the CLASSPATH when the enterprise archive file is built. (The Deploy checkbox must also be selected for deployment.) Note that, at design-time, the referring resource is responsible for loading these entries itself. TIBCO Designer does not perform anything with the configuration other than building the enterprise archive file.
If you select the Deploy checkbox, the associated file will be deployed. If the deploy checkbox is not selected, the file will not be deployed. This allows a Java Activity to specify that a support JAR file is required in the CLASSPATH, but should not be deployed (the jar may already be available as part of a separate configuration at runtime, but may be required during debug time).
Figure 31 Configure AliasLibrary
6.
Click Apply.
The alias is added to your file aliases list, which can be viewed by clicking Edit > Preferences and clicking the File Alias tab.
To Add a Previously Defined Alias to an AliasLibrary
Aliases are managed under the File Aliases tab in the TIBCO Designer Preferences dialog. Click Edit > Preferences to access the dialog. Before adding a predefined alias to an AliasLibrary, the alias must be visible in the Preferences dialog. See Creating an Alias for details.
1.
In palette mode, this resource is in the General palette.
2.
Drag the AliasLibrary resource into the design panel.
The AliasLibrary is displayed in the design panel, and the configuration panel now allows you to supply information about the library.
3.
Under the Configuration tab, provide a name and description for the AliasLibrary.
4.
Click the Aliases tab.
5.
6.
Complete step 5 and step 6 in the previous section.
To Delete an Alias From an AliasLibrary
1.
2.
Click the Aliases tab.
3.
4.
Click the button. The entry is removed from the AliasLibrary. The alias is still available from the Preferences dialog.
5.
Click Apply.

Copyright © Cloud Software Group, Inc. All Rights Reserved