Part 3: Merging suspects
Overview
The Merge view allows you to merge data from multiple records into a golden record. This record is the most accurate, up-to-date, and comprehensive representation of an entity. The following section demonstrates how to use the view.
Merging suspect records
To merge data from suspect records and create a golden record:
Enter the Merge view:
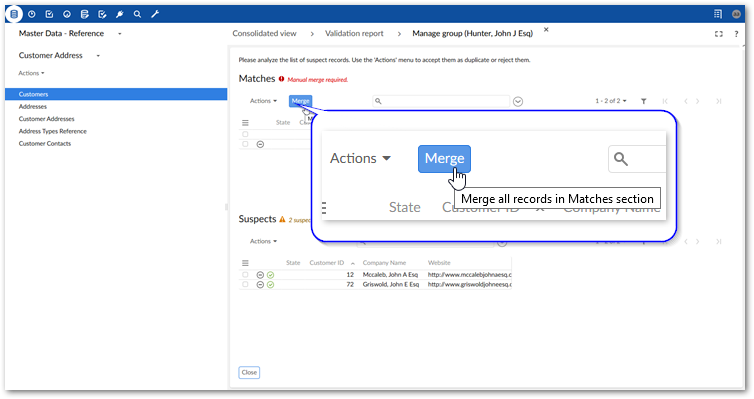
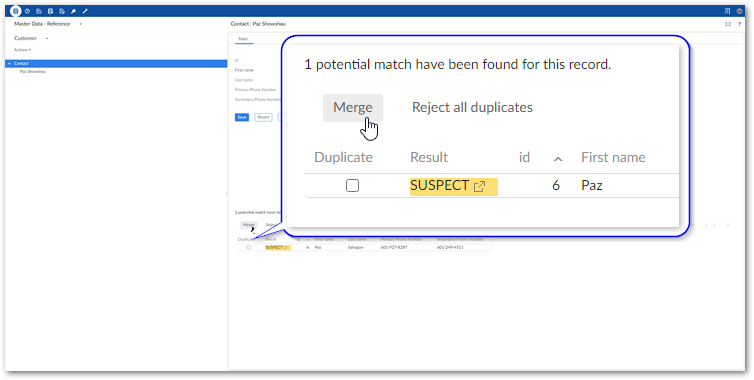
From the Manage group screen (first image) or after inline matching executes (second image), select Merge.
You can manually select records and from a table's Actions menu, select Match and Merge > Merge.
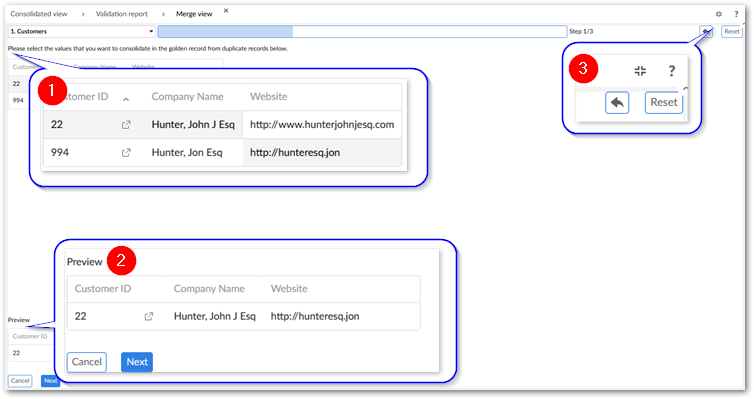
Select the values to persist into the golden record:
1)
Compose the candidate record by selecting the values to persist. Depending on how your administrator has configured the merge feature, the system might pre-select certain data values. Selected values are shaded in gray.
2)
The Preview shows what data is included in the golden record. It updates in real-time based on your selections.
3)
Use the Revert icon to undo up to 5 of your most recent modifications. Depending on your configuration settings you can use the Reset or Apply merge policy buttons to reset all of your modifications.
Select Next to preview results.
Select Merge to complete the process.
You can select the link to access the record, or Back to main view to return to the previous view.