Creating Subflows
You create a subflow exactly like you would create any other blank flow.
To create a subflow:
- Procedure
- Identify the piece of logic in your app that you want to reuse elsewhere in the app or iterate multiple times.
- Create a flow without a trigger for that logic. For details on how to create such a flow, see the Creating a flow without a trigger.
- To use this flow as a subflow within another flow, you must add a
Start a SubFlow Activity at the location in the calling flow from where you want to call the subflow. For example, if you want to call a subflow after the third Activity in your calling flow, insert a
Start a SubFlow Activity as the fourth Activity in the calling flow. To do so:
- Open the
calling flow. - On the flow details page, click the Activities palette.
- Under the Default category, select the Start a SubFlow activity and drag it to the activities area.
- Add the branches to connect the SubFlow activity with the activity that you want to call a subflow from and to the activity where the subflow must end. Also set the branch conditions for each connection line wherever required.
- Click the StartaSubFlow activity to open the configuration dialog. To call the required subflow, select the subflow from the
Select flow dropdown in the
Settings tab and save the changes. If you want to see the flow in detail use the Open Subflow option in the Settings tab or click the
 icon on the StartaSubflow Activity. This appends the flow tab to the right of the previously appended flow tabs. In the below example, we call the Flow 3 flow using the StartaSubflow Activity. After clicking the Open Subflow tab, we see theFlow 3 flow tab next to the Flow 1 flow tab.
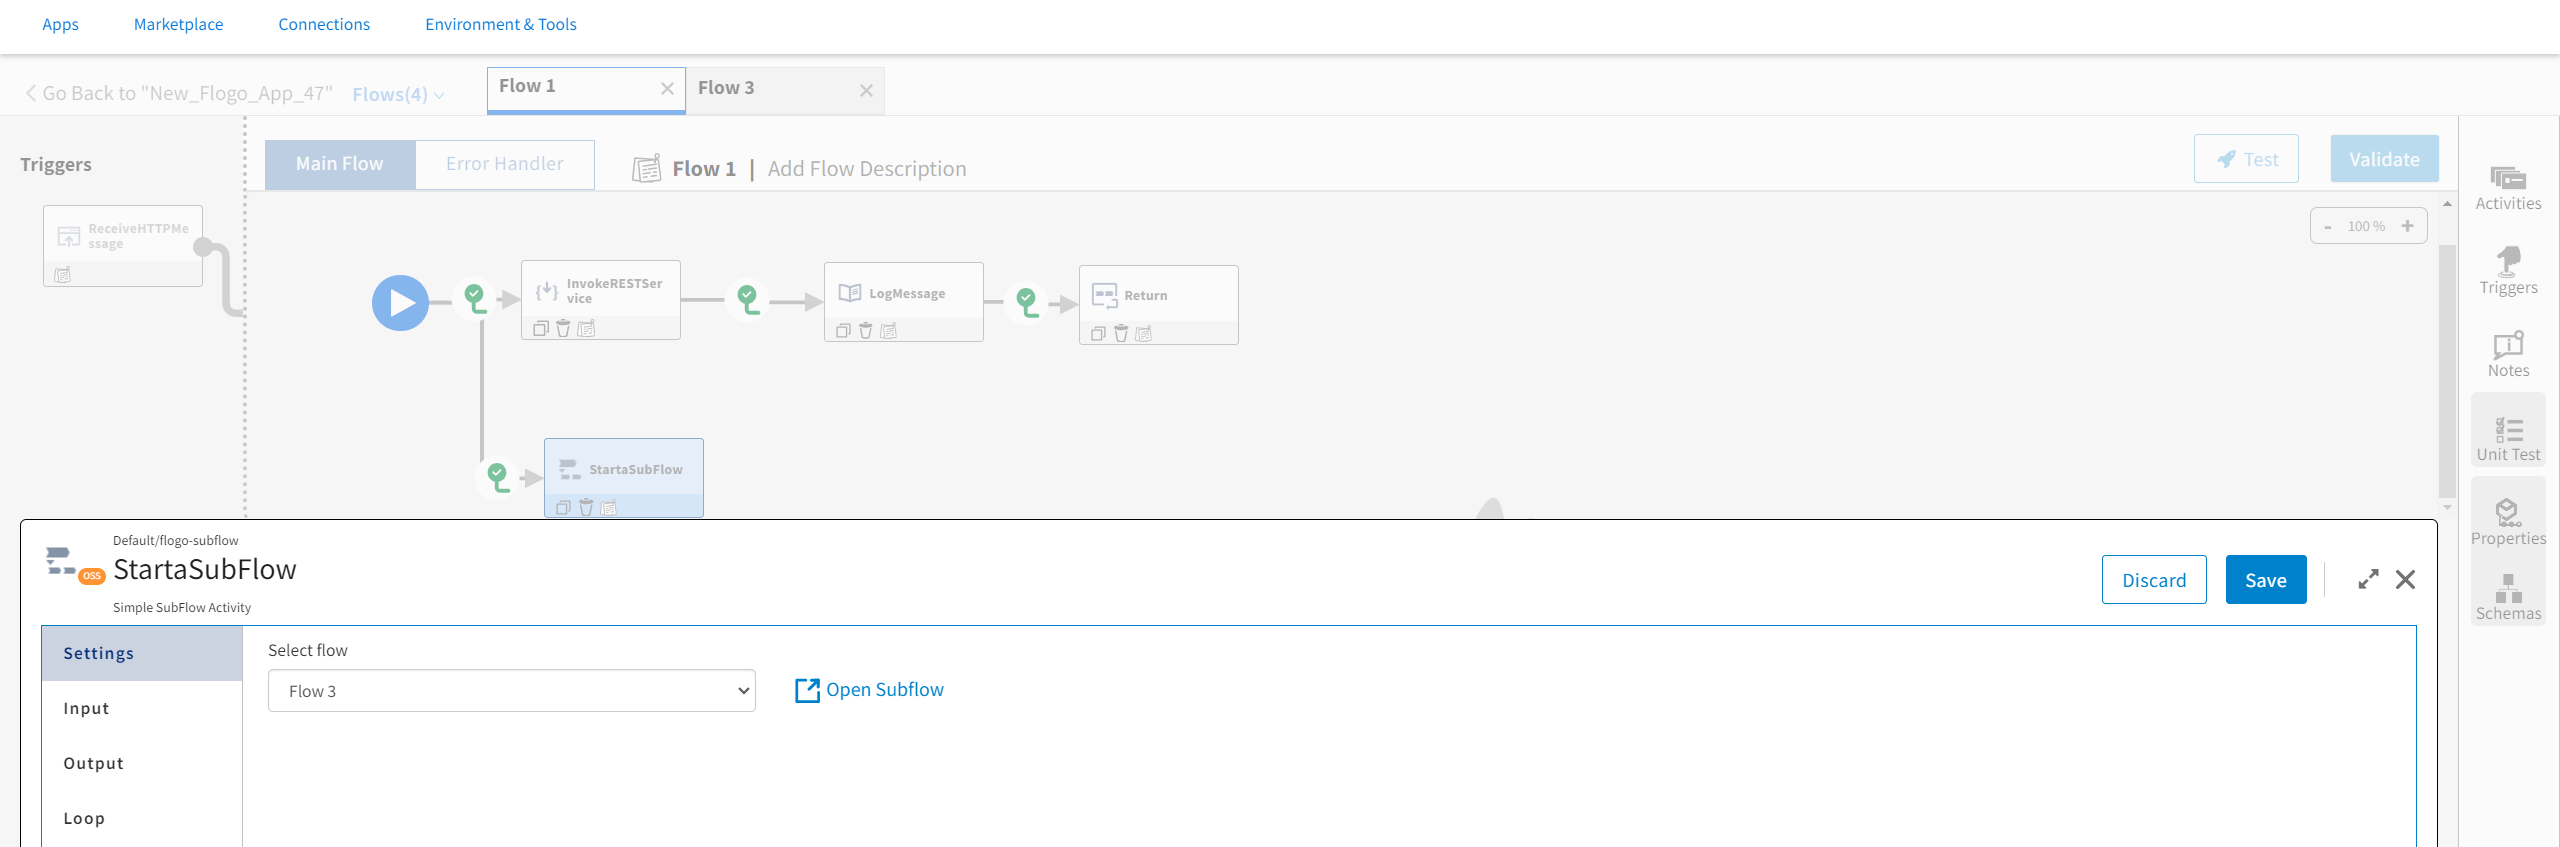 Note:
Note:If the subflow is already selected in StartaSubflow Activity, then you can directly open that subflow in a different flow tab by clicking on the
icon on activity tile.If
icon is present on the StartaSubflow Activity, it means a subflow is selected in the StartaSubflow Activity. An opened subflow tab becomes "active" only after you select it from the Flows list dropdown or when you switch to that subflow.
When you try to open an already opened subflow tab, it is highlighted.
The schemas that you had configured in the Input Settings and Output Settings of the Flow Inputs&Outputs tab in the selected subflow appear on the Input and Output tabs of the StartaSubFlow Activity.
You can now configure the input and output for the subflow in the StartaSubFlow Activity. If you add additional input and/or output parameters on the Flow Inputs & Outputs tab of your subflow, they become available to configure from the Input and/or Output tabs of the StartaSubFlow Activity. The output from the StartaSubFlow Activity is available for use as input in all activities that appear after it.
At app runtime, the StartaSubFlow Activity in the calling flow calls the selected subflow.
- If you want your subflow to iterate multiple times, configure the iteration details on the Loop tab of the StartaSubFlow activity. Refer to the Using the Loop section for details on how to configure the Loop tab.
- If you want to run certain events in the main flow without waiting for the subflow to complete its execution, you can do this using the Detached Invocation toggle on the Settings tab of the StartaSubFlow activity. When you set this Detached Invocation toggle to true, the Output option is not available in the StartaSubFlow activity window, and without waiting for the subflow output, the main flow is executed.
- Open the