Running the 275ToolsDemo on Windows
Perform the following steps to set up and run the 275ToolsDemo on Windows platforms.
Setting up the Demo
- Extract TAA_fs-translator-attch-adapter_windows.zip in your TAA directory and access the resulting directory, which contains:
- Attachment - Directory containing xray.jpg, the file used as an example attachment.
- ExtractedFiles_5010 - Directory containing dummy.txt, a dummy file needed for .zip file creation. Used for 5010 transactions.
- ExtractedFiles_6020 - Directory containing dummy.txt, a dummy file needed for .zip file creation. Used for 6020 transactions.
- Inbound275 - Directory containing sample XML and CDA files needed for 275 creation.
- 275ToolsDemo_lib - Directory containing 275Tools.jar, and other needed .jar files.
- Maps - Directory containing specialized Map files used for translation. These map files are copied to the target Translator installation.
- Outbound275 - Directory used for storage of the created 275. Contains the file dummy.txt. a dummy file needed for .zip file creation.
- 275ToolsDemo.jar - Java Jar file used to demo 275Tools.
- Install275Demo.bat - Script file used to install demo.
- Docs - Documentation files.
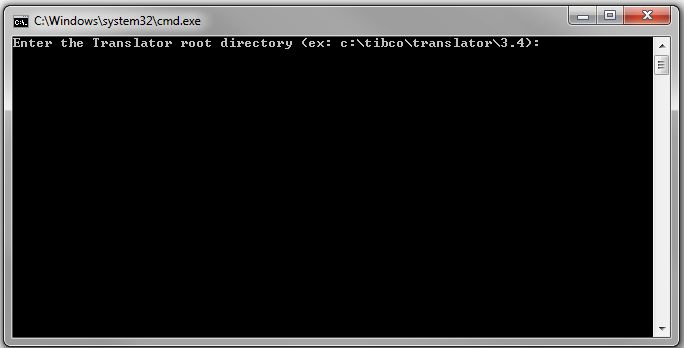
- Double-click Install275Demo.bat. You are prompted to enter the path to the Translator root directory.
- Enter the path to the Translator root directory. Example: C:\tibco64\translator\3.4
- Notice that numerous batch files are set up in your 275CmdLine directory:
- Continue with the next section, Running the Demo.
Running the Demos
To Create a 5010 275
To Extract the Attachment from a 5010 275
- Double-click Create275_5010.bat.
- The CMD window appears while the demo is running. Depending on the size of the attachment, it may take 15-20 seconds to complete.
- When the CMD window disappears, navigate to the Outbound275 directory.
- The completed 275 transaction appears in this directory as the file 275Out_5010.edi.
For information about the contents of this file, see "Completed 5010 275X210 Details" in the TIBCO Foresight® Translator Attachment Adapter User's Guide.

- Double-click Extract275_5010.bat.
- The CMD window displays while the demo is running.
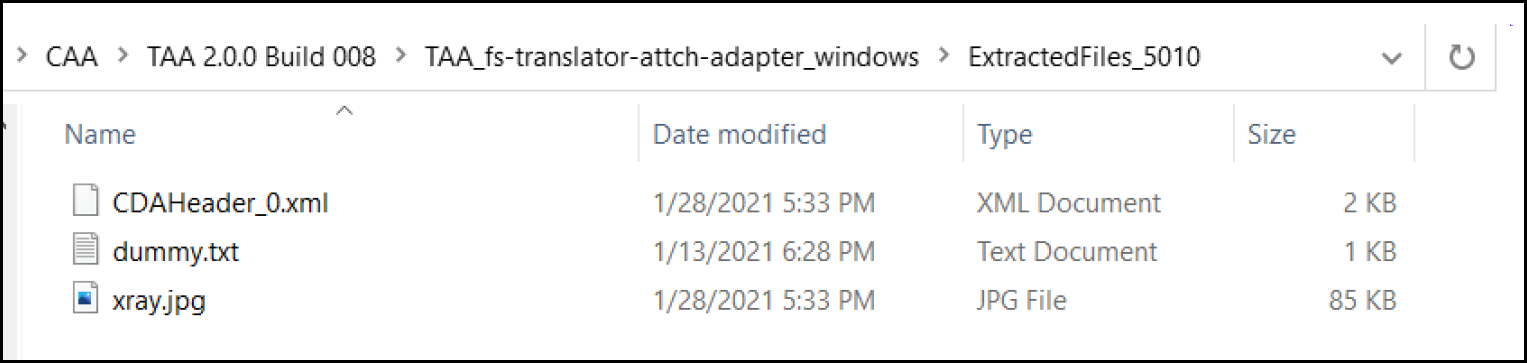
- When the CMD window disappears, navigate to the ExtractedFiles_5010 directory.
- The extracted attachment appears in this directory as the file xray.jpg. CDA header information is contained in the file CDAHeader.xml.
To Create a 6020 275
To Extract the Attachment from a 6020 275
- Double-click Create275_6020.bat.
- The CMD window appears while the demo is running. Depending on the size of the attachment, it may take 15-20 seconds to complete.
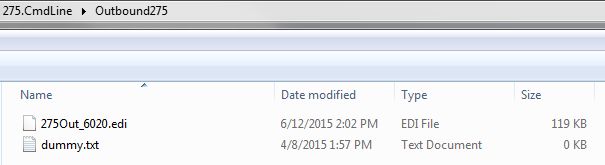
- When the CMD window disappears, navigate to the Outbound275 directory.
- The completed 275 transaction appears in this directory as the file 275Out_6020.edi.
For information about the contents of this file, see "Completed 6020 275X316 Details" in the TIBCO Foresight® Translator Attachment Adapter User's Guide.
- Double-click Extract275_6020.bat.
- The CMD window displays while the demo is running.
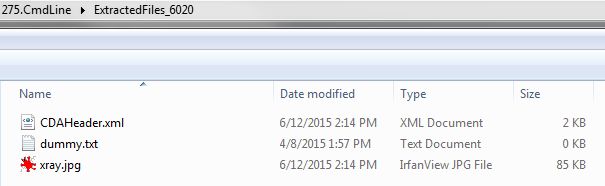
- When the CMD window disappears, navigate to the ExtractedFiles_6020 directory.
- The extracted attachment appears in this directory as the file xray.jpg. CDA header information is contained in the file CDAHeader.xml.
Copyright © 2021. Cloud Software Group, Inc. All Rights Reserved.