Copyright © Cloud Software Group, Inc. All Rights Reserved


Chapter 2 Getting Started : Using the MIB Browser

Using the MIB Browser
The MIB browser is used to create custom TIBCO Hawk microagents and methods directly from SNMP MIB files. The MIB browser window, shown in the following figure, consists of three main panels. The upper left-hand panel shows a tree view of the currently defined custom microagents and their methods. The upper right-hand panel shows a tree view of the currently loaded SNMP MIB files. Additional SNMP MIB files can be loaded and added to the tree view at any time. The lower panel shows detailed information about the currently selected node from either of the tree views mentioned earlier. Right-click various tree nodes to display popup menus. Using these pop-up menus, you can create, modify, and delete microagents and methods based on the SNMP MIB tree. These custom microagent definitions can be saved and loaded from XML encoded files. The adapter can load these XML files on startup and instantiate the defined microagents.
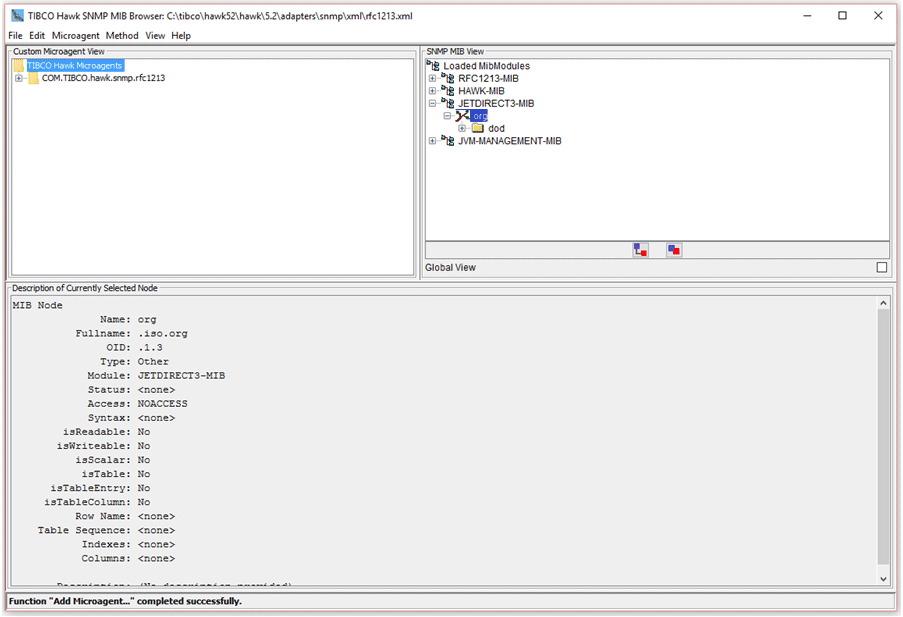
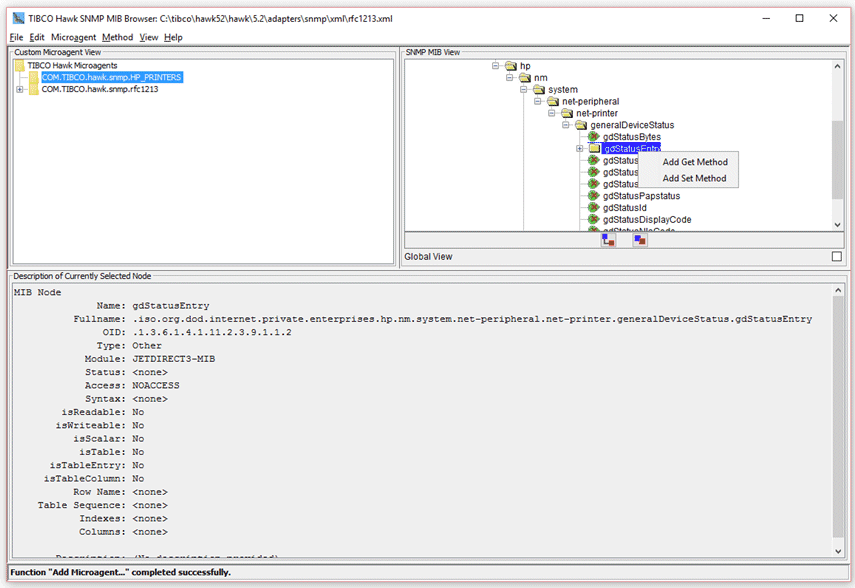
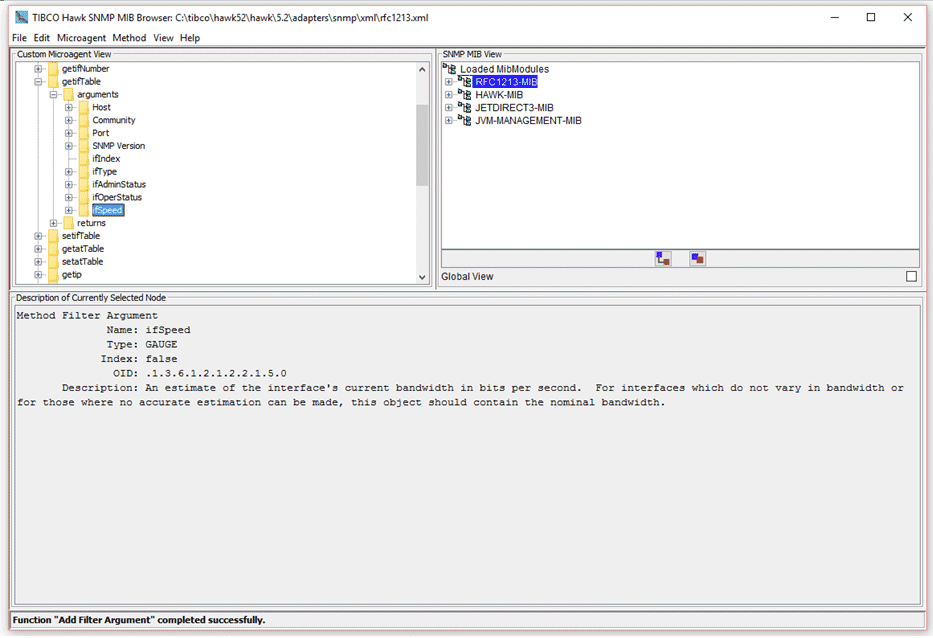
The SNMP MIB can be presented in either MIB or trap view. The MIB view tree shows the SNMP variables defined in the loaded MIBs and is used for creating get and set methods. The trap view tree shows the SNMP traps defined in the loaded MIBs and is used for creating onTrap (to receive traps) and sendTrap methods. You can switch between views using the View menu.
The following sections cover the various MIB browser operations in detail.
MIB Browser Functions
The following table describes the items in the MIB browser pull-down menu.
Creating a Custom Microagent
This section describes the steps involved in creating a custom microagent ’HP_PRINTERS’ and a microagent descriptor file for a newly created microagent. This microagent monitors Hewlett Packard Jet Direct laser printers. This microagent is used in later examples to monitor the printer for ’paper jam’ conditions.
1.
If the Hewlett Packard JetDirect3 MIB file has not been previously loaded, select the File->Load MIB options, navigate to the directory which contains the Hewlett Packard JetDirect3 MIB file.
All the MIB files in the directory are displayed. Double-click the MIB file corresponding to the printer to load it into the MIB browser. Once loaded, the managed data are displayed on the right-side of the screen.
2.
To create a new microagent, select Microagent->Add Microagent.
3.
Type ’HP_PRINTERS’ and click OK.
4.
5.
Right-click the gdStatusEntry folder.
A pop-up menu displays the available options for selecting the type of method to be added.
6.
Select the Add Get Method option.
A new method named getgdStatusEntry is added to the selected microagent in the microagent tree. The method name is derived from the operation (get) and the MIB item name (gdStatusEntry). Expanding the getgdStatusEntry tree node, note that method arguments and returns have been automatically generated from the MIB definition.
The standard arguments Host, Community, Port, and SNMP are automatically added where appropriate to allow these values to be specified when the method is invoked. These standard arguments have default values of localhost, public, 161, and version 1, respectively. The Port argument defaults to 162 for sendTrap methods.
These standard arguments can be removed and they take on default values on method invocation.
For the get() methods, a return is defined for each MIB variable from the selected MIB node. If the node represents a terminal node, a single return is added for that variable. If the node represents a non-terminal node (for example, gdStatusEntry), a return is added for each terminal node contained in that node. If the node represents a table, a return is added for each column of the table.
For set methods there are no returns, only arguments. Arguments are added based on the type of node selected in the same manner as returns are handled for get methods (see above). Arguments, however, are only added for writable nodes. If no writable variables are defined for the selected node then an error message is displayed and the create method fails. These arguments are used to specify the new value for the variable when the method is invoked. If the SNMP variable is an enumerated type then a legal value choice is defined for the argument containing the list of enumerated types.
For onTrap methods a return is added for each variable defined for the selected trap.
For sendTrap methods an argument is added for each variable associated with the selected trap.
Filter arguments can be added to get methods which return tabular data and to onTrap methods. A filter argument corresponds to a particular return and is used to filter the data returned by a method. For tabular get methods they are used to filter which table rows are to be returned. For onTrap methods they are used to filter out unwanted traps. Filter arguments are automatically added for all table index columns in tabular get methods. A filter argument can be added for any return. If the return is an enumerated type then a legal value choice is defined for the filter argument containing the list of enumerated types.
Arguments and returns can be removed as desired with two exceptions. Tabular get methods must return all index columns and tabular set methods must have an argument for each index column. An error is displayed if an attempt is made to delete an index return from a tabular get method or an index argument from a tabular set method.
7.
Select the File->Save options to save the microagent descriptor file.
Adding Filter Arguments
When working with OnTrap methods or methods that return tabular data you can specify any output parameter of the method as a filter argument. This adds an output filter argument corresponding to the selected output parameter. You can now filter the returned data using specific values for this output filter argument.
When used with OnTrap methods, the output filter is used to send only those traps that pass the filter criteria. Similarly, with methods that return tabular data, the output filter is used to filter rows of the return data.
To add a filter argument, right click on the selected output parameter and choose Add Filter Argument.
The selected output parameter is now added as an output filter. When using this method as a data source for a rulebase, the output filter is now an additional method argument.
Editing Microagent Properties
To edit the properties of a node in the custom microagent tree, right-click on that node and choose the Properties... option.
This brings up the Attribute Editor containing the properties of the selected node. The properties that can be edited are displayed with a white background:

Copyright © Cloud Software Group, Inc. All Rights Reserved