|
|
| Copyright © Cloud Software Group, Inc. All Rights Reserved |
Note that TIBCO has language packs available for selected languages, that when installed, localize your client application to the language for that language pack. For information about the available language packs, contact your TIBCO representative.

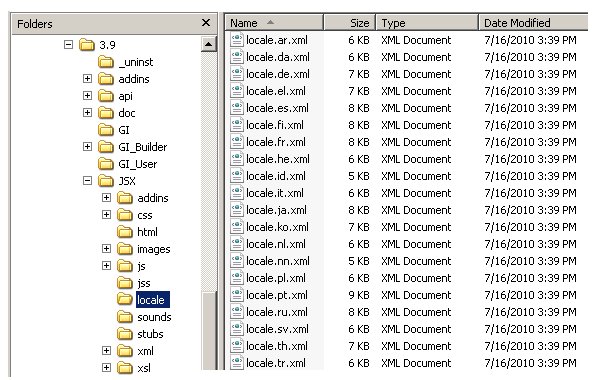
ClientInstallDir\JSXAPPS\ipc\locale\locale.xml

ClientInstallDir\JSXAPPS\ipc\locale\locale.ll.xmlClientInstallDir\JSXAPPS\ipc\locale\locale.ll_CC.xmlwhere ll in the filename is the language code, and CC is the country code (e.g., locale.es.xml - for Spanish; locale.es_MX.xml - for a Mexico-only translation) and ClientInstallDir is the path to the directory in which the iProcess Workspace (Browser) is installed.

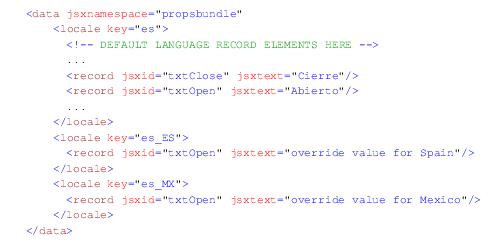
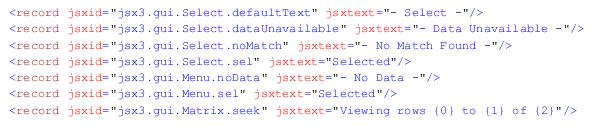
Adding the language code to locale.xml provides the necessary configuration to support the “override” and “fallback” relationship between the new file and the default language resource file.Modify or Create a TIBCO® General Interface System Locale FileSome of the text that is displayed in the iProcess Workspace (Browser) application originates from the TIBCO® General Interface (GI) system locale files. Although several formats and text strings are defined in these GI locale files, only a few text items will ever display in the iProcess Workspace (Browser).For this version of the iProcess Workspace (Browser), TIBCO® General Interface supports the following languages and countries:
|
|
| Copyright © Cloud Software Group, Inc. All Rights Reserved |