|
|
| Copyright © Cloud Software Group, Inc. All Rights Reserved |
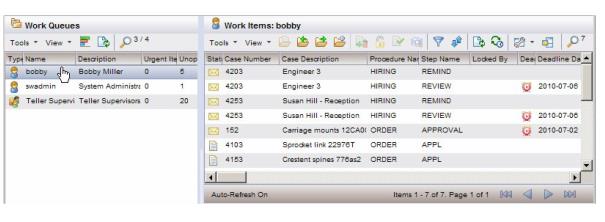
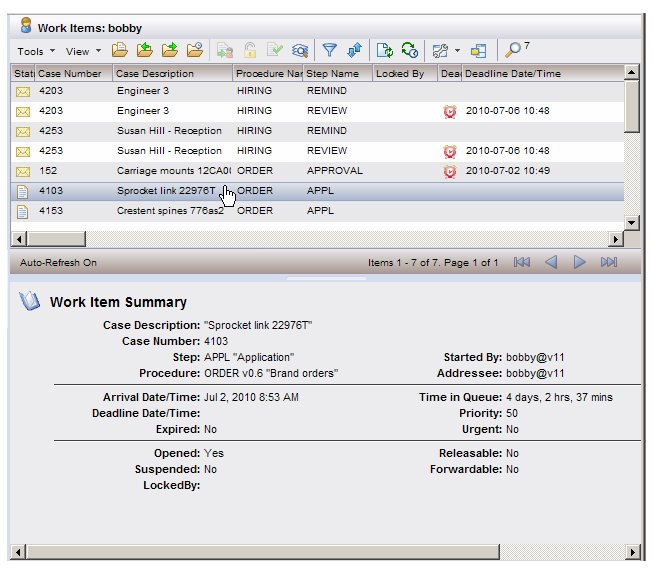
The window that is displayed depends on how your system has been set up. By default, the work item list is displayed. However, there is a user options setting that allows you to specify that if the number of work items in the queue exceeds a specified threshold, to automatically display the filter dialog first. This allows you to enter a filter expression to pare down the list before displaying it.For information about specifying whether or not to display the filter dialog first, see Filter Options.For information about using the filter dialog to filter the work item list, see Filtering a Work Item List.If the work item list is displayed, and the Filter icon on the work item list toolbar has a green check mark, the list is currently being filtered — the last filter expression applied to the work item list is in effect. For more information, see Filtering a Work Item List.Also, if the Sort icon on the work item list toolbar has a green check mark, the list is currently being sorted — the last sort criteria applied to the work item list is in effect. For more information, see Sorting a Work Item List.Information about each work item is provided in the columns of the work item list. The specific information that is displayed on your system will depend on how your system was set up — see Customizing Columns in a List.The effect of selecting an item from the work item list (i.e., single-clicking an item, or moving the highlight bar with the keyboard arrow keys) depends on whether or not the preview feature is turned on:
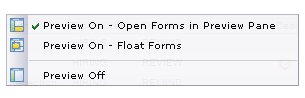
icon on the work item list toolbar, or by selecting Preview from the work item list View menu.
You can turn off the preview feature by selecting the Preview Off selection.For additional information about selecting items in general from lists, see Selecting Items in a List.By default, certain columns are displayed in a work item list. You can easily customize the columns that are displayed by either using the Column Selector, or by changing them manually. For information, see Customizing Columns in a List.
Although the step definition does not allow resulting work items to be forwarded, some users may still be able to forward the work item (e.g., system administrators) — for more information, see Forwarding Work Items.
For more information about the difference between a “lock” and a “long lock”, see Opening / Locking Work Items Multiple Times.
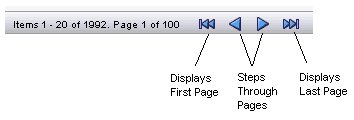
There is an indicator in the header bar of the work item list to tell you how many work items are in the list. This number is displayed to the right of the Find button. In this example, there are 34 work items.Note that this number may indicate the number of work items in the list after it has been filtered using the filter dialog — if the list has been filtered in this way, there will be a red check mark on the Filter icon (for information about using the filter dialog to filter work items, see Filtering a Work Item List).
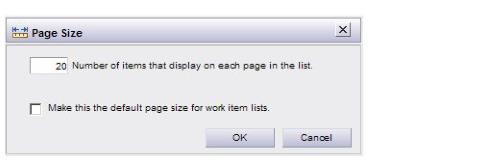
icon. The following dialog is displayed:
To enable auto-refresh, check the Auto-refresh check box, specify the number of seconds you would like between refreshes (the minimum you can specify is 5 seconds), then click OK.You can specify whether auto-refresh is enabled or disabled by default every time you log in. This is done on the Options dialog — see Auto-Refresh of Work Item Lists.
|
|
| Copyright © Cloud Software Group, Inc. All Rights Reserved |


 icon.
icon.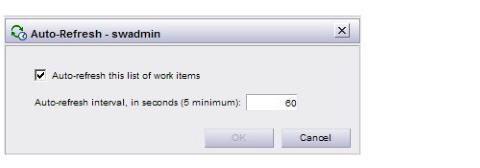


 For example:
 icon on the work item list.