Installing the Compliance Suite

Prerequisites

Before installing the LogLogic® Compliance Suite - GDPR Enterprise Edition, ensure that you have:
  • TIBCO LogLogic® LX, MX, or ST appliance running TIBCO LogLogic® Log Management Intelligence version 6.1.1 or 6.2.0; or TIBCO LogLogic® Enterprise Virtual Appliance version 6.1.1 or 6.2.0
  • TIBCO LogLogic® Log Source Packages version 33.0.0 installed
  • The Compliance Suite package, downloaded from the eDelivery website https://edelivery.tibco.com/
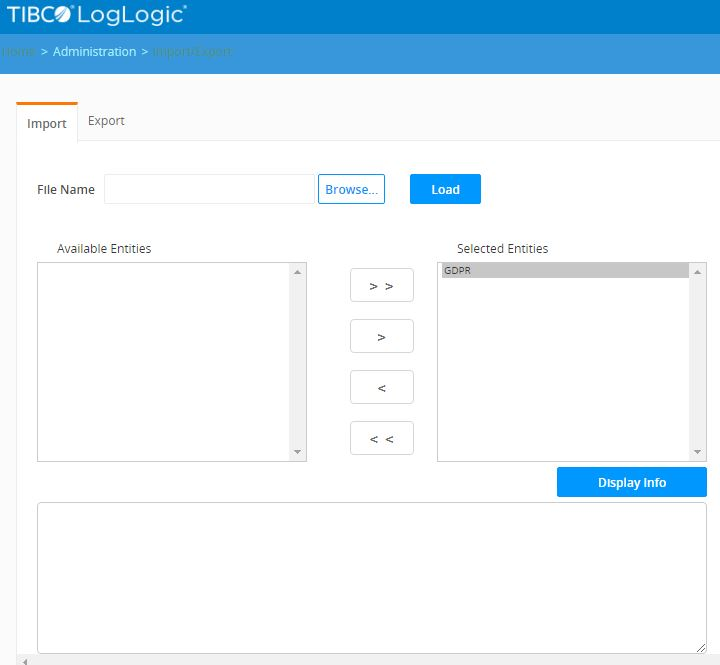
The Compliance Suite includes the following files containing filters, custom reports, and alerts for General Data Protection Regulation (GDPR):
  • TIB_logcsgdpr_<release-version>.xml: Reports, Search Filters, and Alerts for GDPR
  • TIB_logcsgdpr_<release-version>-servicepack.zip: Advanced Filter Bloks, Correlation, Aggregation Rules, and Dashboards for GDPR (applicable to LogLogic® LMI version 6.x or later)
Warning:

If you have made any changes to base Compliance Suite alerts, search filters, or custom reports, TIBCO recommends saving these items with non-default names. Doing so ensures that the latest Compliance Suite updates can be installed without any compatibility issues or naming conflicts.

Procedure

  1. Log in to your TIBCO LogLogic LX, MX, or ST appliance or TIBCO LogLogic® Enterprise Virtual Appliance as admin.
  2. From the navigation menu, select Administration > Import or Export.
    The Import and Export tabs are displayed.
  3. Load the Compliance Suite file by completing the following steps:
    1. In the Import tab, click Browse.
    2. In the File Upload window, select the appropriate XML file and then click Open.
    3. Click Load.

      This loads the Available Entities from the XML file.

    4. Click Add All Entities.
      Note: You can also select the specific GDPR entity from the Available Entities text block and then click Add Selected Entities.

      The following figure shows all entities of the GDPR XML file that were selected by clicking Add All Entities.

      Selected Entities to be Imported
  4. Click Import.

    An import successfully completed message appears above the File Name text field.

    Installation is complete after the XML file is imported successfully.