Configuring and Using the HTTPS Client Feature without Mutual Authentication
To use the HTTPS Client Feature without Mutual Authentication, you will need to configure
Trust Management settings in Mashery Cluster Manager and configure an HTTPS Client Profile in Mashery SaaS (Control Center).
For Mashery Local:
Procedure
- On the Mashery Cluster Manager tab, click Trust Management.
-
Click
Upload Trust. The
Upload Trusted CA Certificate window is displayed.

- In the Upload Trusted CA Certificate window, click the Click here to select file link, browse to the CA certificate, then click Upload.
-
The CA Certificate is now added as a trusted certificate. Click the link next to the certificate name to view the state.

-
In this example, the State is
Certificate manifest will be synchronized with TIBCO Mashery SaaS. Mashery Local will synchronize automatically, or you can manually trigger a sync in
Cloud Sync settings.

-
To manually trigger a sync, on the
Mashery Cluster Manager tab, click
Cloud Sync.

- In the Developer and API Settings section, for API Settings, click the Sync button to manually trigger a sync. This will make the certificate metadata available instantly in Mashery SaaS; otherwise, the sync will occur according to the minutes defined for the Sync Interval setting.
-
After the certificate becomes available in SaaS, the State changes to
Certificate manifest has been synchronized with TIBCO Mashery SaaS.

What to do next
To create an
HTTPS Client Profile in TIBCO Mashery SaaS, follow the steps below:
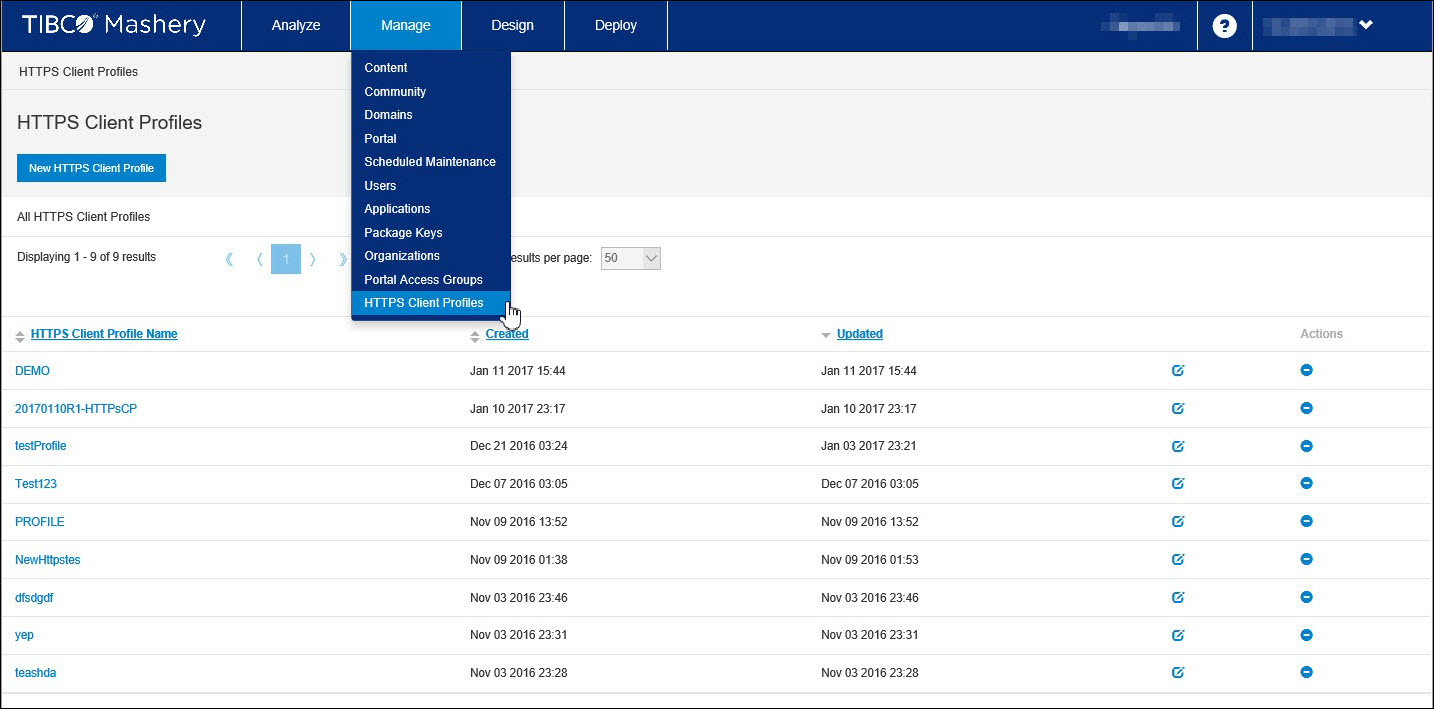
- Click
Manage > HTTPS Client Profiles. The
HTTPS Client Profiles window is displayed.
- Click the
New HTTPS Client Profile button. The
Create an HTTPS Client Profile window is displayed.

- On the Create an HTTPS Client Profiles window, enter information in the following fields:
- Click Save and Continue.
- A second
Create an HTTPS Client Profile page displays.

- In the Unselected list of the Trust stores section, click the Trusted CA Certificate you uploaded in Mashery Cluster Manager to move it to the Current list, then click Save and continue to finish creating the HTTPS Client Profile. Once the HTTPS Client Profile is created, you can then select the profile when creating an endpoint on the Endpoint Create: New Endpoint Definition page.
- To assign the HTTPS Client Profile to an endpoint, click Design > API Definitions > Domains & Traffic Routing.
- On the
Domains & Traffic Routing page for the existing endpoint of your API definition (or,
Endpoint Create: New Endpoint Definition page for a new endpoint), use the
Select HTTP Client Profile field to select the HTTPS Client Profile you just created, then click
Save (or
Create). The endpoint is now associated with the HTTPS Client Profile.

- Log back into Mashery Cluster Manager, go to the
Cloud Sync tab, and click the manual sync button. This syncs the HTTPS Client Profile and Endpoint configuration updates to Mashery Local, and the HTTP Client Profile is now in use for the customer.
Copyright © Cloud Software Group, Inc. All rights reserved.