Configuring Mashery Local and Splunk to Support Monitoring
General Configuration Instructions
- A Splunk forwarder will need to be installed and configured on Mashery Local to send the access_log data as it is generated
- A Splunk receiver will need to be configured if using Splunk Enterprise. A Splunk receiver comes automatically enabled with the Splunk Web interface available in Trial Accounts.
- Optionally, the Splunk Forward input file (/etc/system/local/inputs.conf file) can be configured to:
Detailed Configuration Instructions
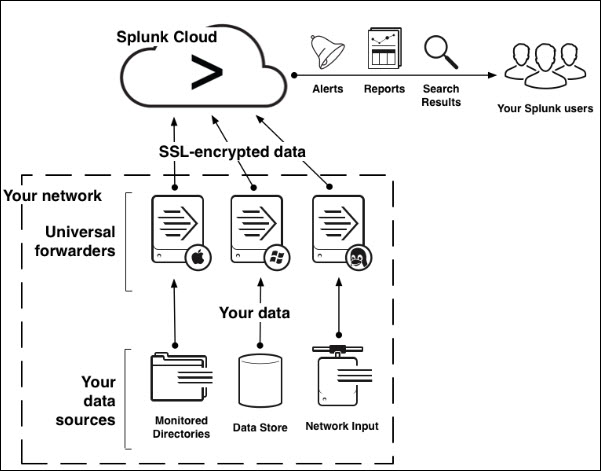
These diagrams show the relationship of the Splunk forwarders to the Splunk Indexer / Receiver. The Splunk forwarders would be installed on each Mashery Local node.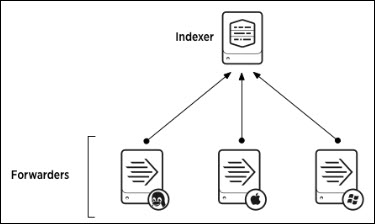
To perform the installation of the universal forwarder, you do not need to have administrator rights.
To use the forwarder, you do not need elevated privileges, but the user that the forwarder runs as must have read access to the resources that you want to monitor and forward. Mashery's regular administrator access is sufficient.
- Sign up for a Free Splunk Cloud Trial Account at splunk.com.
- Once the registration is complete, click on
Settings from the top menu bar and then →
Add Data on the left of the dropdown.
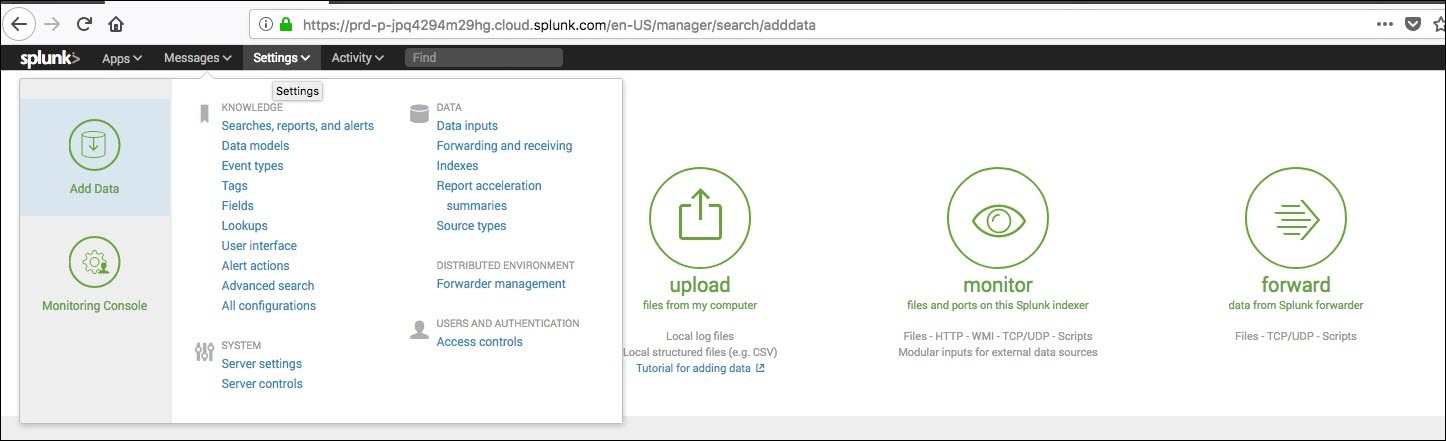
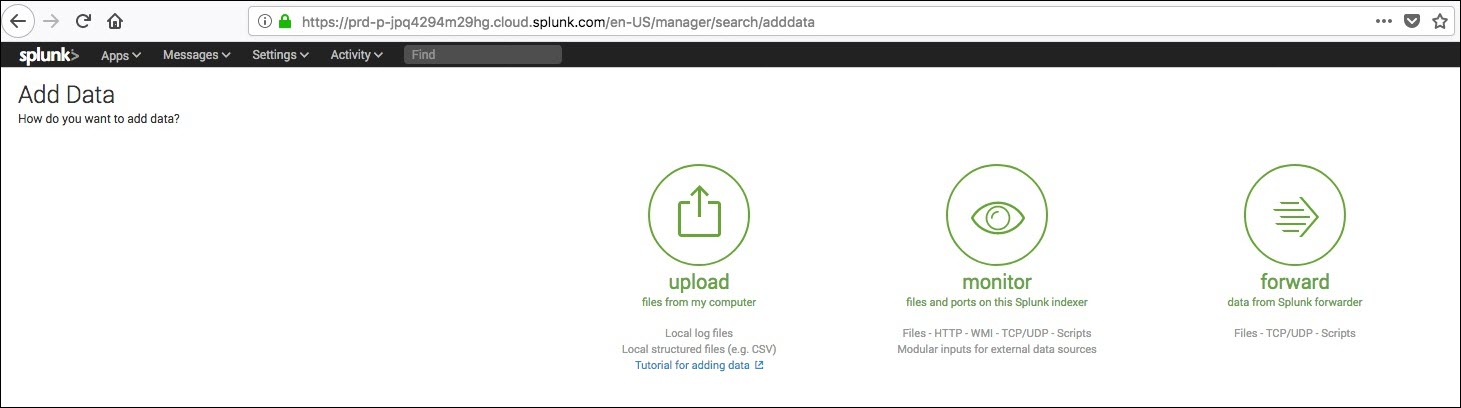
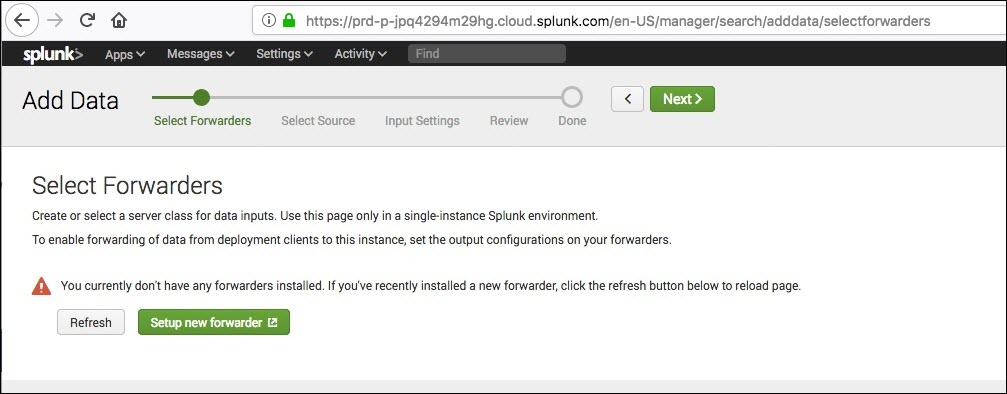
- Click on
forward icon to set up a Splunk forwarder.
- Click on
Setup new forwarder.
- Follow instructions 1-4 on this page. This step is not needed for the Splunk Cloud Trial.
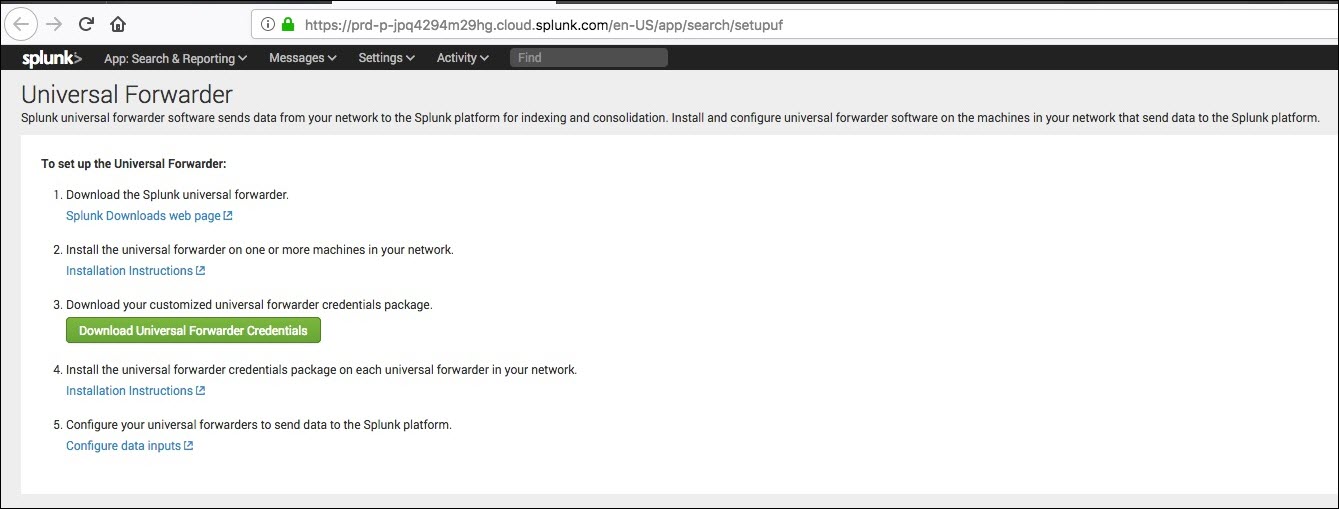
- Click on the link to Download the Universal Forwarder client (aka <splunk_forwarder_client_filename>). Click on the
Download Now button to the right of the Linux 64-bit .tgz file option.
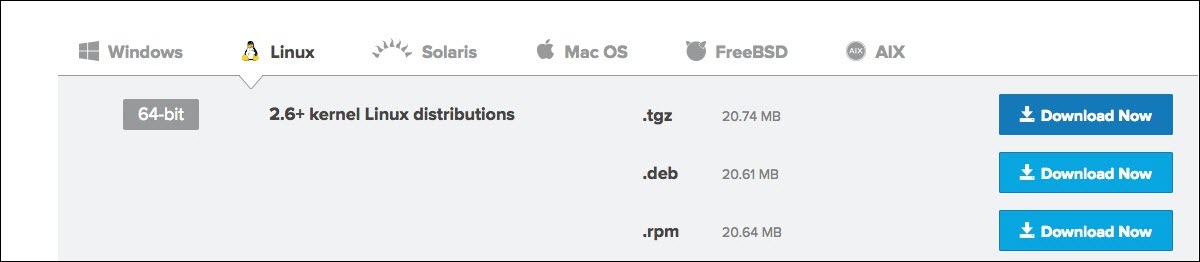
- Accept the terms and download the file.
- Create a folder for the Splunk forwarder application on Mashery Local. The Administrator will have access to put these files in the /var/logforwarder folder.
- Transfer the file from your computer to Mashery Local. scp <splunk_forwarder_client_filename> administrator@<mashery_local_ip_address>:/tmp/app/.
For example: scp splunkforwarder-7.0.3-fa31da744b51-Linux-x86_65.tgz administrator@xxx.xxx.xxx.xxx:/tmp/app
- Log in to the Mashery Local instance.
- Install the Universal Forwarder
- Start splunk
- Download Splunk Credentials.
- Transfer Splunk Credential file to Mashery Local:
- Install Splunk Credentials:
- Restart Splunk: ./splunk restart.
- Configure splunk to watch the access log:
- Restart Splunk: ./splunk restart
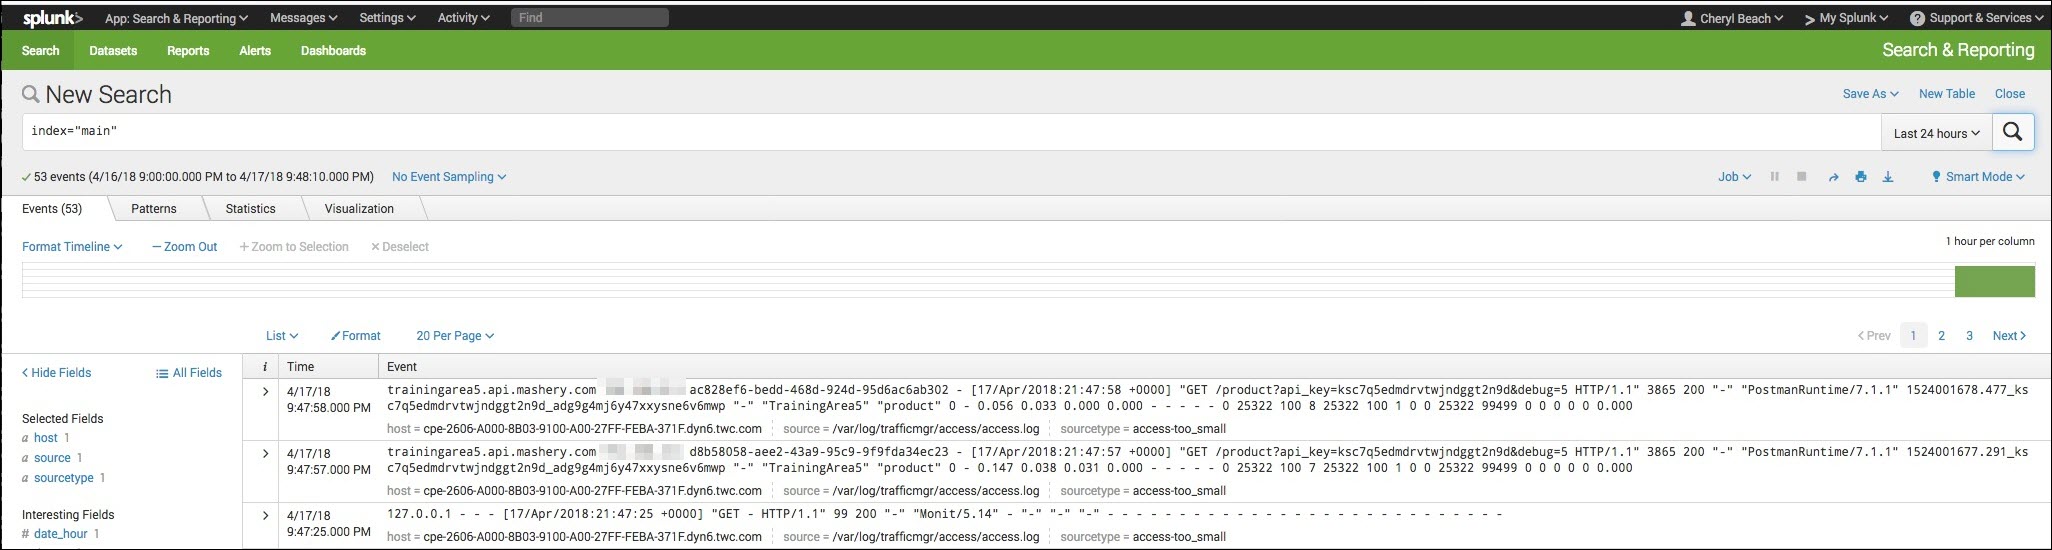
- Make some sample API calls and verify that they are being logged to the Mashery Local access.log file.
- View results in Splunk.
Copyright © Cloud Software Group, Inc. All rights reserved.