Deploying the Kubernetes Cluster on GCP
Use the GCP console to deploy a new Kubernetes cluster:
- Open the Google Cloud Platform console at https://console.cloud.google.com/home/dashboard.
- Click on the Menu (Products & Services) button on the top left of the page and select Kubernetes Engine.
- Select
Create cluster in the pop-up that opens up on the window.
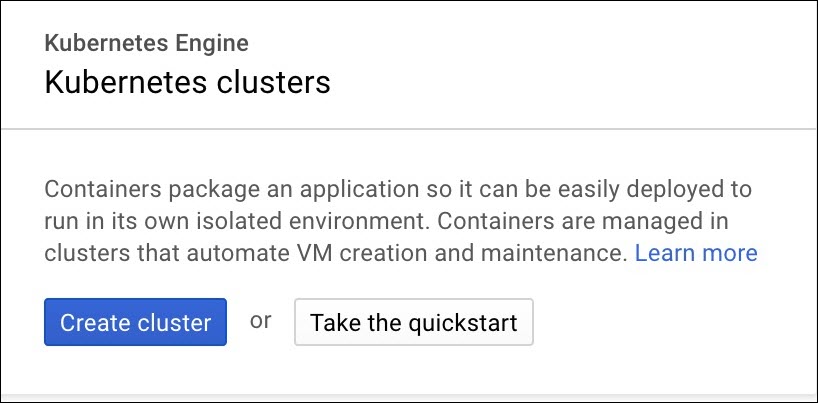
Walk through the different options and information needed to create a cluster, the click Create. - Refer to the information below for extra details.
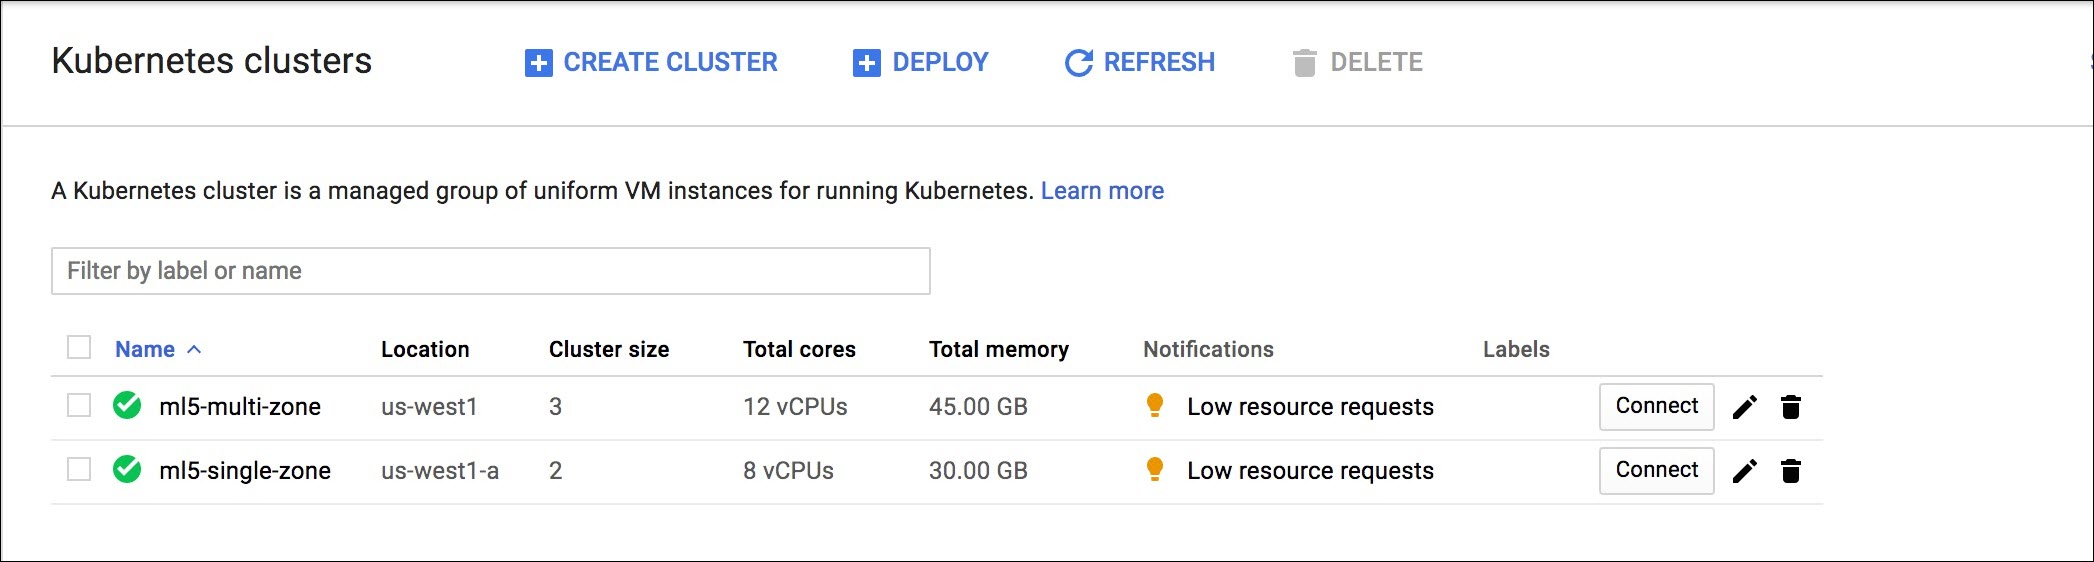
Note:Once the cluster is created it should show up similar to the following image.
Single/ Multiple Zone
To create single zone cluster, select "Zonal" in the "Location Type" . To create multi zone cluster, select "Regional" in the "Location Type".
Select "No of Nodes" as per desired number of TIBCO Mashery Local components. In case of Regional/ Multi zone, GCP will create same no of nodes in each zone and deploy same of TIBCO Mashery Local components on each zone. So plan accordingly as per cluster requirement.
It is recommended to use 4 core CPU with 15 GB memory (n1-standar-4) in Machine type.
Install the Kubernetes Dashboard UI
Click the
Connect button in the console to reveal the gcloud commands to execute (the following is an excerpt):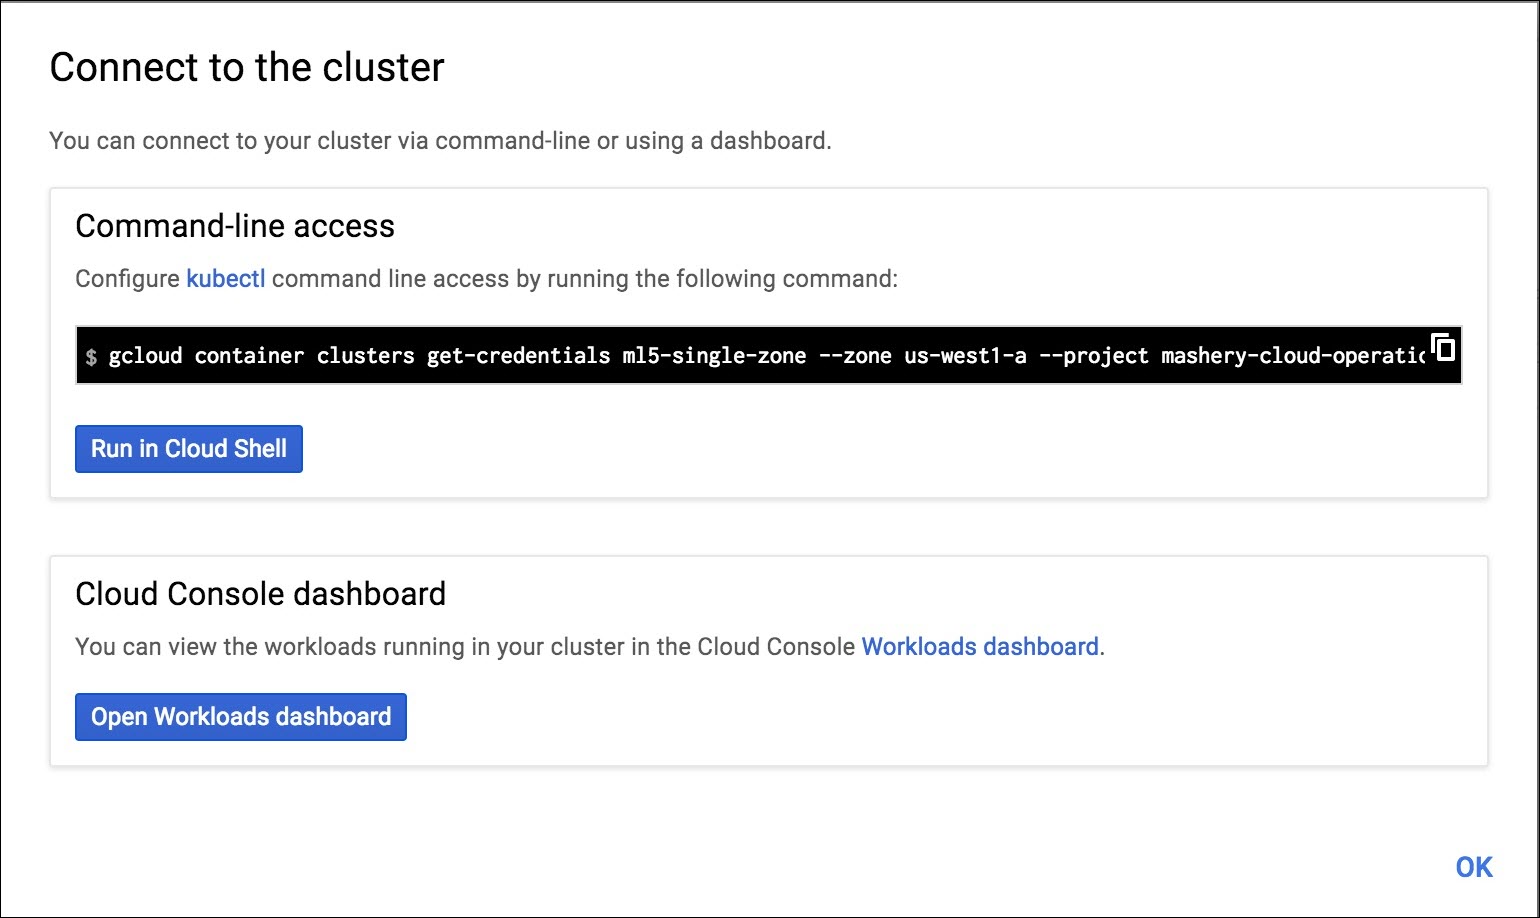
The output from the first command should look like the following, and is required before going further.
Fetching cluster endpoint and auth data.
kubeconfig entry generated for ml5-single-zone.
Copyright © Cloud Software Group, Inc. All rights reserved.